HOW TO 3D PRINT A CENTER CONSOLE WITH A MAGSAFE PHONE MOUNT
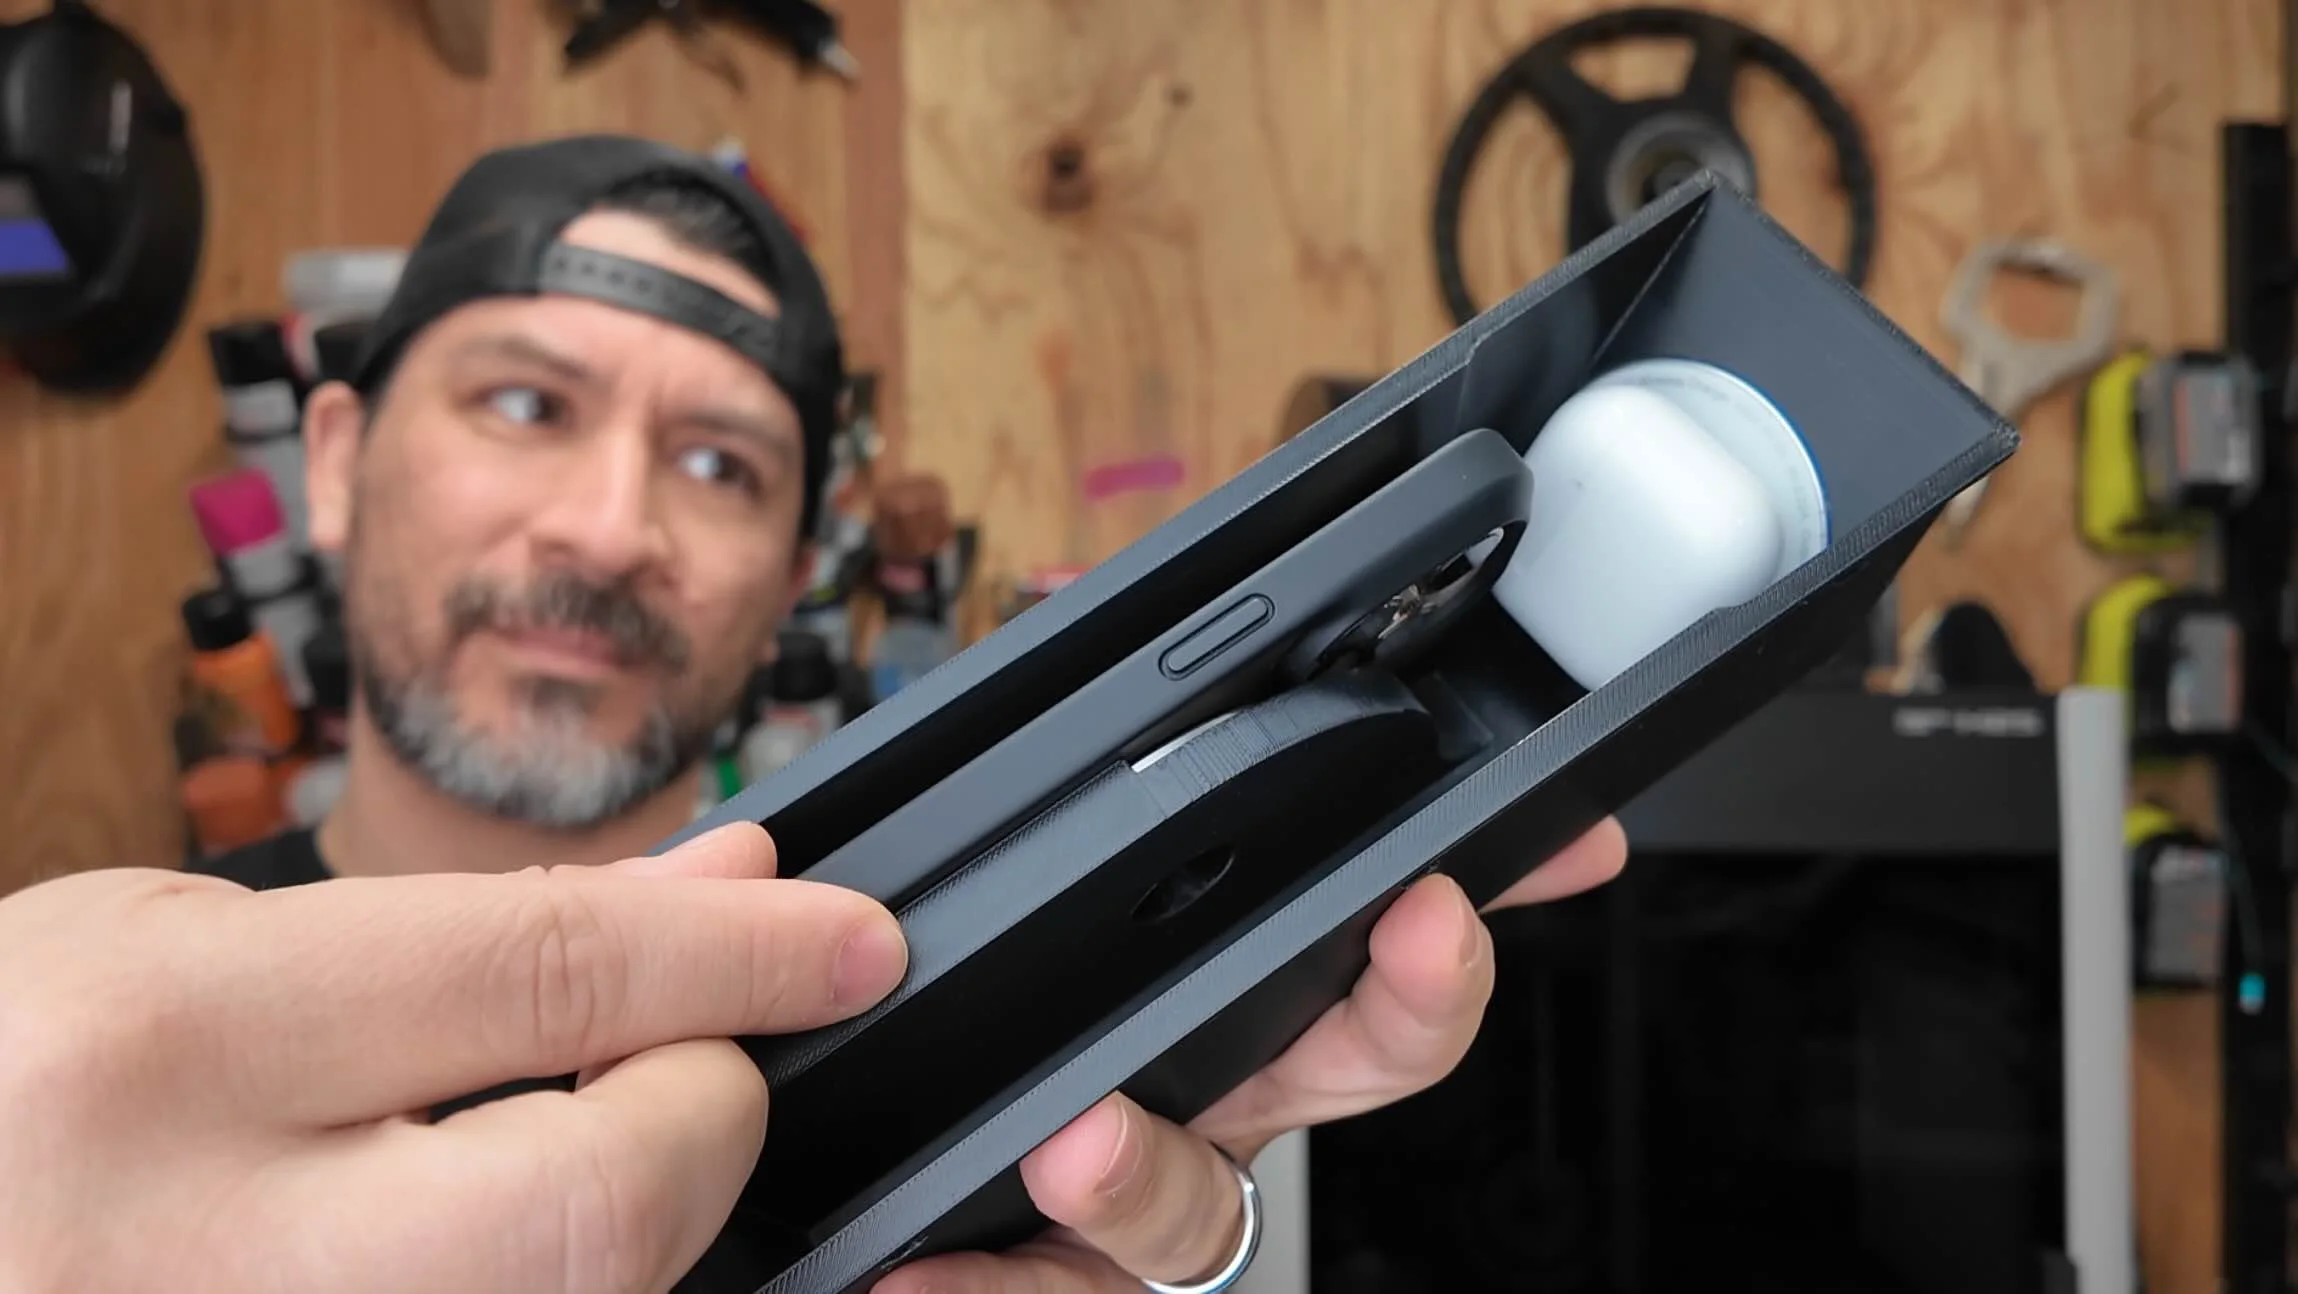
Most 3d printed center console “mods” are just… cup holders. This one turns your console into a clean, modern charging station: a phone mount with MagSafe charging (plus optional AirPods charging)
FREE 3D PRINTING CAR PARTS | CAR PART FILAMENT SELECTOR | 3D PRINTER FOR AUTOMOTIVE | SCANNING & 3D PRINTING CAR PARTS
TOOLS & MATERIAL
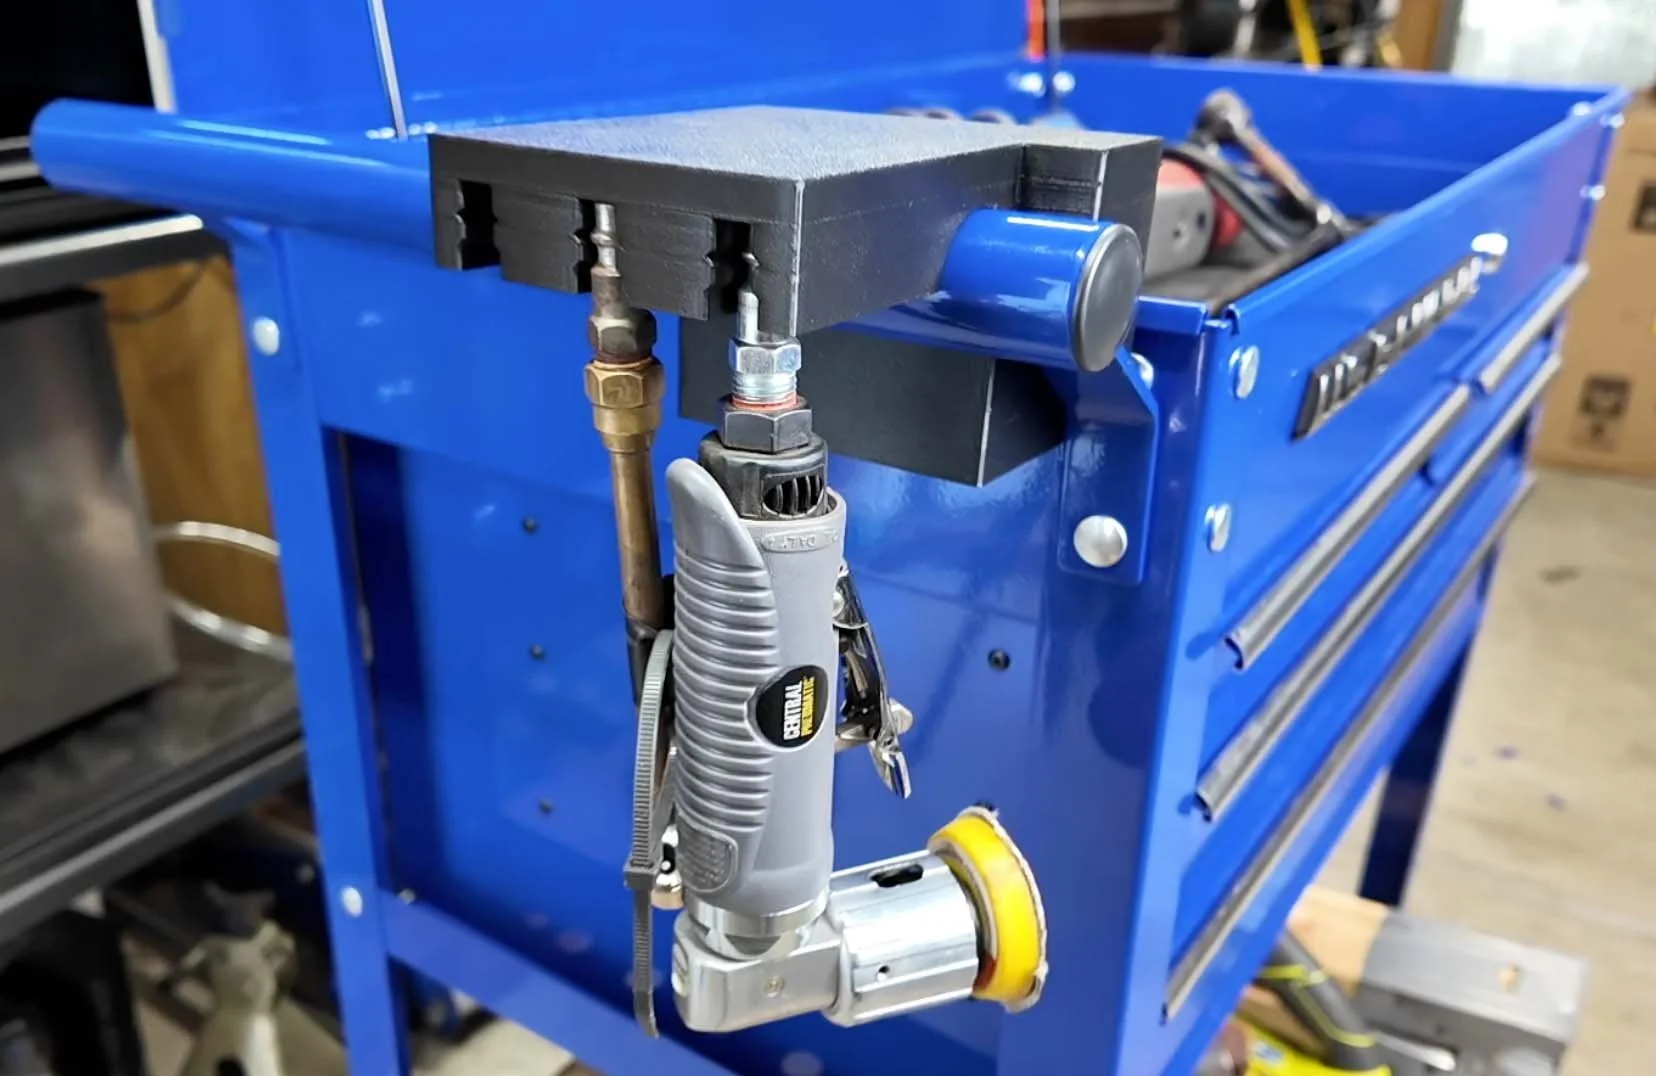
Hardware:2 MagSafe Style magnetic wireless chargers from Amazon
3D Printer: Centauri Carbon or Bambu Lab H2S
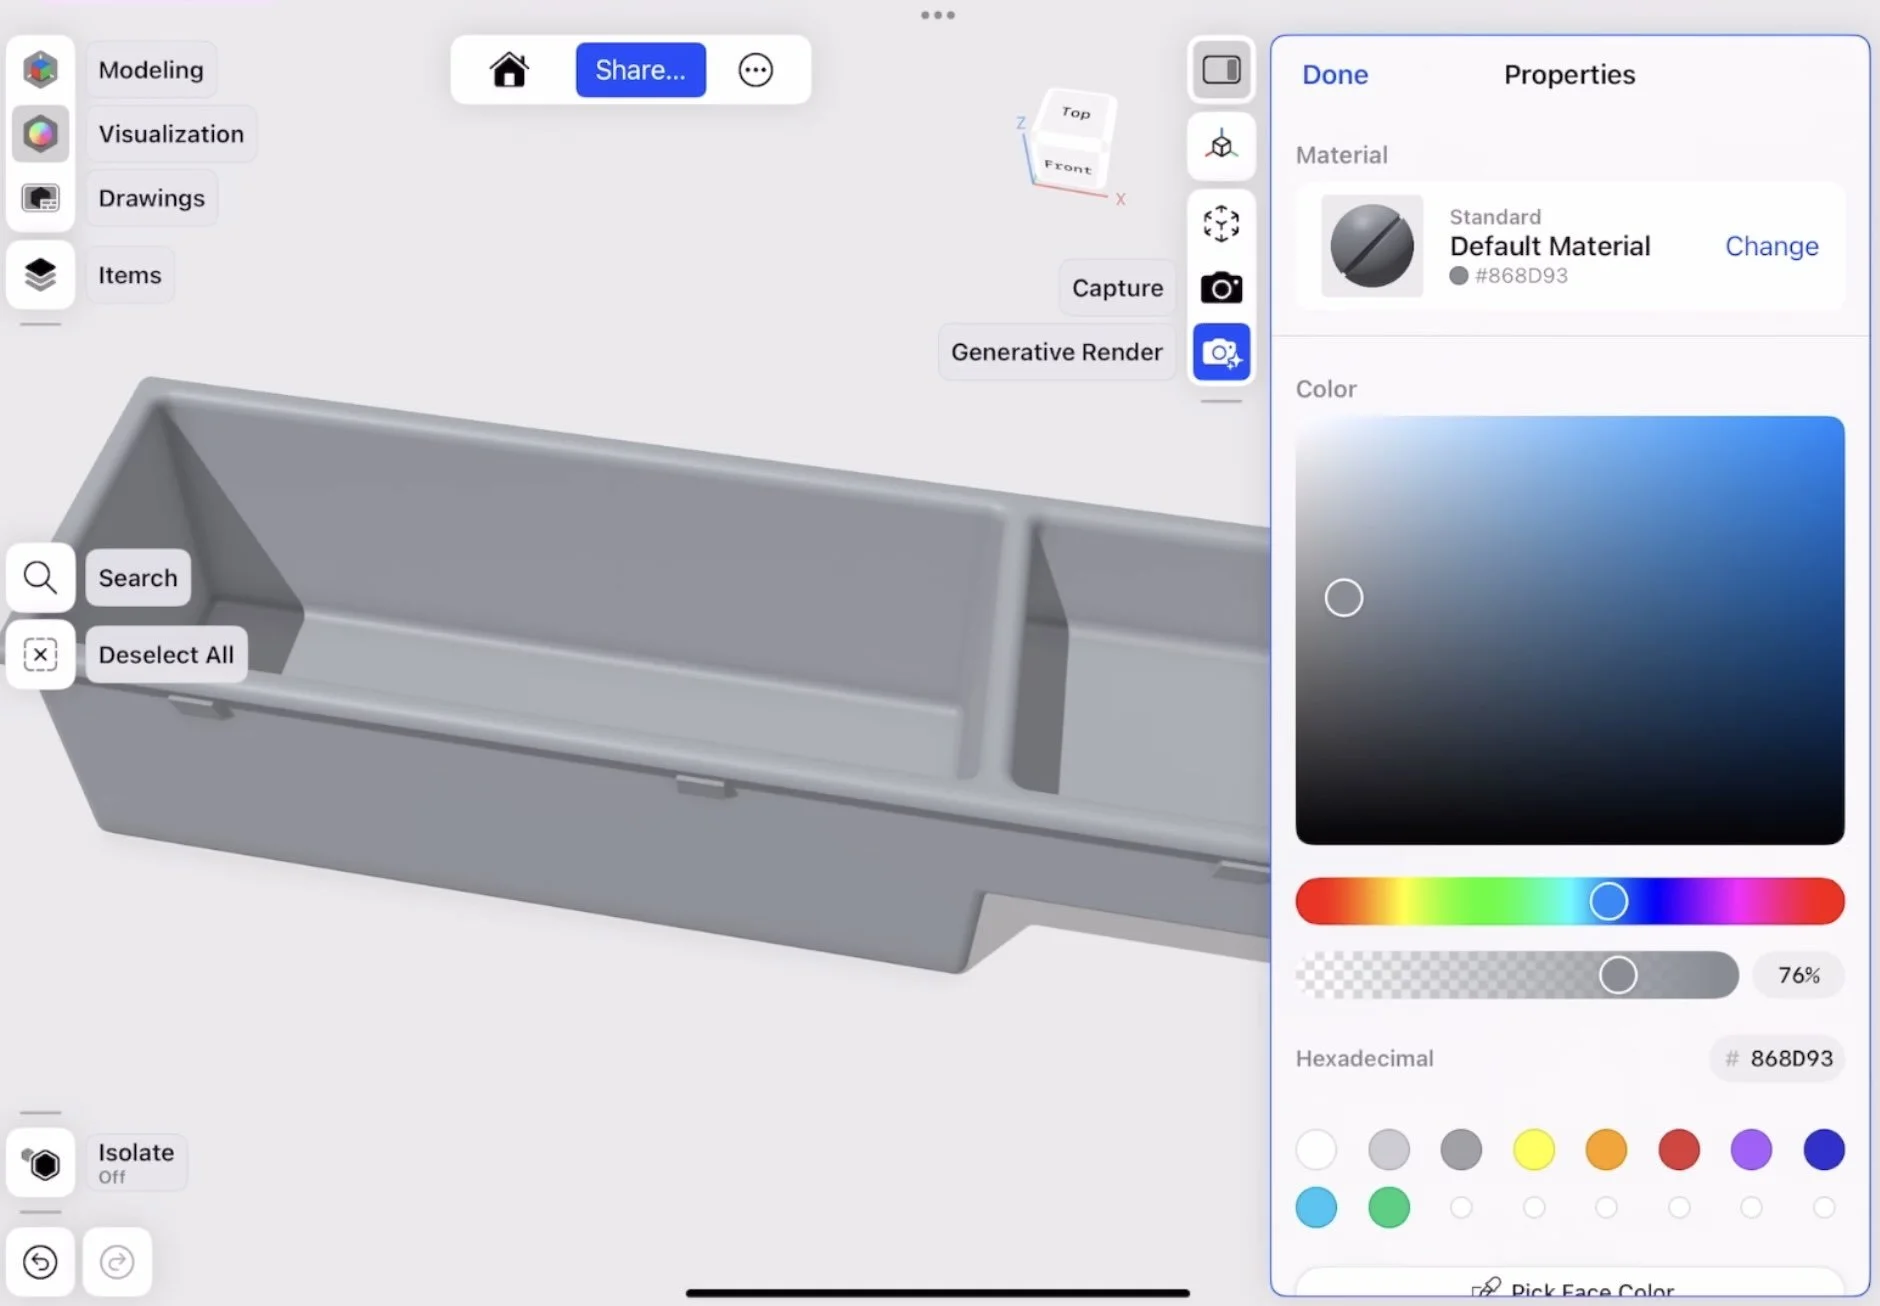
3D Printer Material:ASA Filament (heat + UV resistant)
Filtration:Fume extraction or HEPA/activated carbon air purifier
CAD Software:Shapr3D (works great on iPad + Apple Pencil, and you can reopen the same project across devices)
OPTION A: PRINT PRE-MADE DESIGN
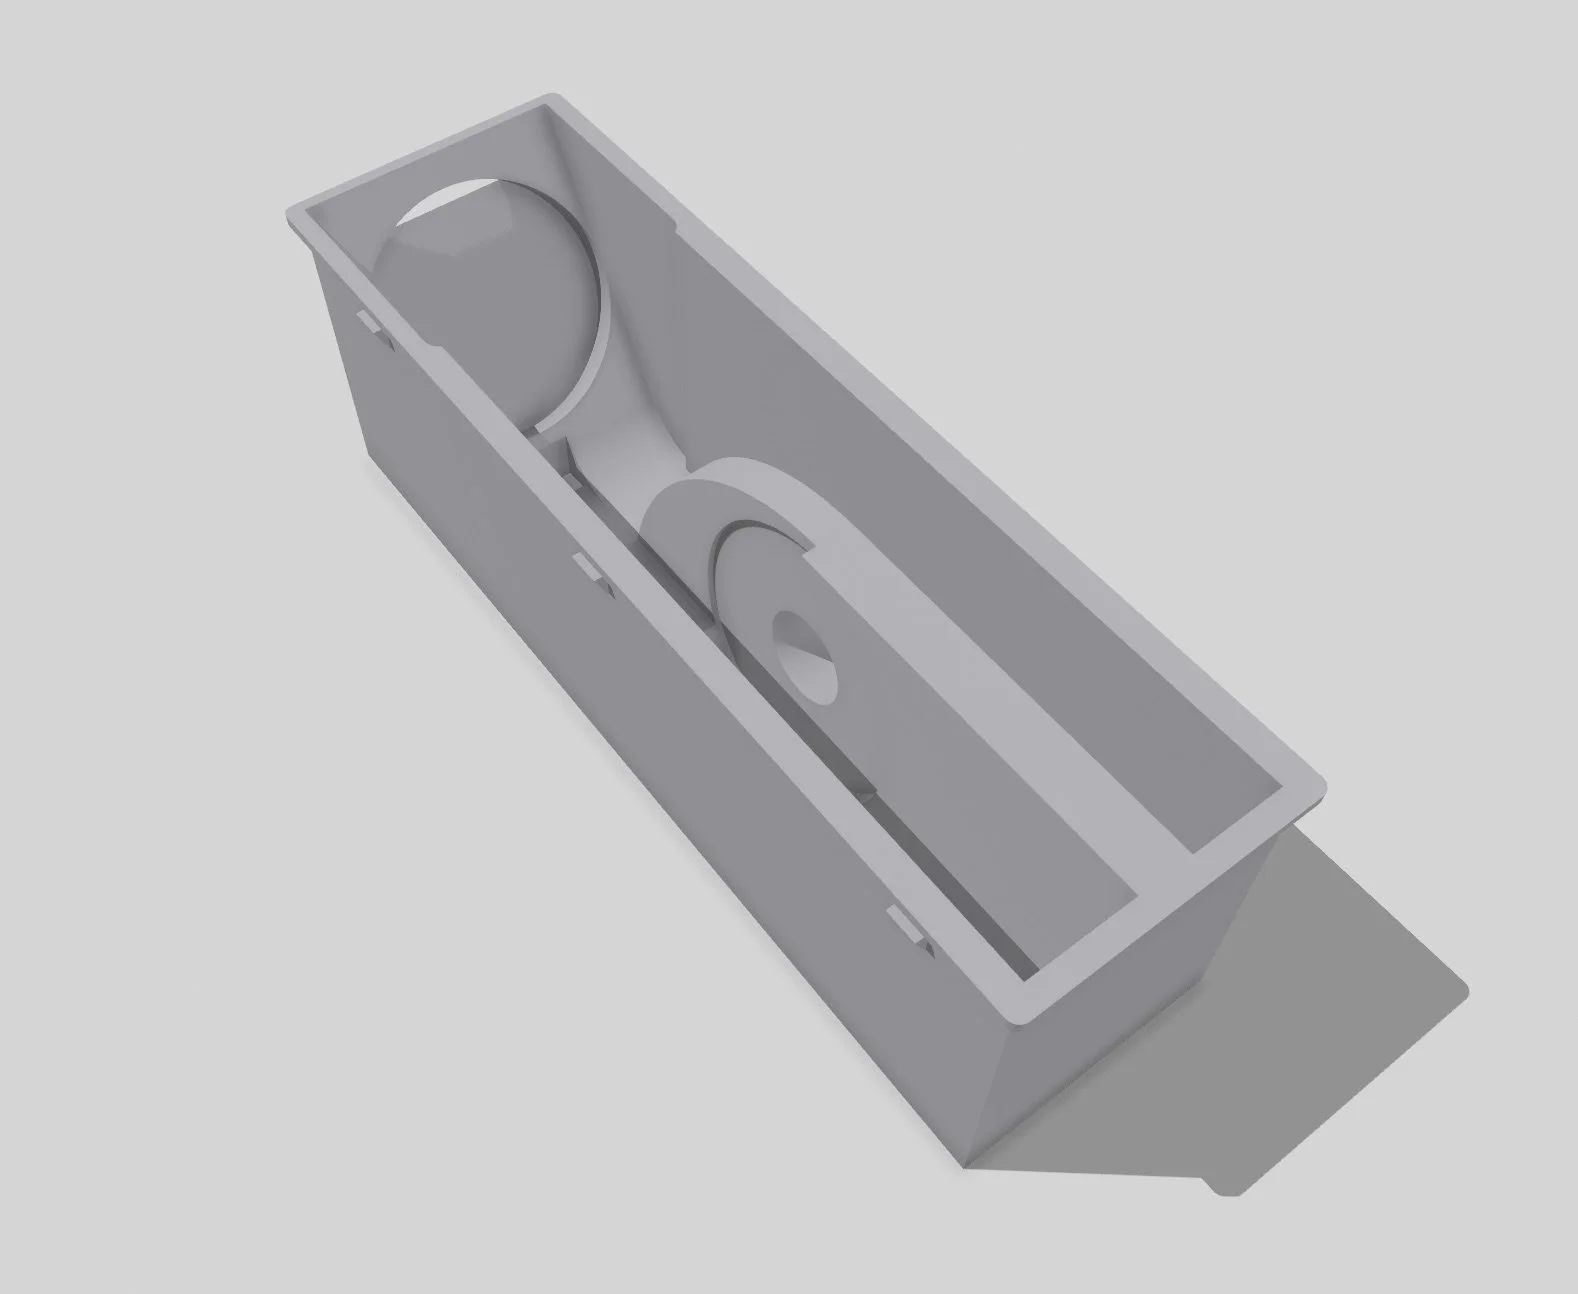
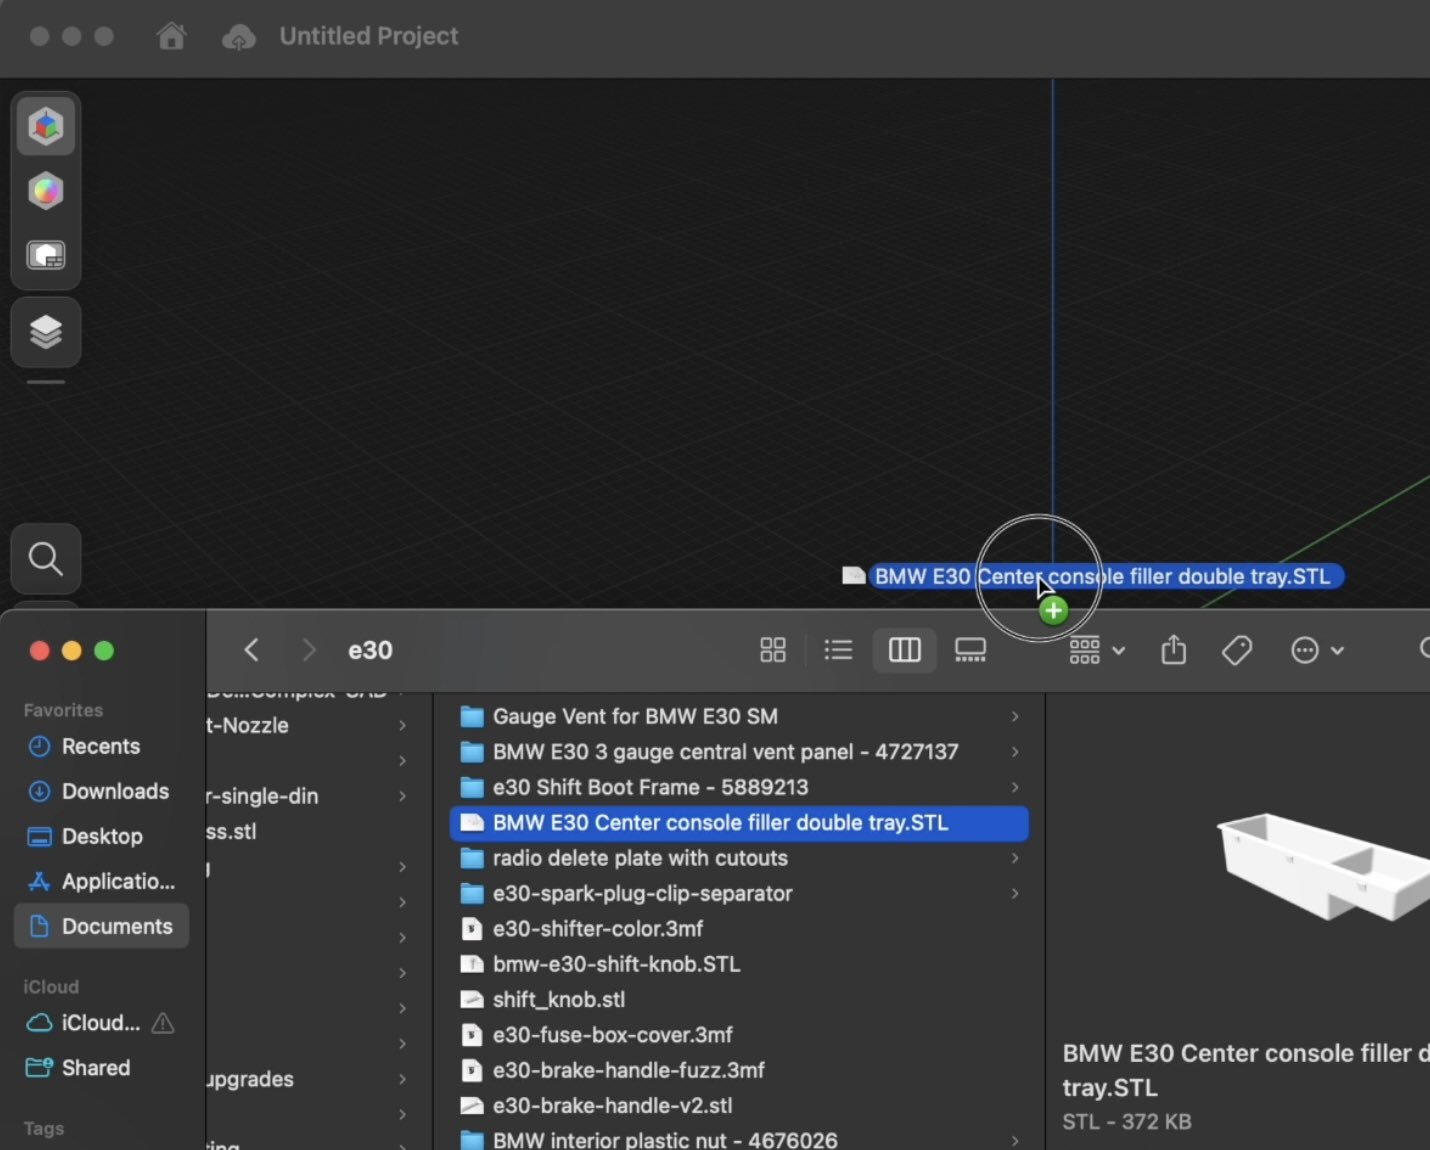
If you have a BMW e30, the existing STL will fit your console opening.
Sign up to our newsletter for 3d scanning car part tips and tricks. We’ll also send you the FREE printable center console design.
Slice the STL as-is in your 3d printer software
Print in ASA (final-use material for heat + UV resistance)
Install in the console
Add wireless chargers
Insert into console
That’s it. If it fits clean and feels solid, you’re done.
OPTION B: MAKE A CUSTOM VERSION FOR YOUR RIDE
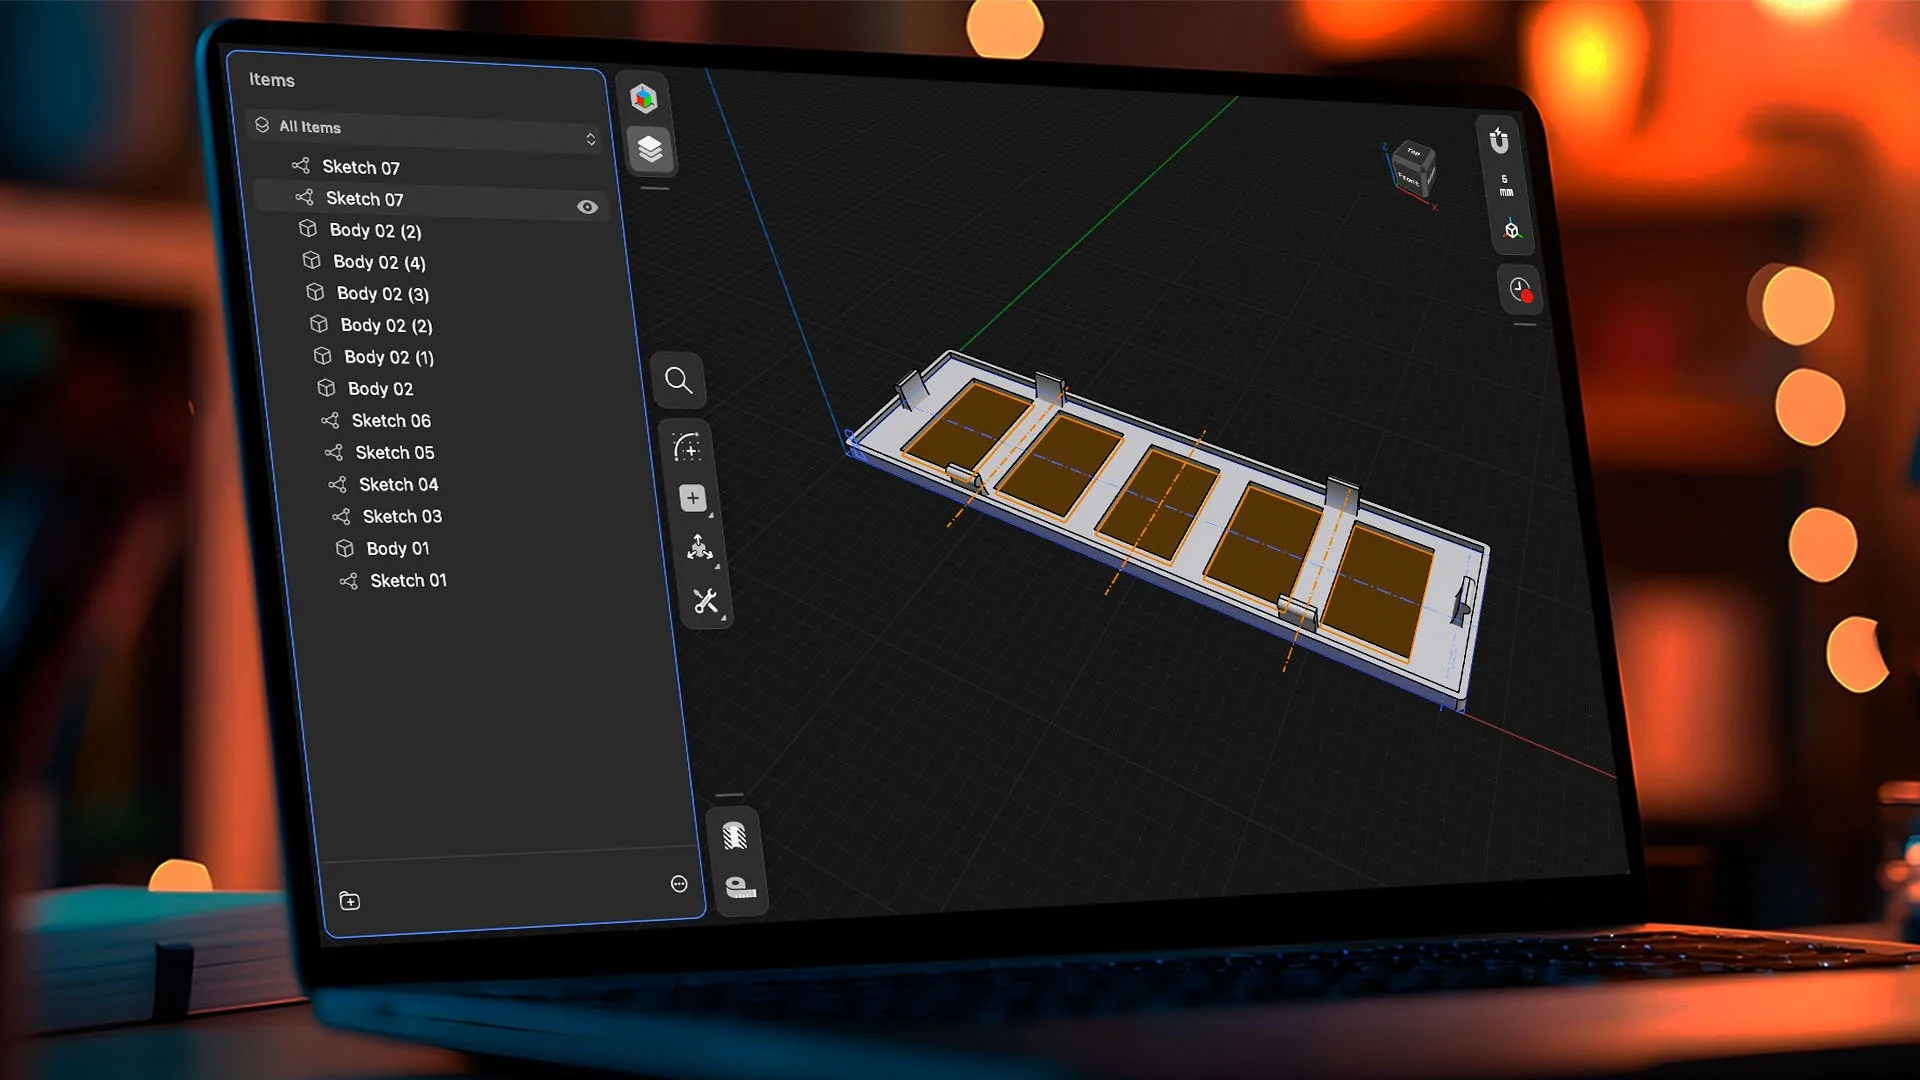
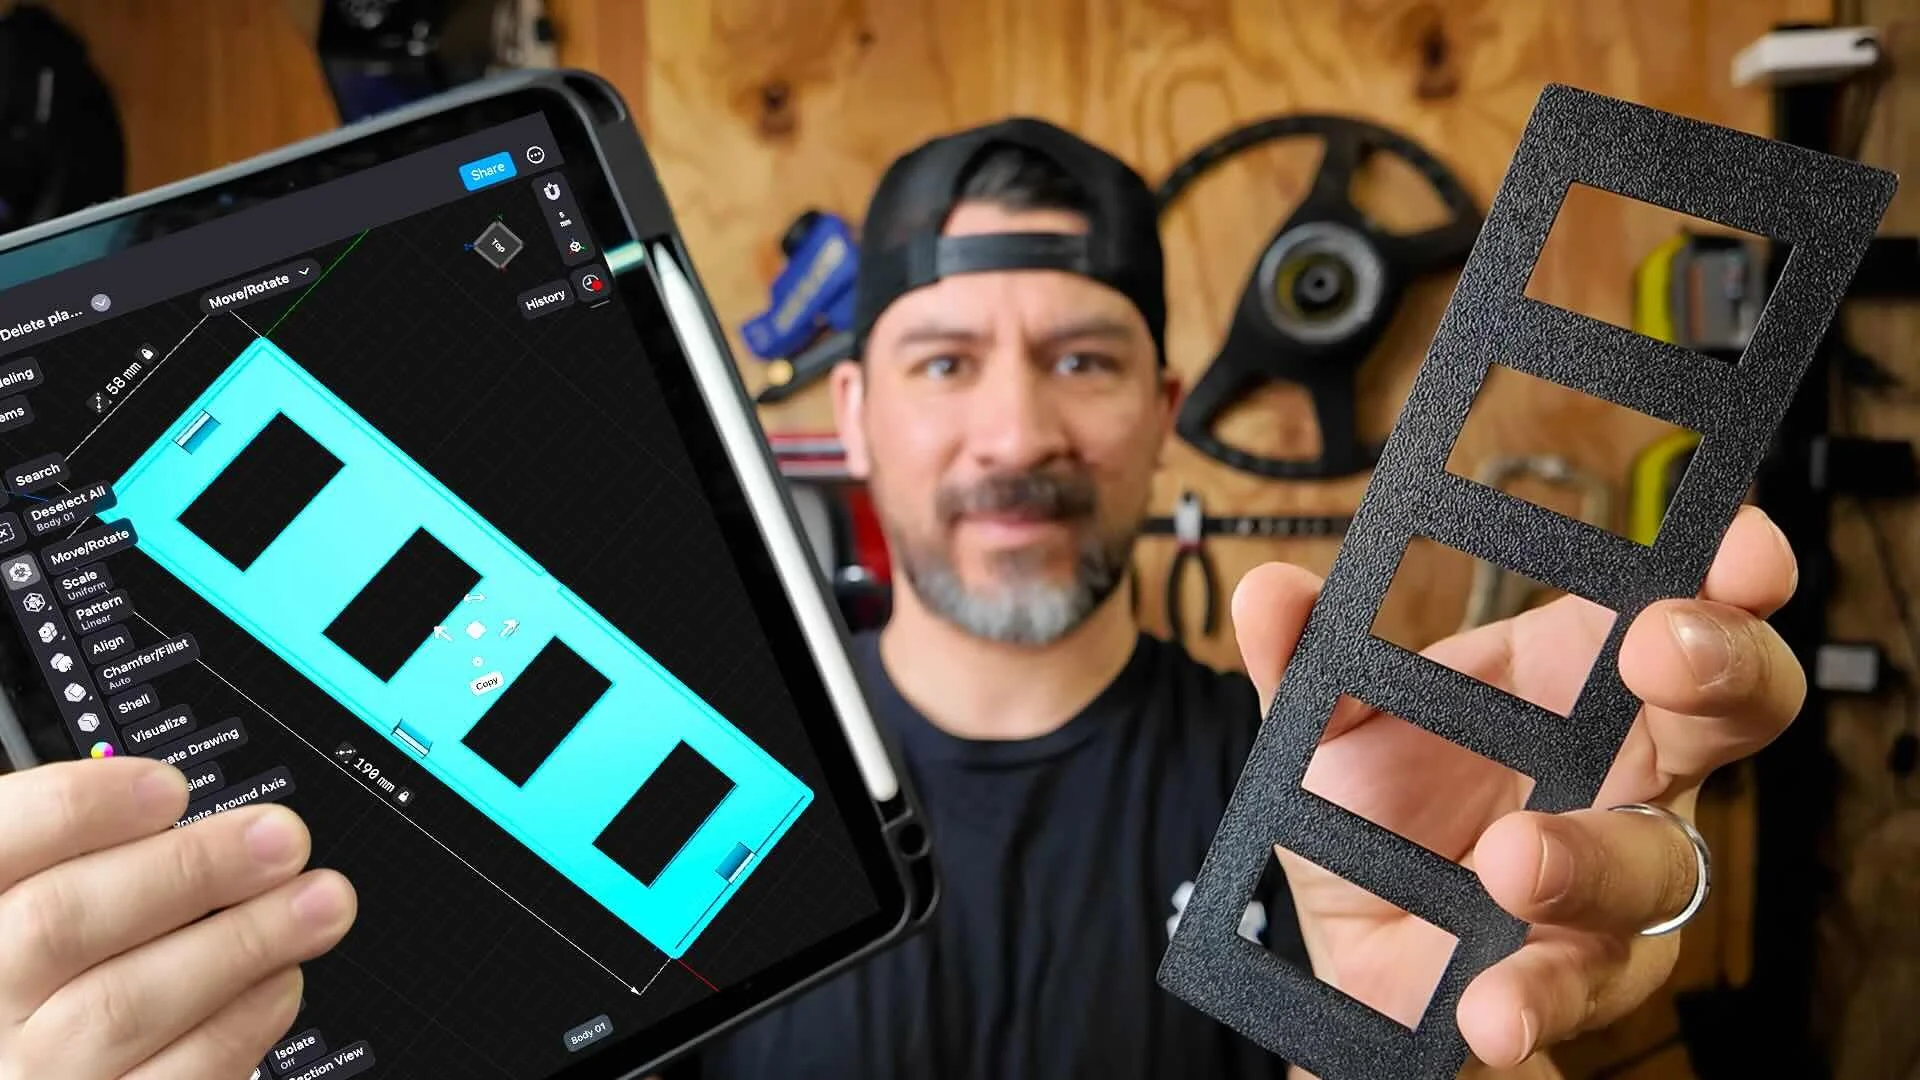
If you need to modify an existing 3d printed car part design, don’t fight trying to adjust the STL in your 3d printing slicer software —trace and rebuild it clean with Shapr3D.
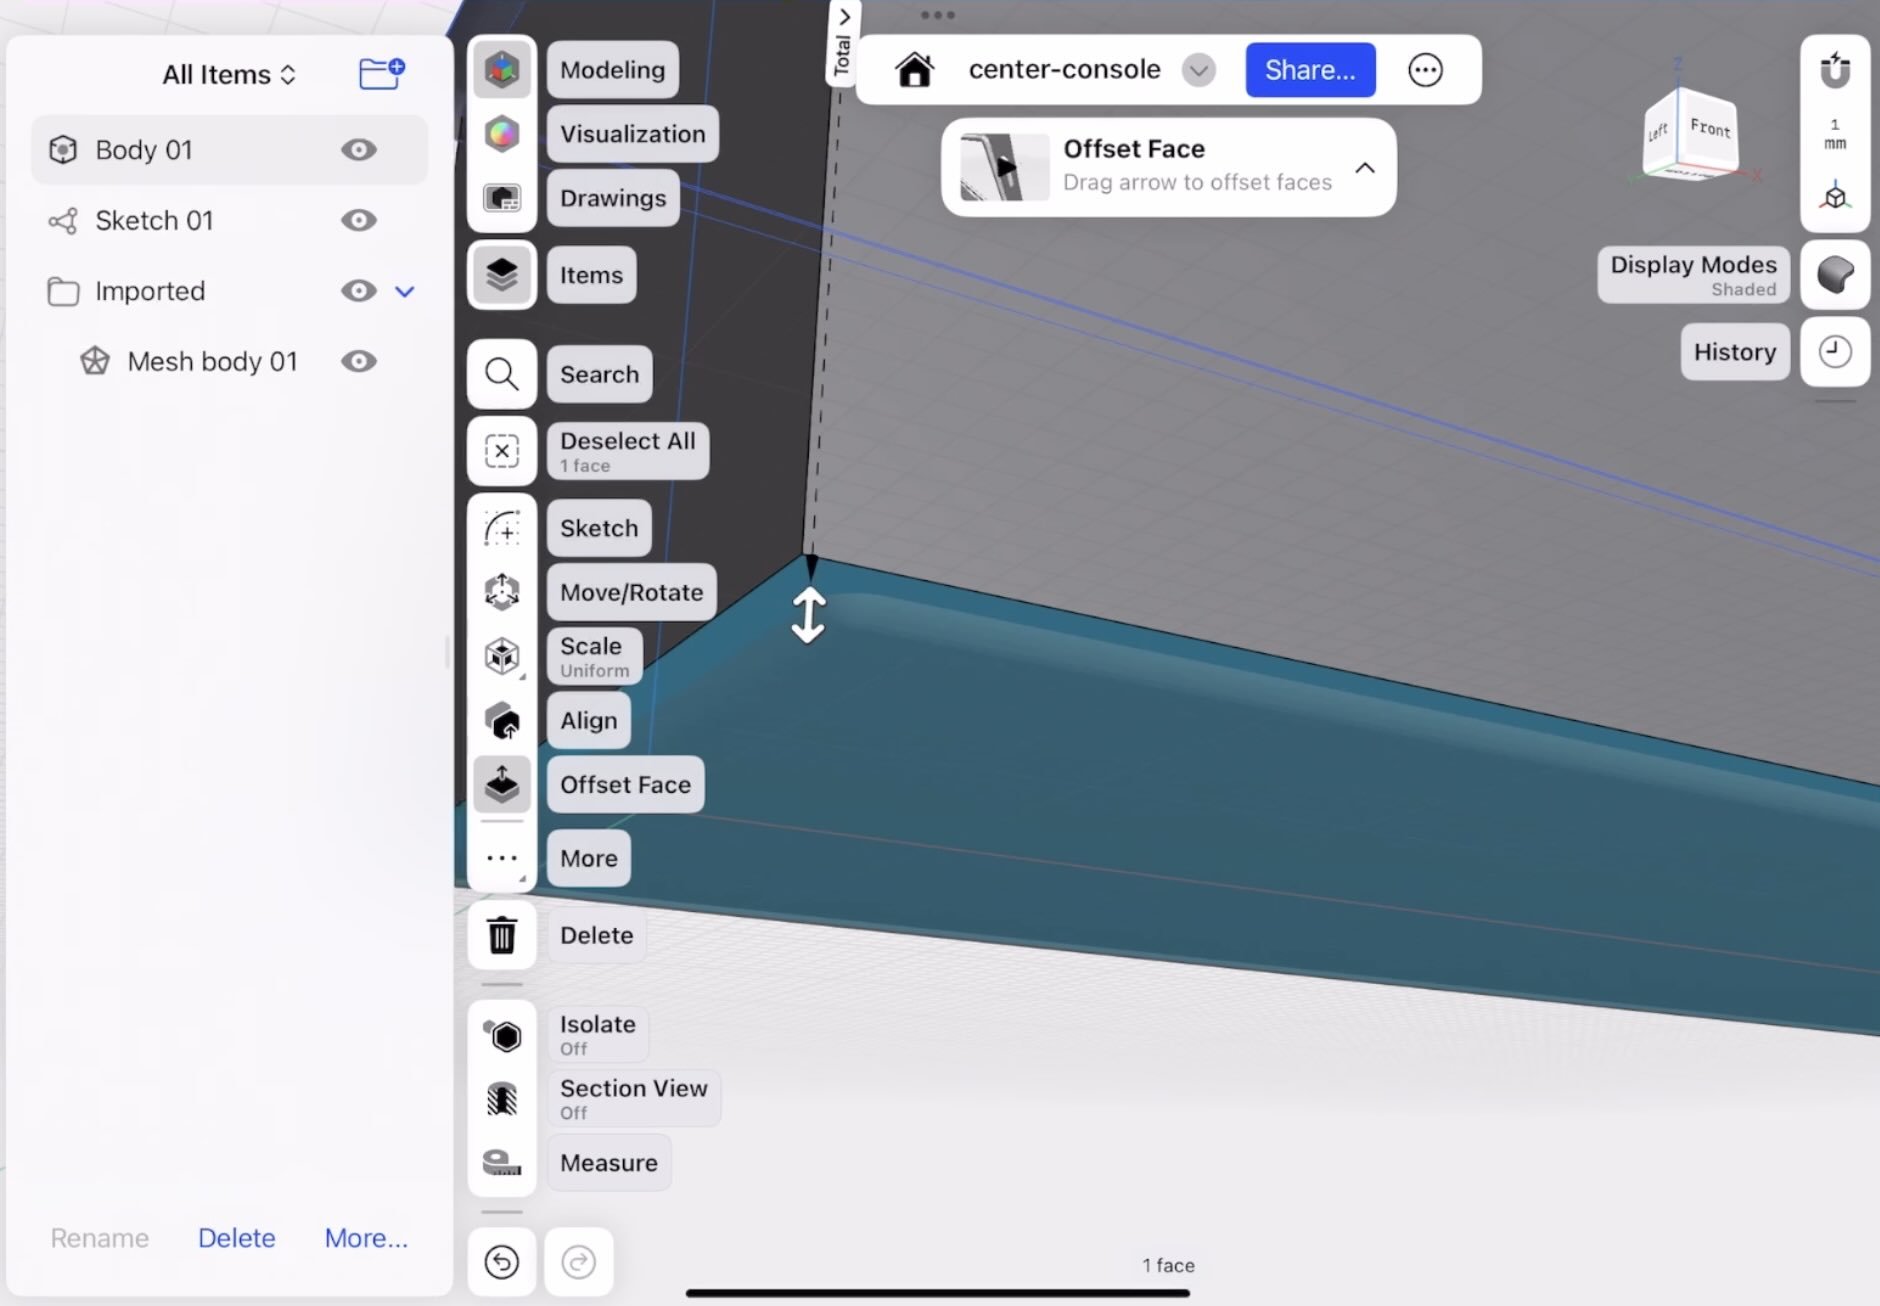
Step 1: Import the STL into Shapr3D
Step 2: Lower opacity of the imported STL so it becomes a “ghost template”
Step 3: Trace simple sketches on top of it
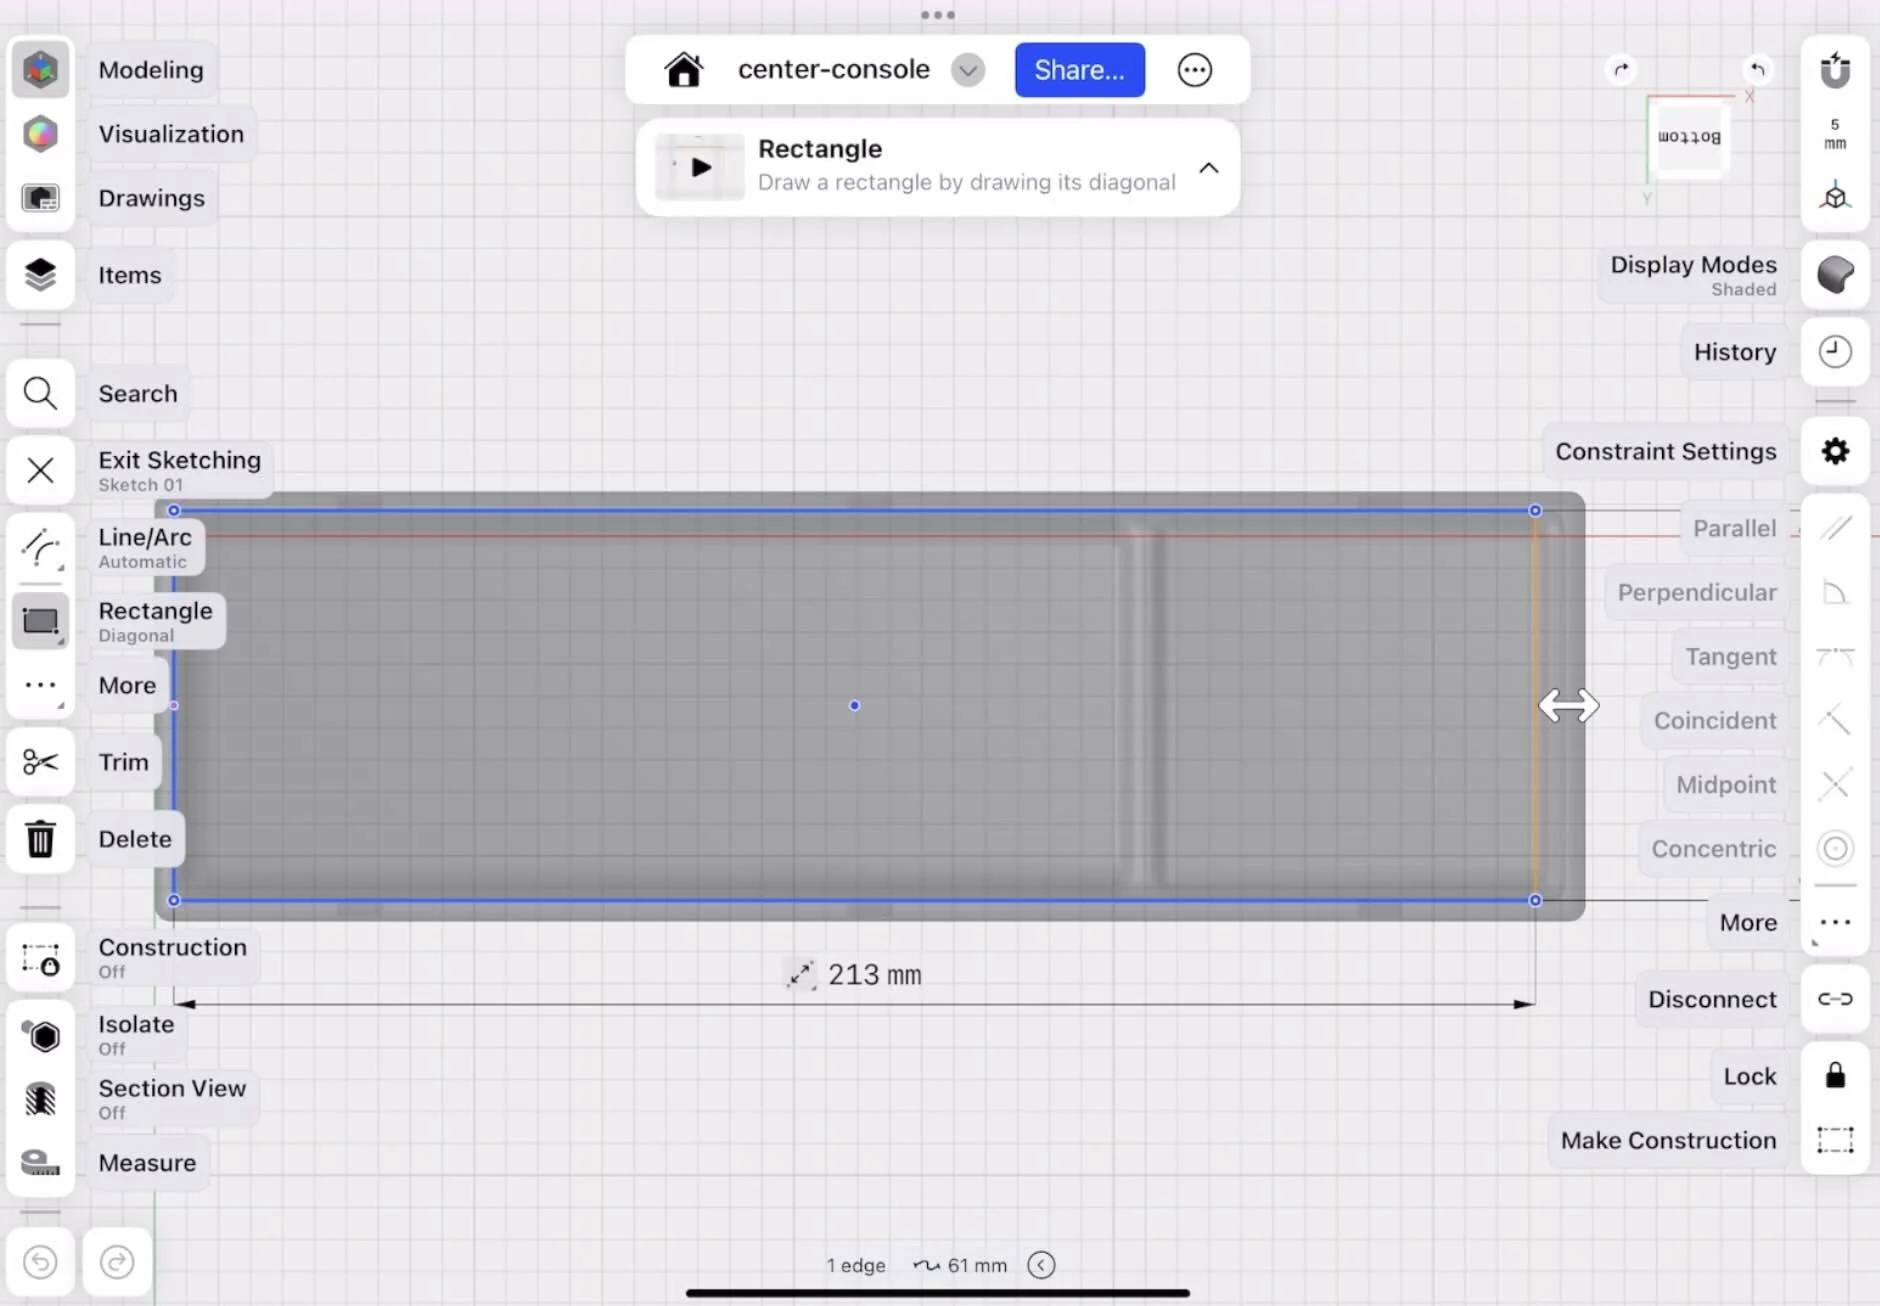
Top outline (the main shape)
Lip outline (the ledge that sits on the console opening), if the part has one
Extra parts (the clips on the side of the center console)
Step 4: Extrude your sketches into bodies to match the imported STL
Step 5: Union/Combine extruded bodies into one solid body
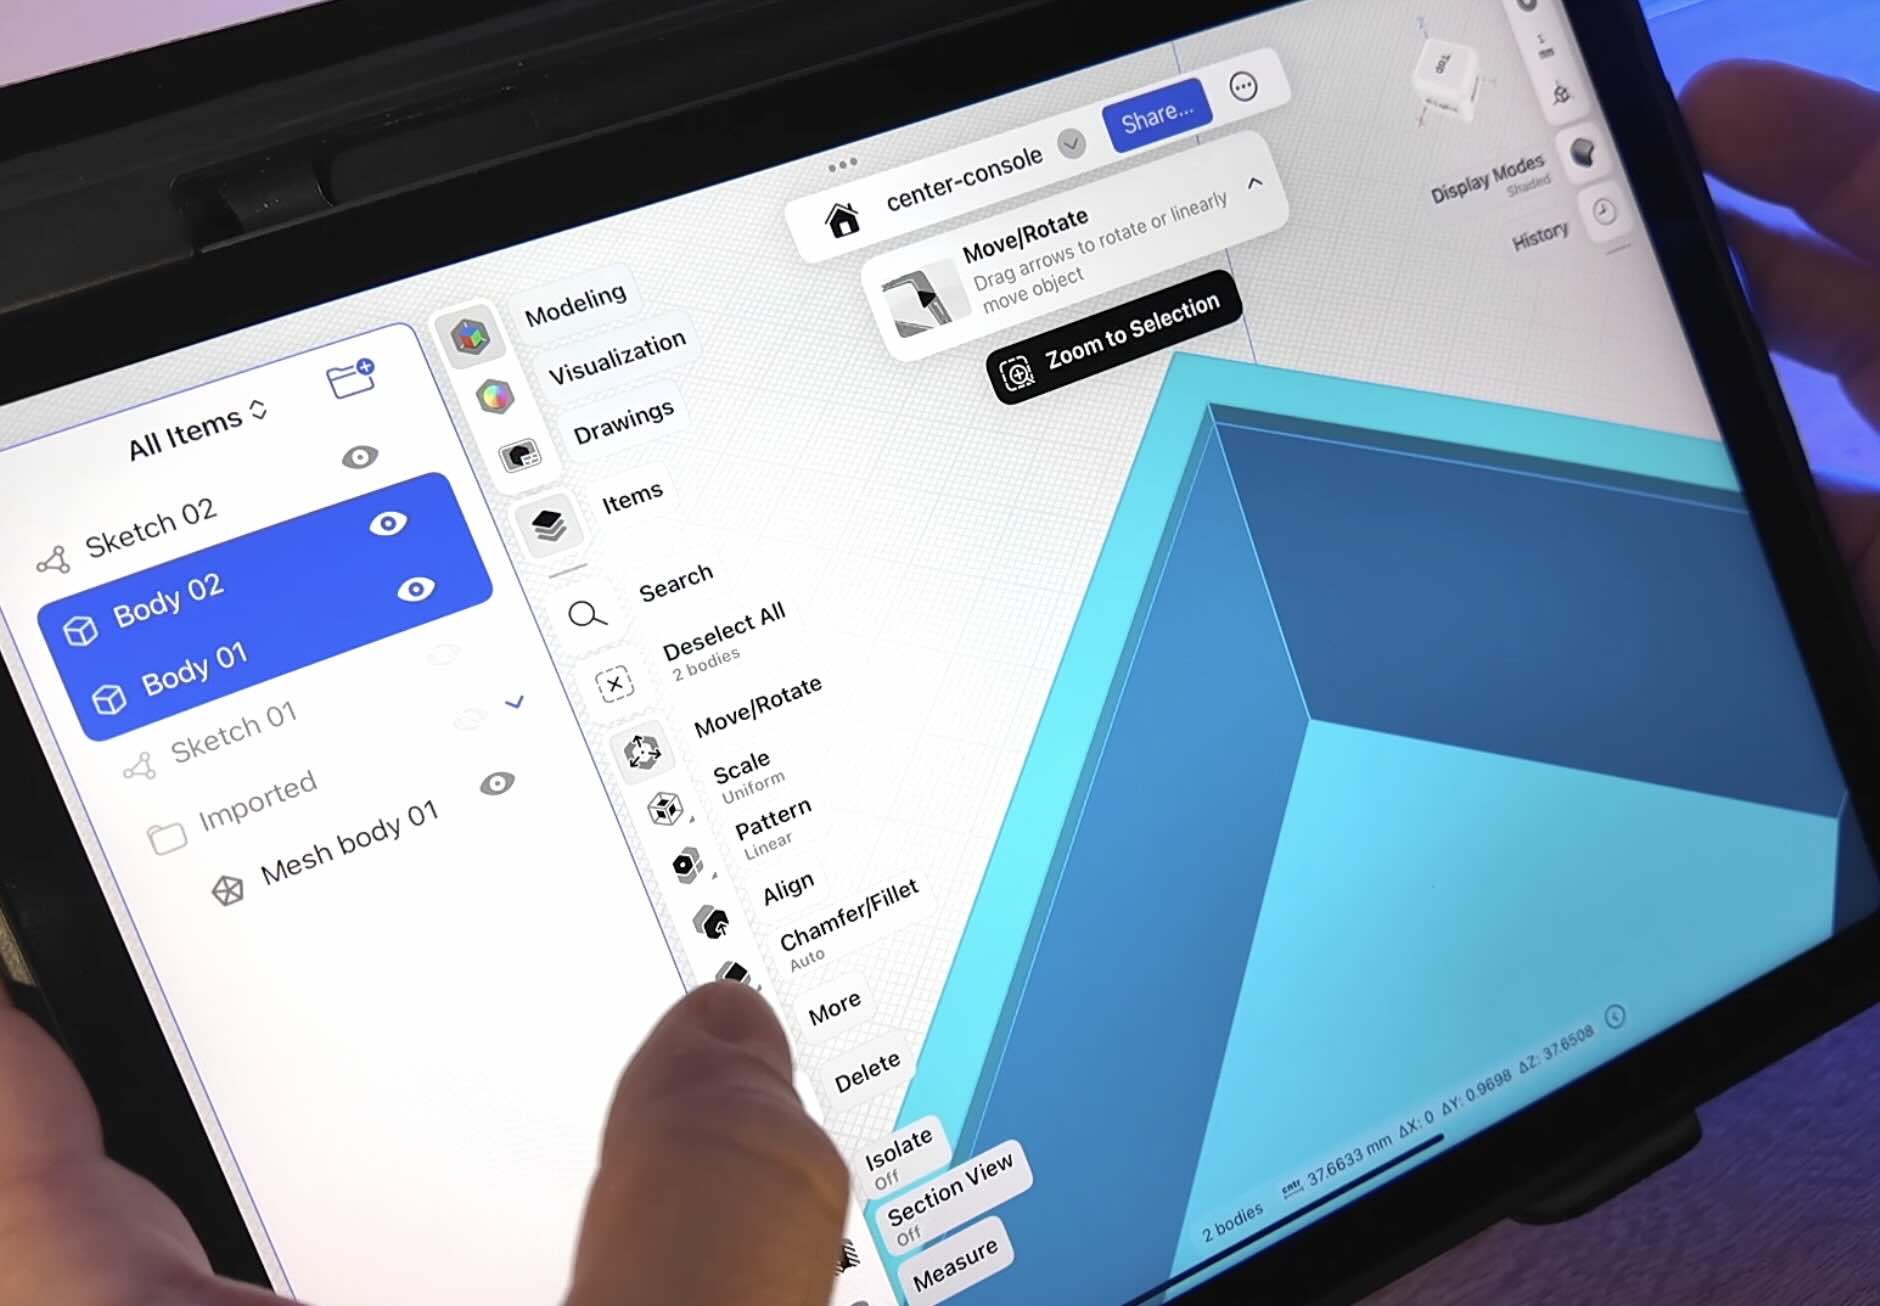
Step 6: Hide the imported STL and export the new design as an STL and print.
Now you’ve got a clean, editable CAD model you can modify easy—without dealing with the 3d printer slicer software limitations.
But if you need more help learning the basics of designing 3d printed car parts, we put together a workshop just for automotive enthusiasts you can access below.
Design 3d Printed Car Parts That Match Your Exact Build.
One afternoon. No complex software. Parts that fit your build perfect.
This workshop finally made designing 3d printed car parts feel doable. I had a replacement part ready for my project car in a few hours.
Instant Access, Risk Free Money Back Guarantee
LEARN MORE