HOW I REDESIGNED A PERFECT 3D PRINTED DASHBOARD - FULL GUIDE
My first attempt at 3d printing a dashboard was a total disaster—weak material, a warped print, and a screen mount that looked terrible.
FREE 3D PRINTING CAR PARTS | CAR PART FILAMENT SELECTOR | 3D PRINTER FOR AUTOMOTIVE | SCANNING & 3D PRINTING CAR PARTS
Instead of giving up on trying to find an overpriced replacement dashboard, I rebuilt the entire console from the ground up and fixed every issue.
Follow the steps to build your own 3d printable digital dashboard.
Step 1 — Download a Printable STL
You can scan your OEM cluster dashboard with a 3D scanner, but not everyone owns a scanner.
So instead, I sourced a pre-made printable cluster design online.
After a little Googling, I found a solid design for $30, and honestly it wasn’t a bad starting point.
Sign up to our newsletter for 3d scanning car part tips and tricks. We’ll also send you the FREE printable digital dash design.
Step 2 — Choosing the Right 3D Printer
My first mistake?
…I BOUGHT THE CHEAPEST AND BIGGEST PRINTER I COULD FIND…
It printed with PLA filament material just fine… but PLA will start to sag in the cabin of your car at around 120–140°F.
Even PETG filament can sag after long UV exposure. So I switched to ASA filament, which can withstand:
200°F+ temperatures
Direct sunlight
UV light

Perfect for automotive interiors and it even comes in different colors too.
But ASA needs a warm, enclosed environment to print correctly—otherwise it will warp like crazy.
That’s why I upgraded to the Bambu Lab H2S, which includes:
Heated chamber
High airflow control
Massive 13" x 13" x 13" build volume
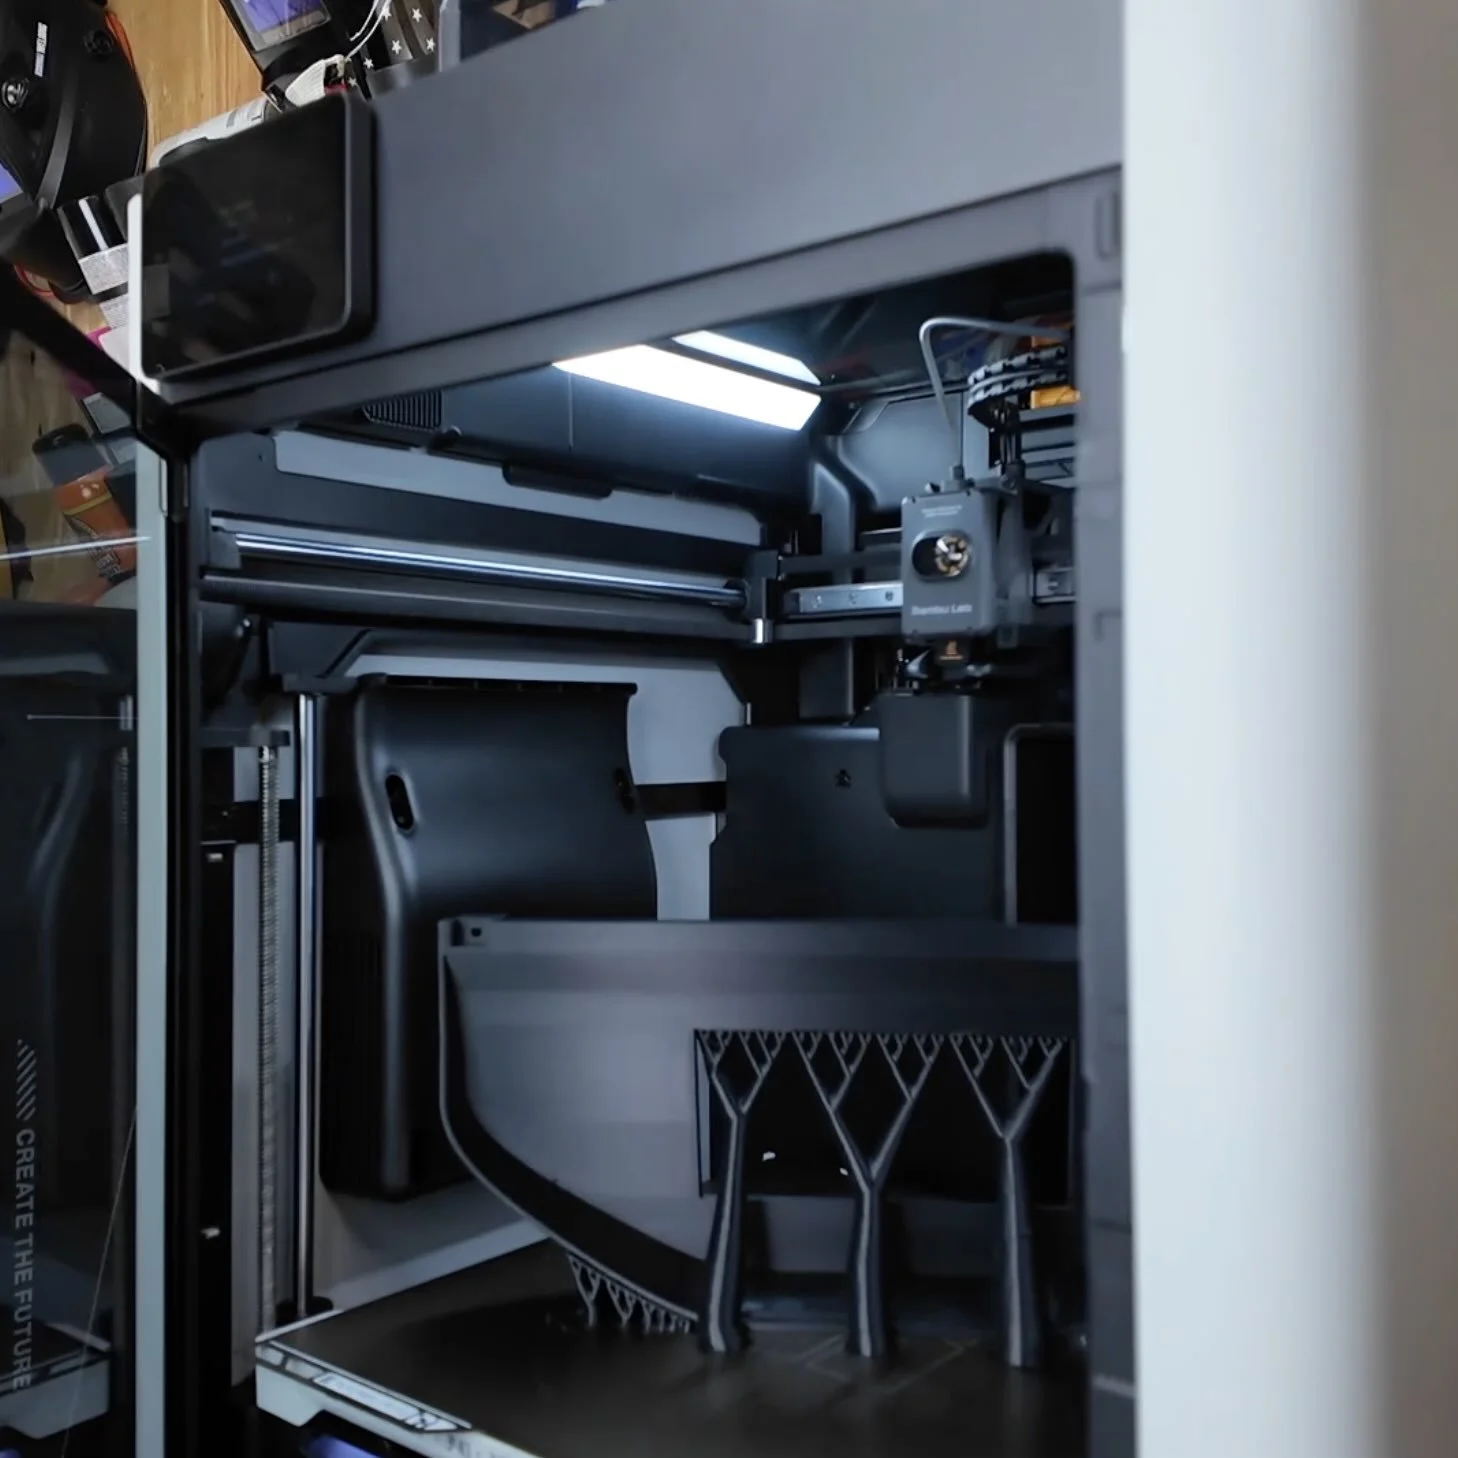
Immediately, my ASA print issues disappeared.
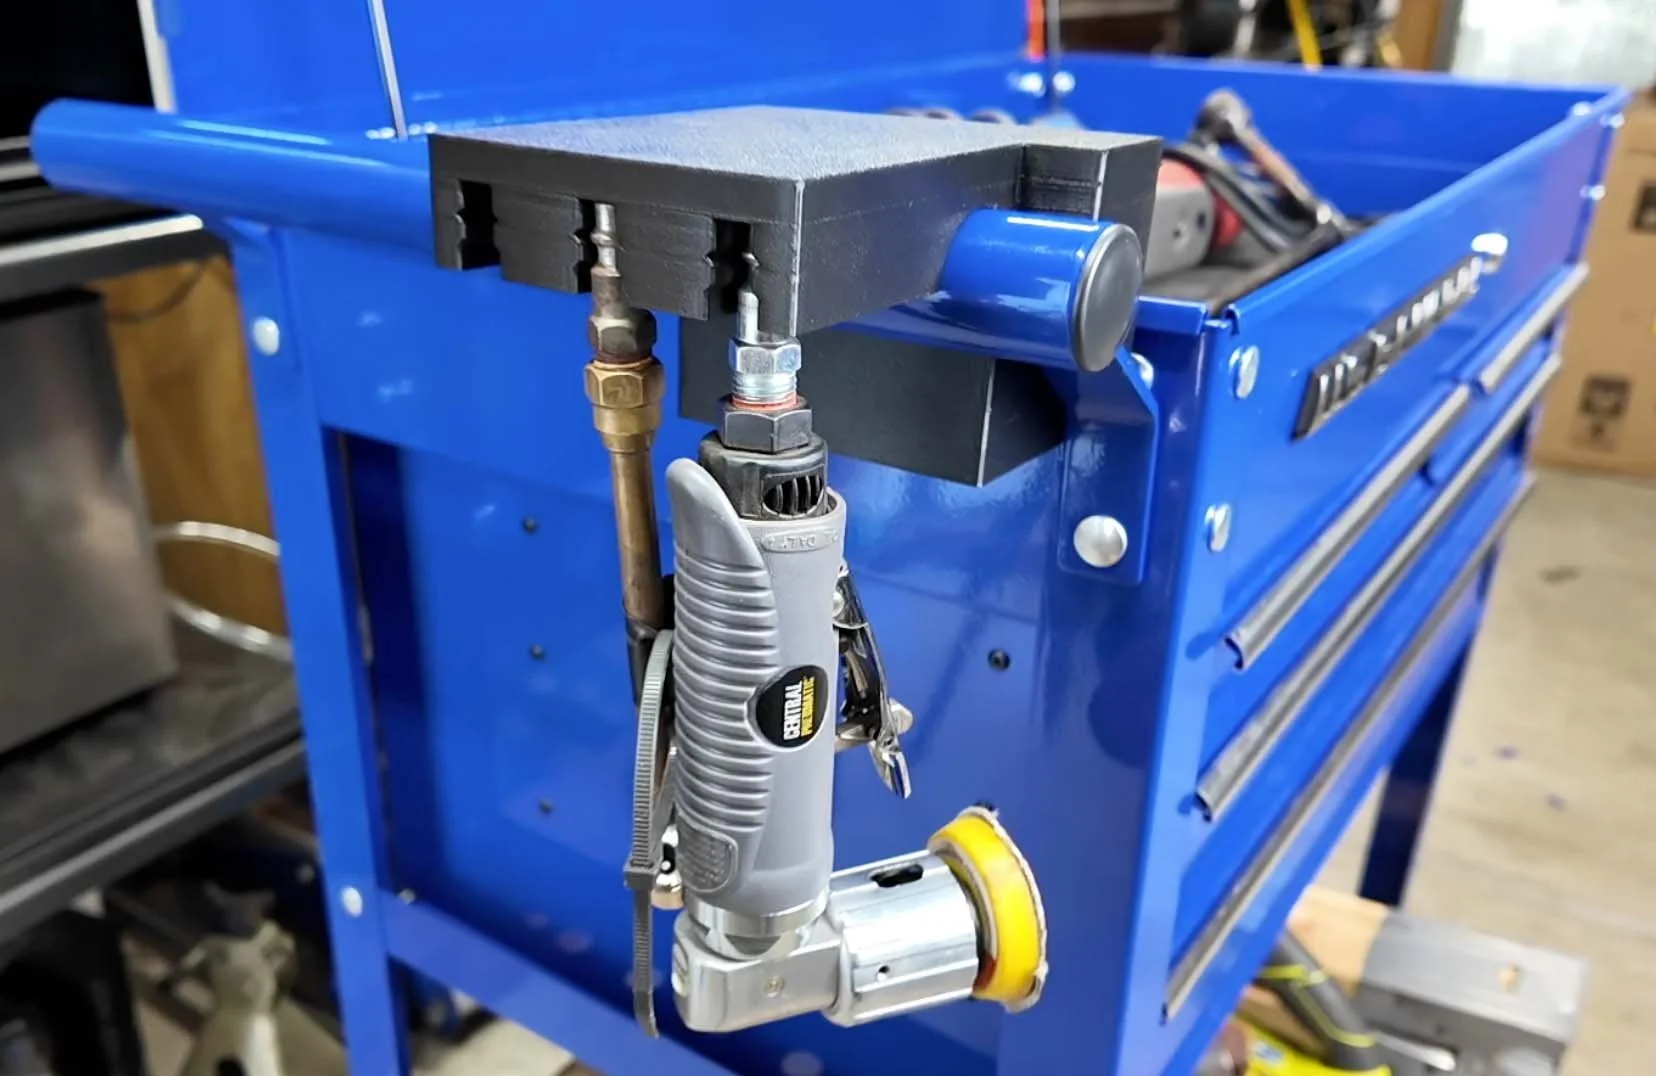
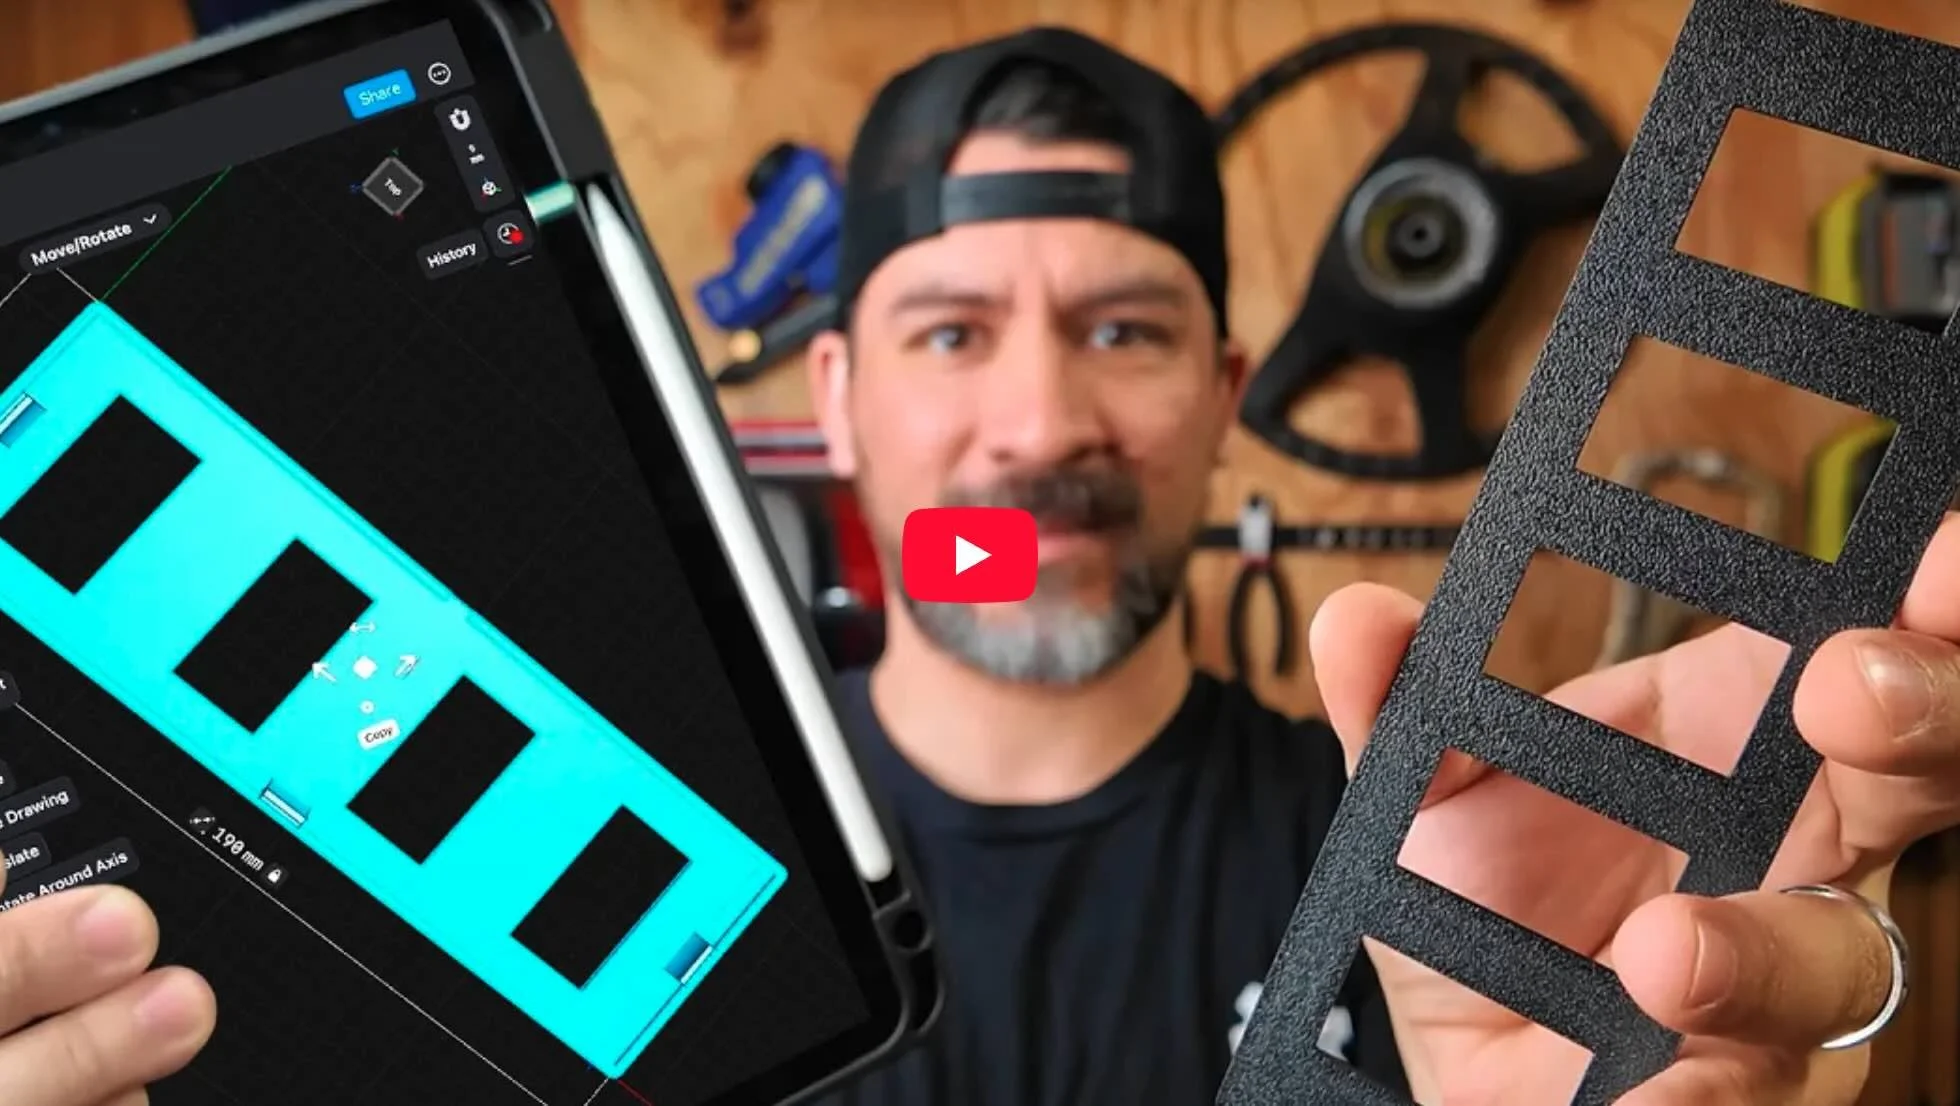
Step 3 — Designing a Proper Screen Opening in Shapr3D
After we had the right 3d print and filament there was another problem…
…THE STL WE DOWNLOADED DIDN’T HAVE ANY OPENINGS…
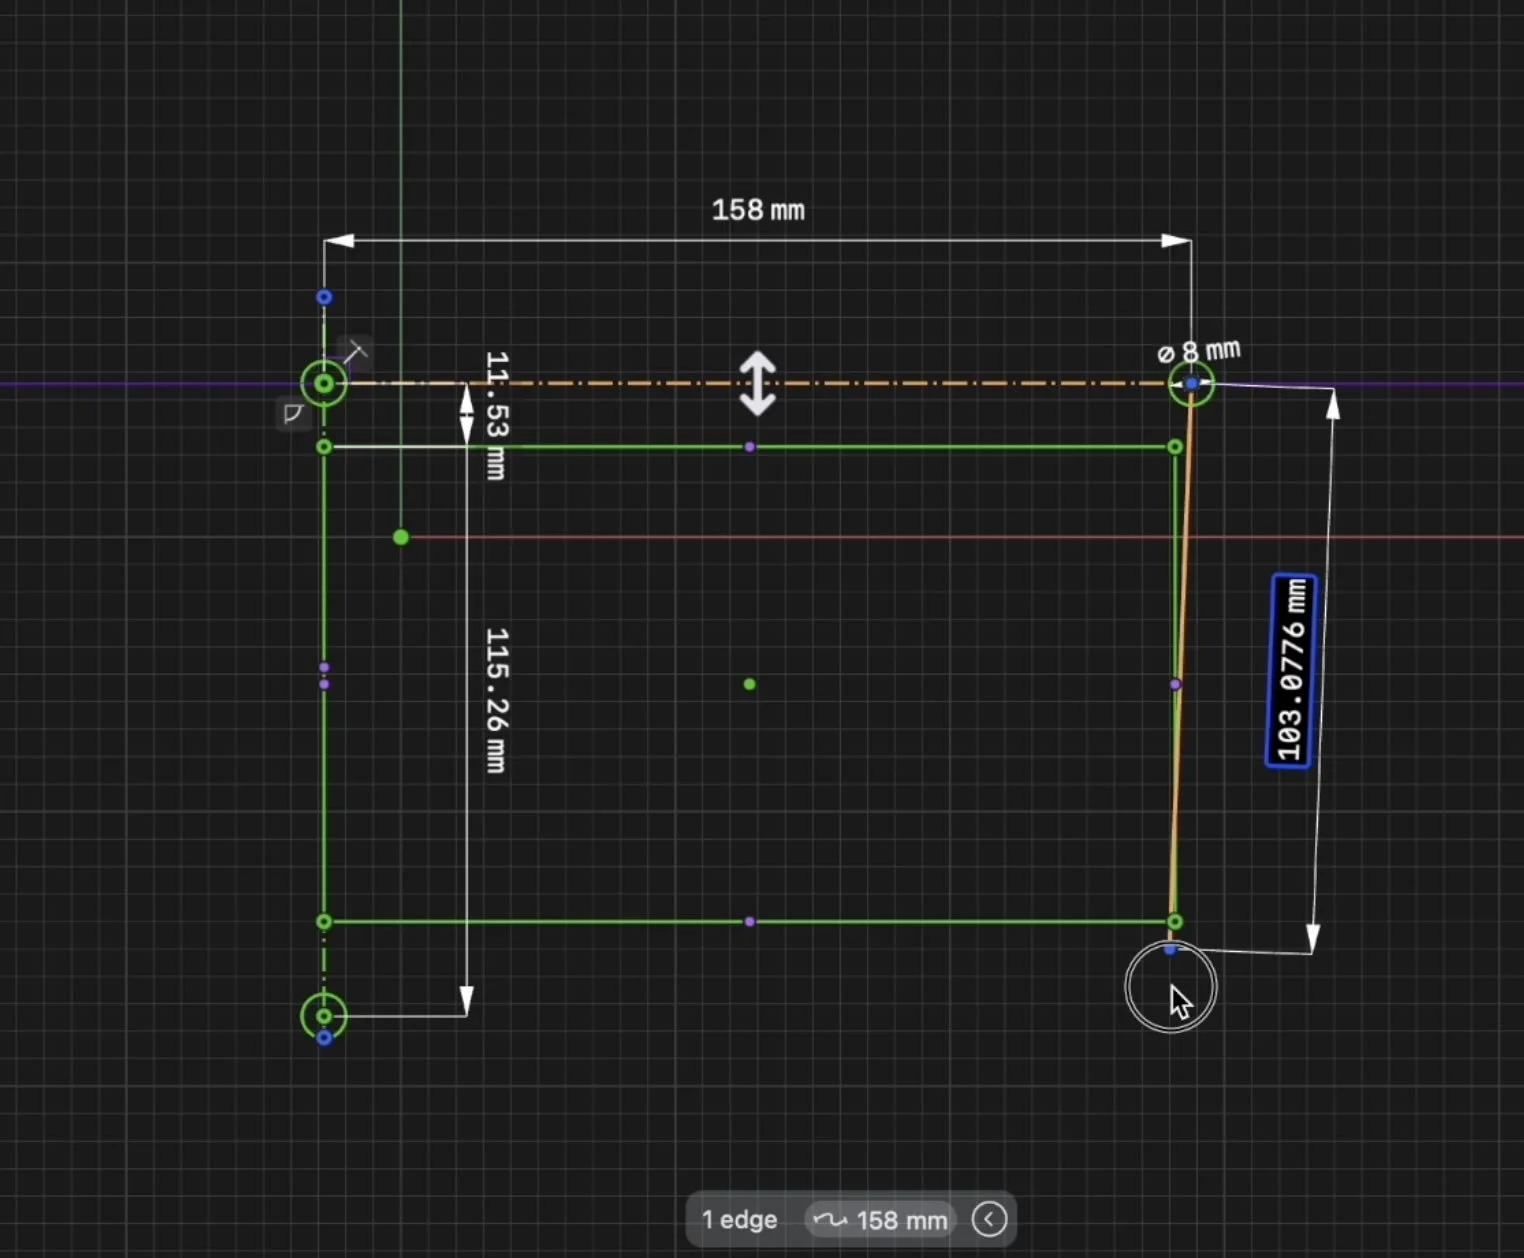
Since the original STL had no screen cutout, I needed to design an opening from scratch.
Here’s the quick workflow:
Measure the screen
Download Shapr3D
Create a simple test-fit template
Shapr3D makes this stupid simple. And if you ever want to learn the whole process on how to design your own car parts step-by-step… we teach it inside our Design Your First Car Part Workshop.
Step 4 — Dry Your ASA Filament
(Seriously… Do Not Skip This) If your ASA has moisture in it, your print will show:
Filament stringing
3D printer nozzle can clog
Rough or bubbly layers
Weak layer bonding
I used the Bambu Lab AMS 2 PRO, which has a built-in heater to dry filament automatically.
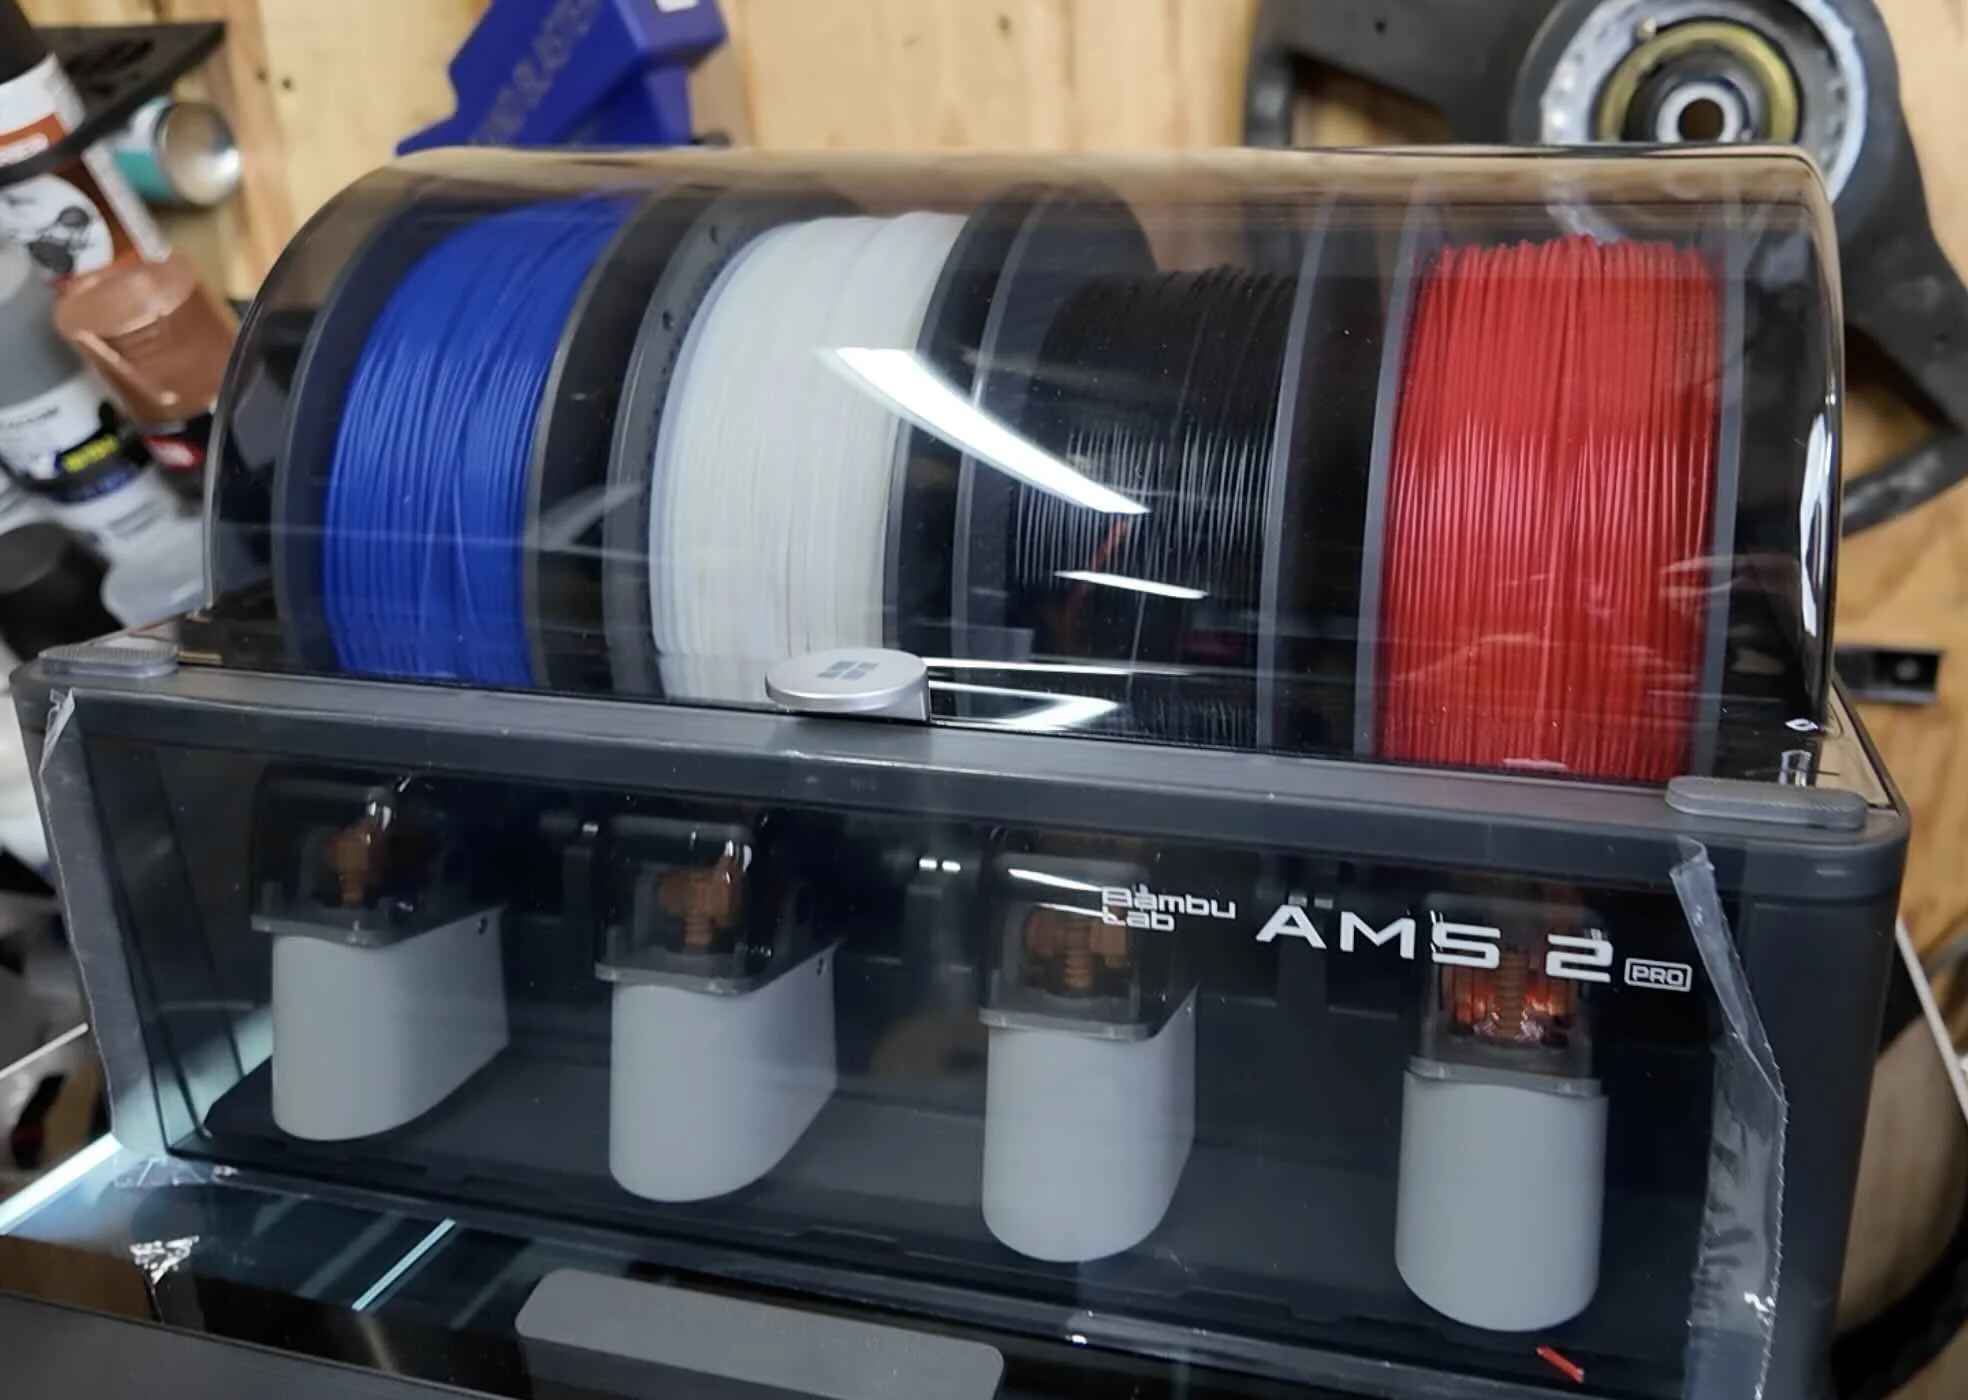
If you’re not on a Bambu setup, use a standalone filament dryer—load the spool, run the dryer, and feed it directly into the printer.
Dry filament = strong, smooth, factory-looking ASA parts.
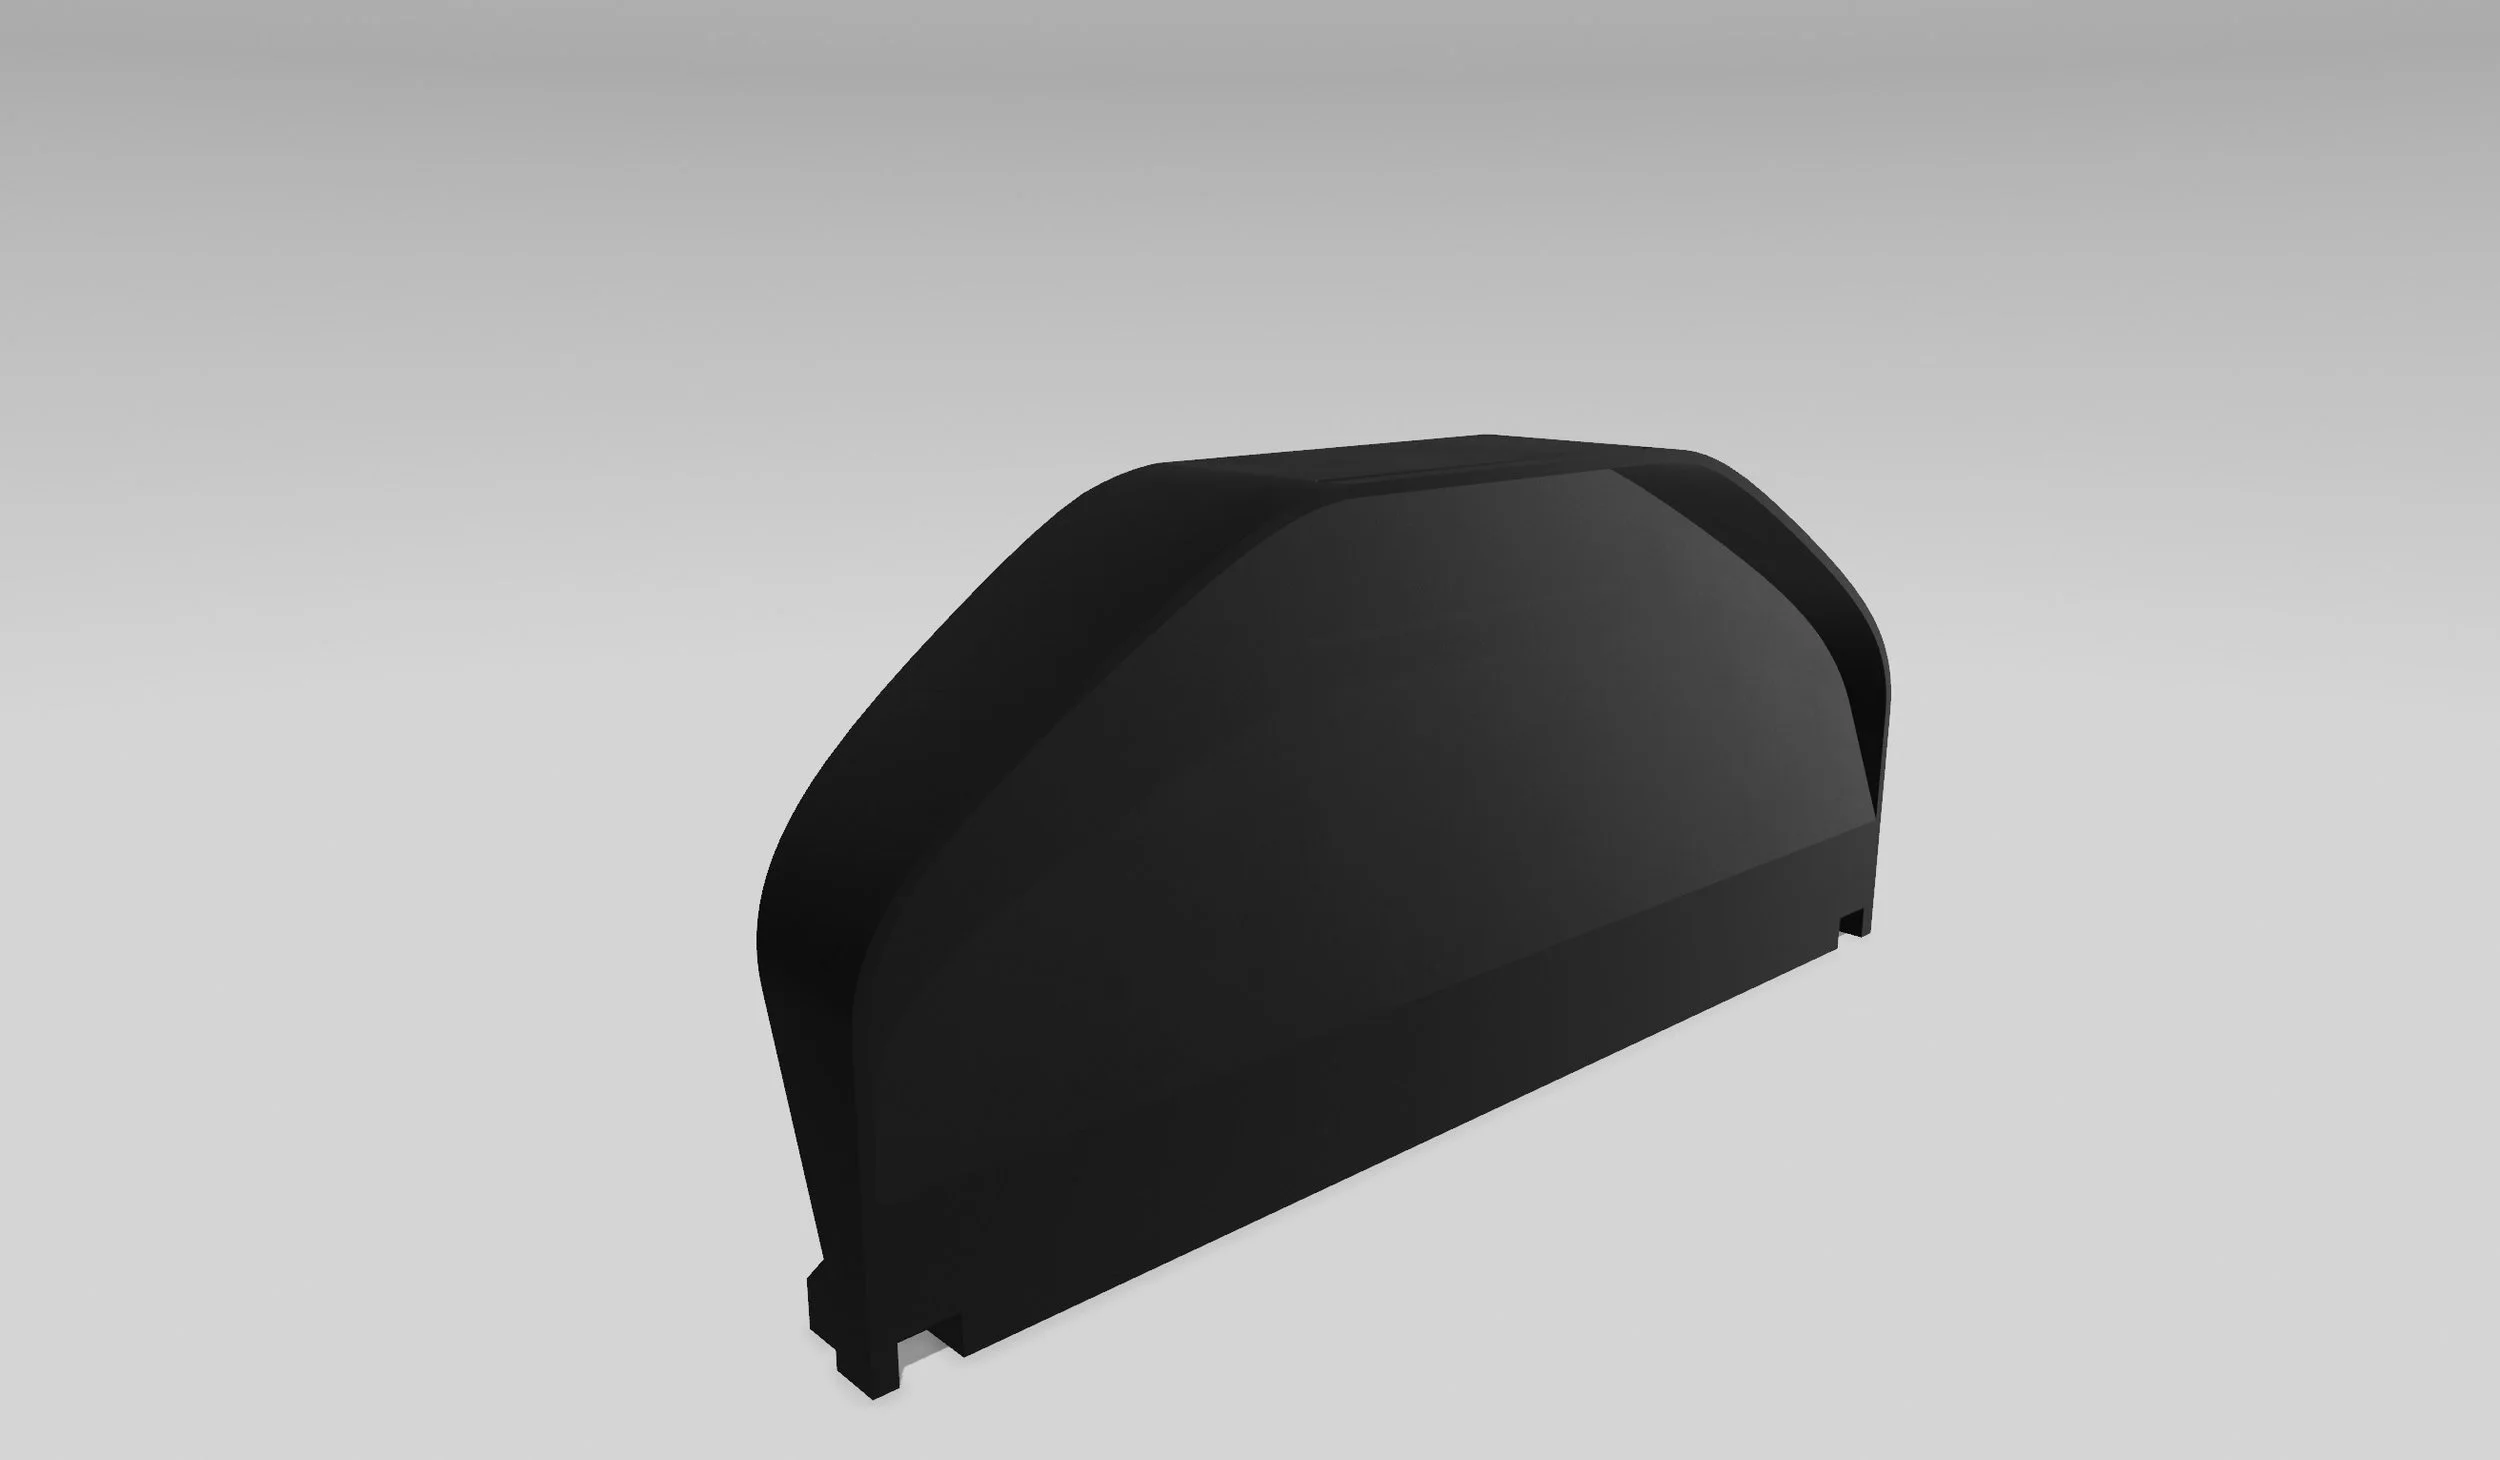
Step 5 — Slicing the Prototype in Bambu Studio
Once the test template was done, I exported it as an STL and dropped it into Bambu Studio.
Before printing ASA, always run:
Auto bed leveling
Flow dynamics calibration
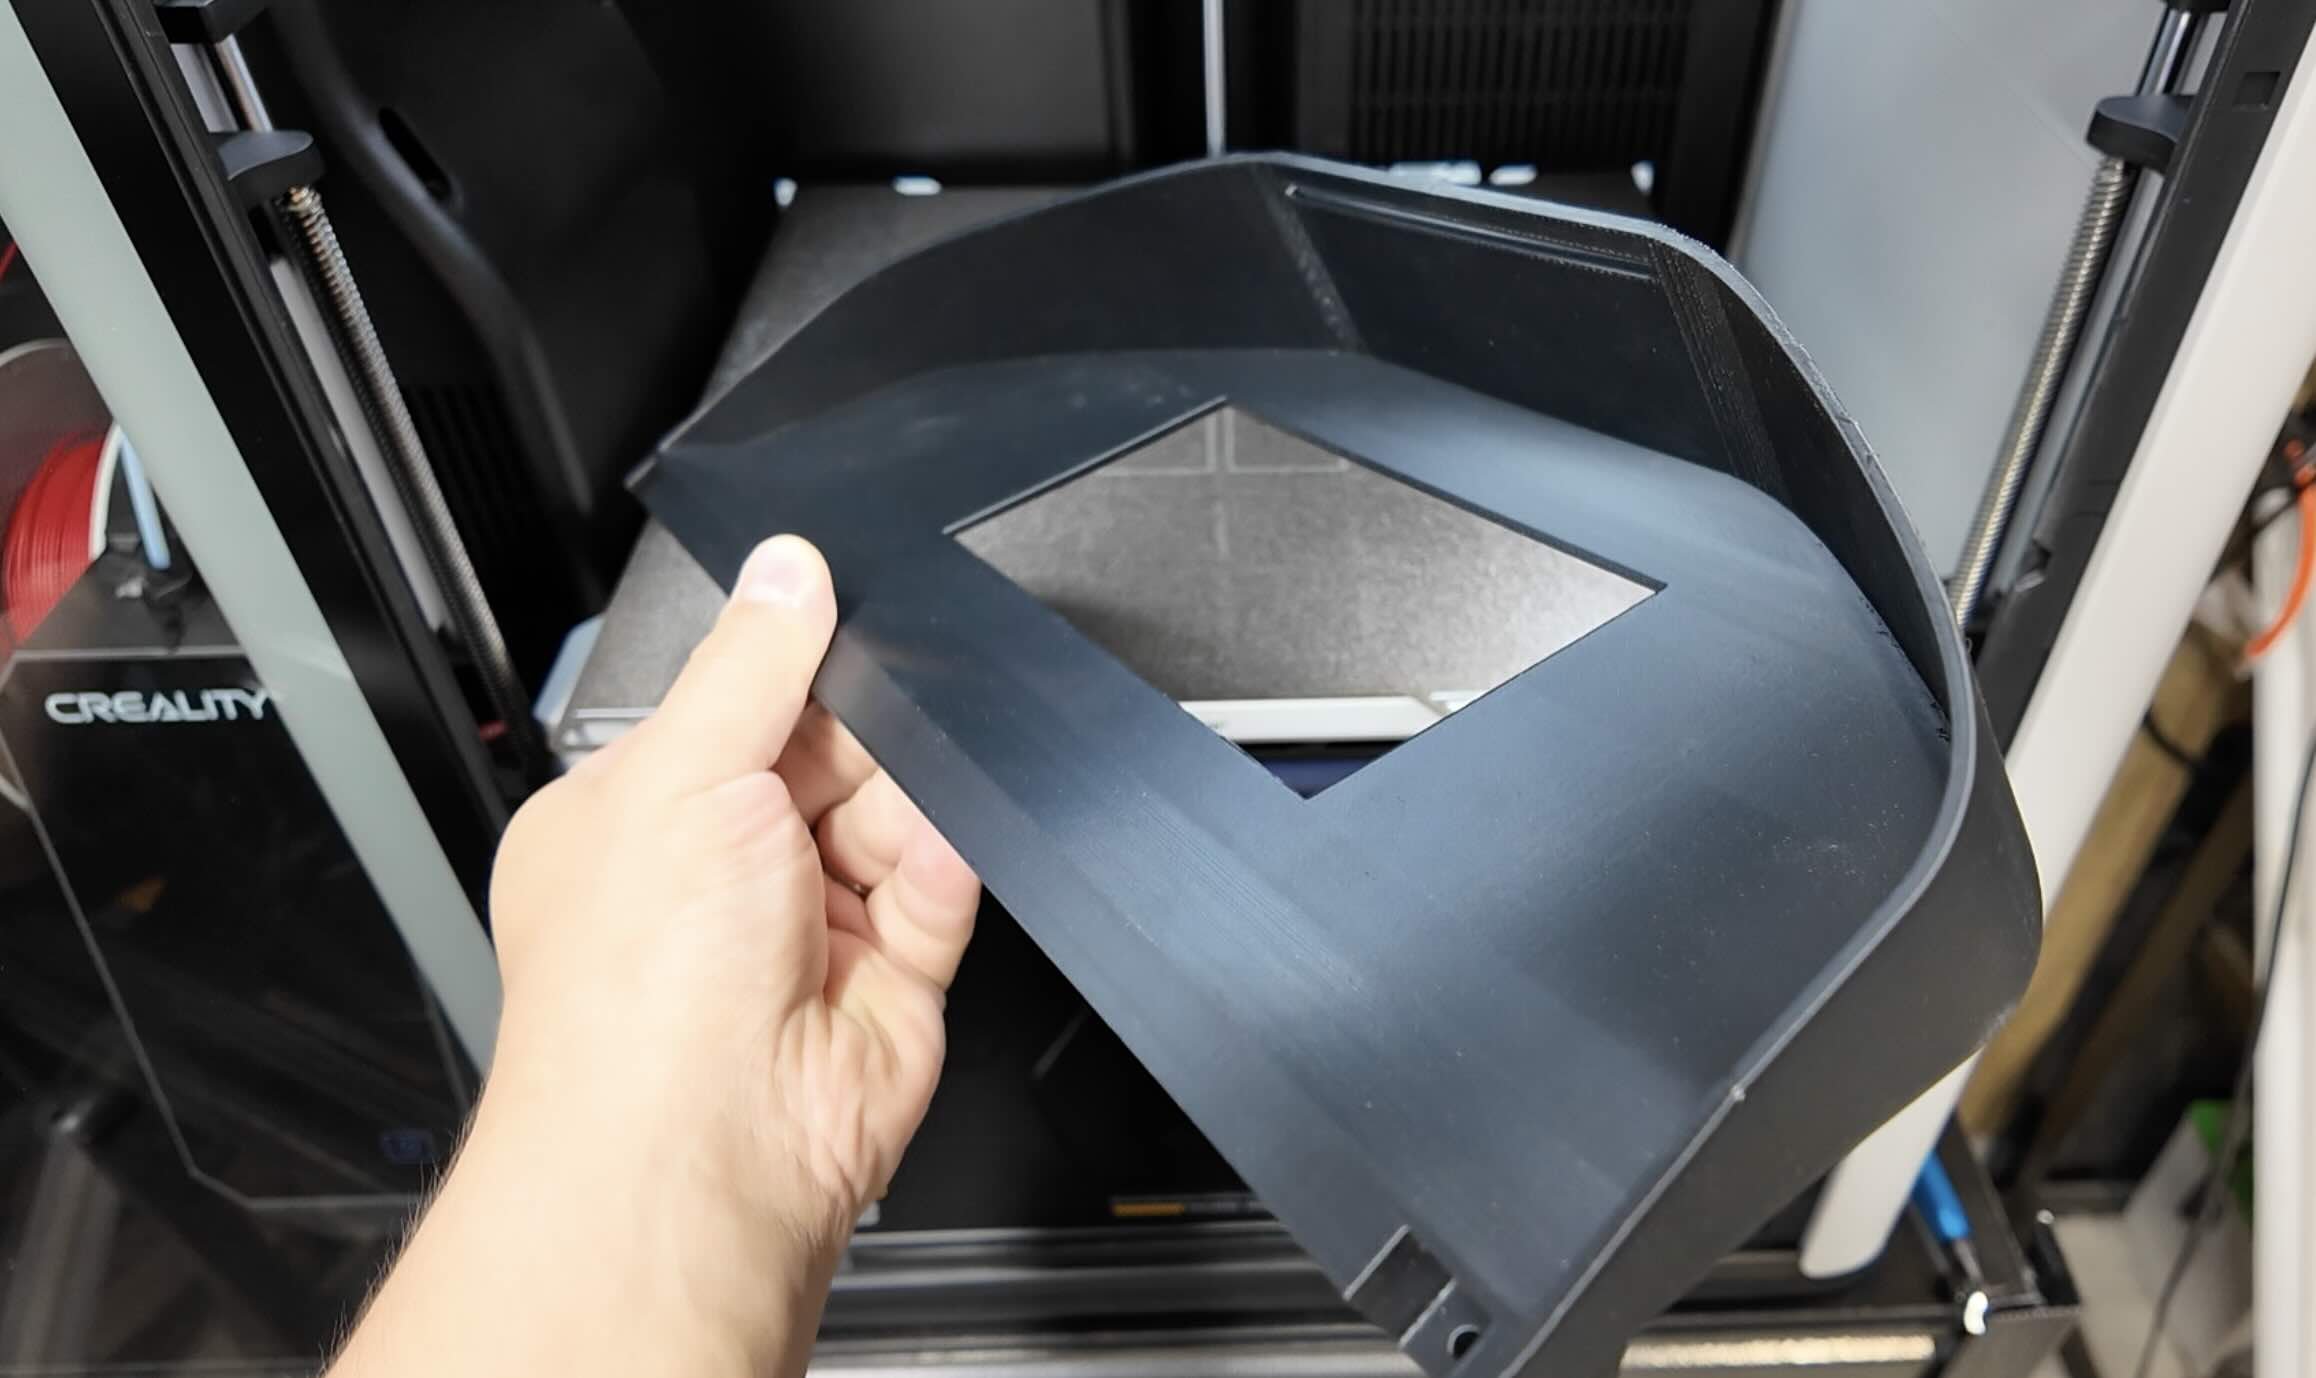
This prototype took around 55 minutes, and the texture from the build plate created a clean OEM-like finish.
Once the screen fit perfectly, it was time for the real deal.
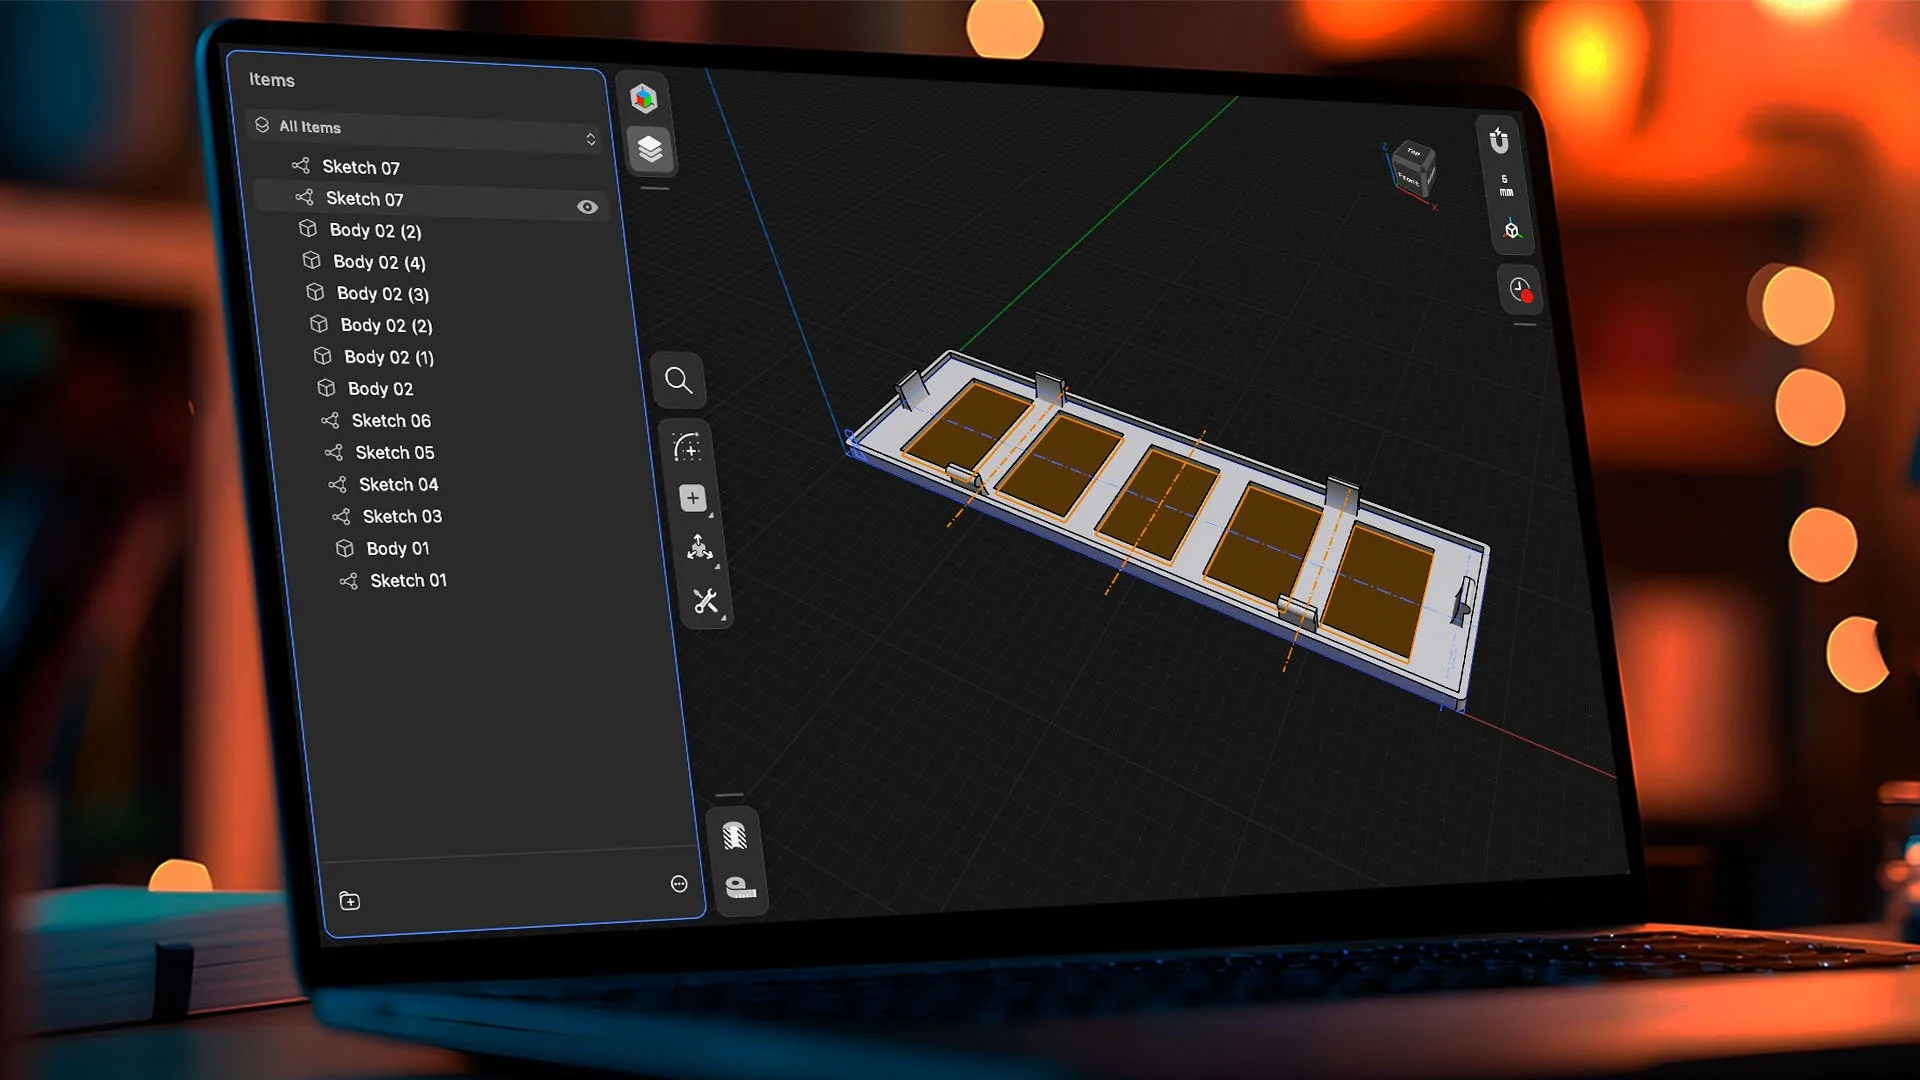
Step 6 — Rebuilding the Original STL From Scratch
The downloaded STL was a single solid body, which makes it difficult to modify.
So instead of trying to surgically cut and merge pieces in the slicer, I did something way more accurate:
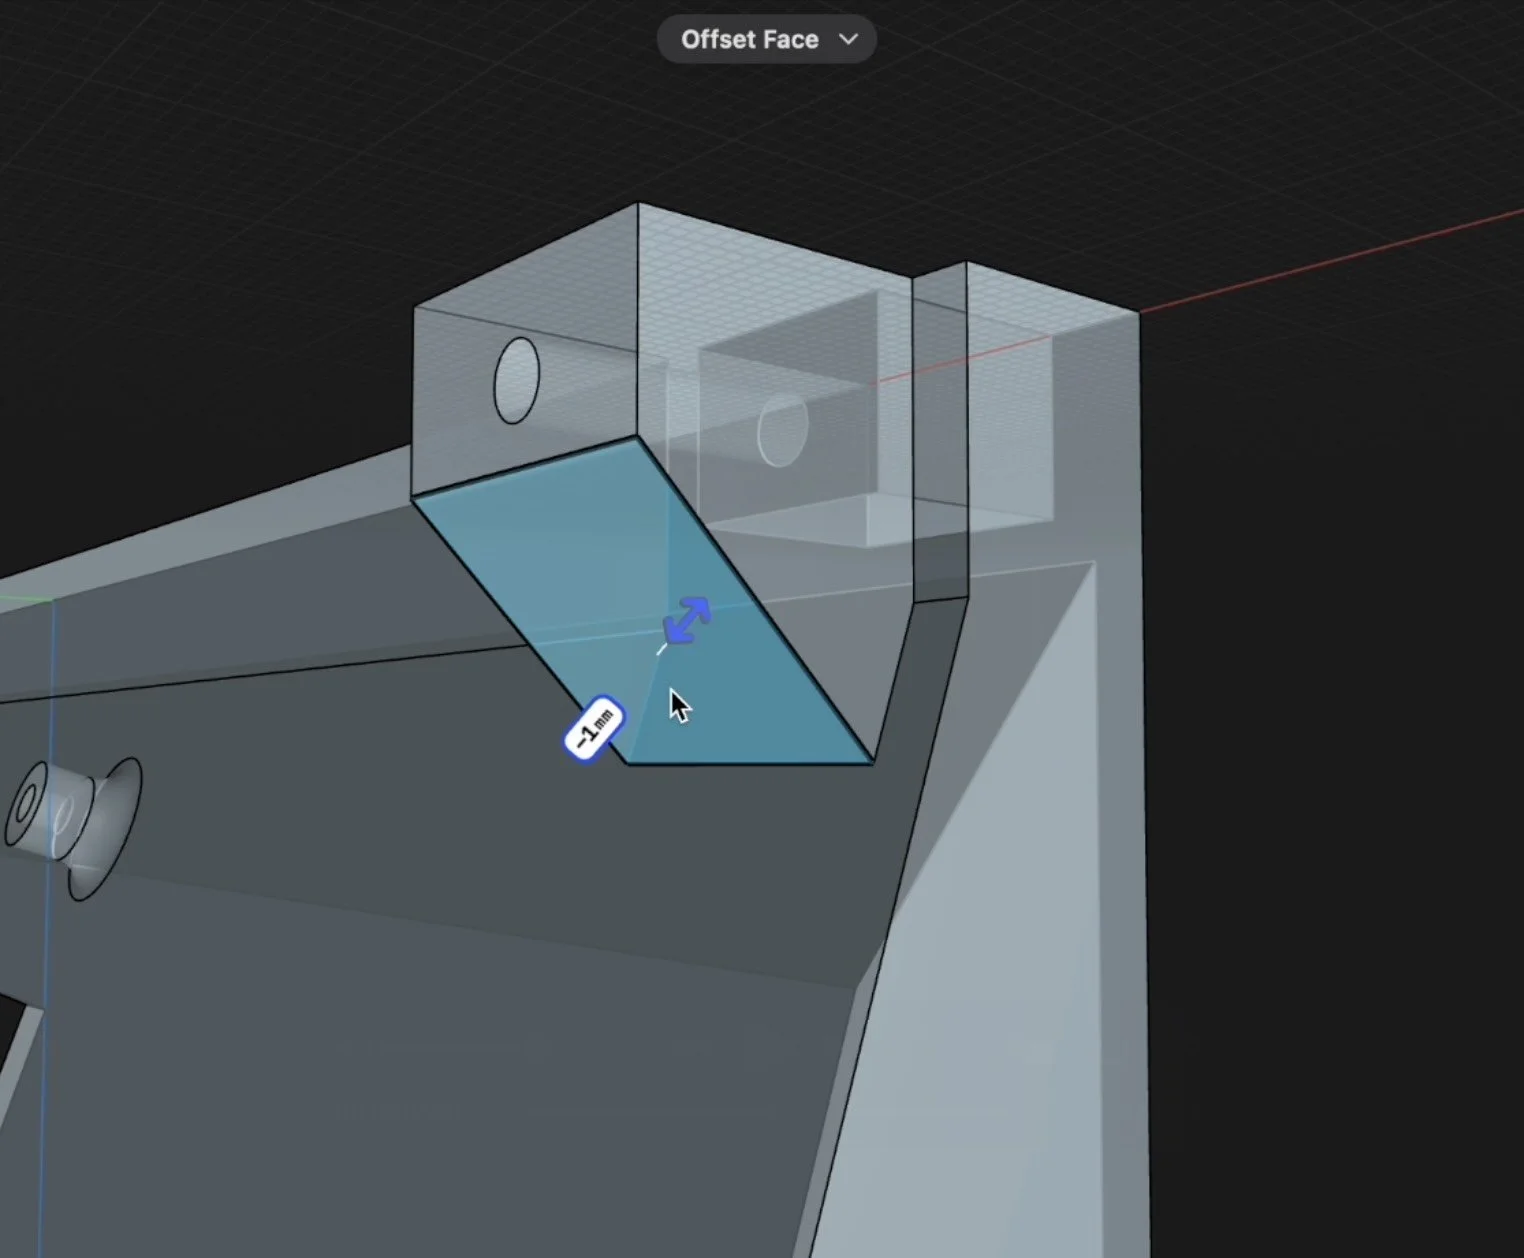
I redrew the entire dashboard in Shapr3D
This gave me full control over:
The screen opening
The standoffs
Wall thickness
Angles
Overhangs
Alignment

And since I now had a parametric history, I could fix anything instantly. Once the design had the new opening and standoffs, I sent it to the printer.
Fixing CAD Design Alignment Issues
When you're designing automotive parts one of the most common CAD problems is misalignment or incorrect measurements.
That happened to me on the first print, my screen opening standoff mounts were a few millimeters off-center.
The fastest way to fix dimensional issues is using Shapr3D’s History Tool:
How to Fix Incorrect Dimensions in Shapr3D
Open the History timeline
Scroll back to the original sketch where the measurement was created
Click the dimension and update the value
Shapr3D automatically recalculates and updates the entire 3D model in real time
No rebuilding, no re-extruding, no messy cuts.
Shapr3d’s parametric history-based function will save you hours of redesign time.
Preventing ASA Warping on Large Automotive Prints
ASA warping is one of the most common issues when printing large, flat parts like dashboards, bezels, and interior trim.
Warping happens because the corners cool too quickly and pull upward.
Fix for ASA Warping
Add a 10–20 mm brim around the part
Keep the printer fully enclosed
Avoid drafts or cold air in the room
If needed, increase bed temperature to the max.
Slow down the print speed.
This is mandatory for wide prints and long edges—especially automotive parts.
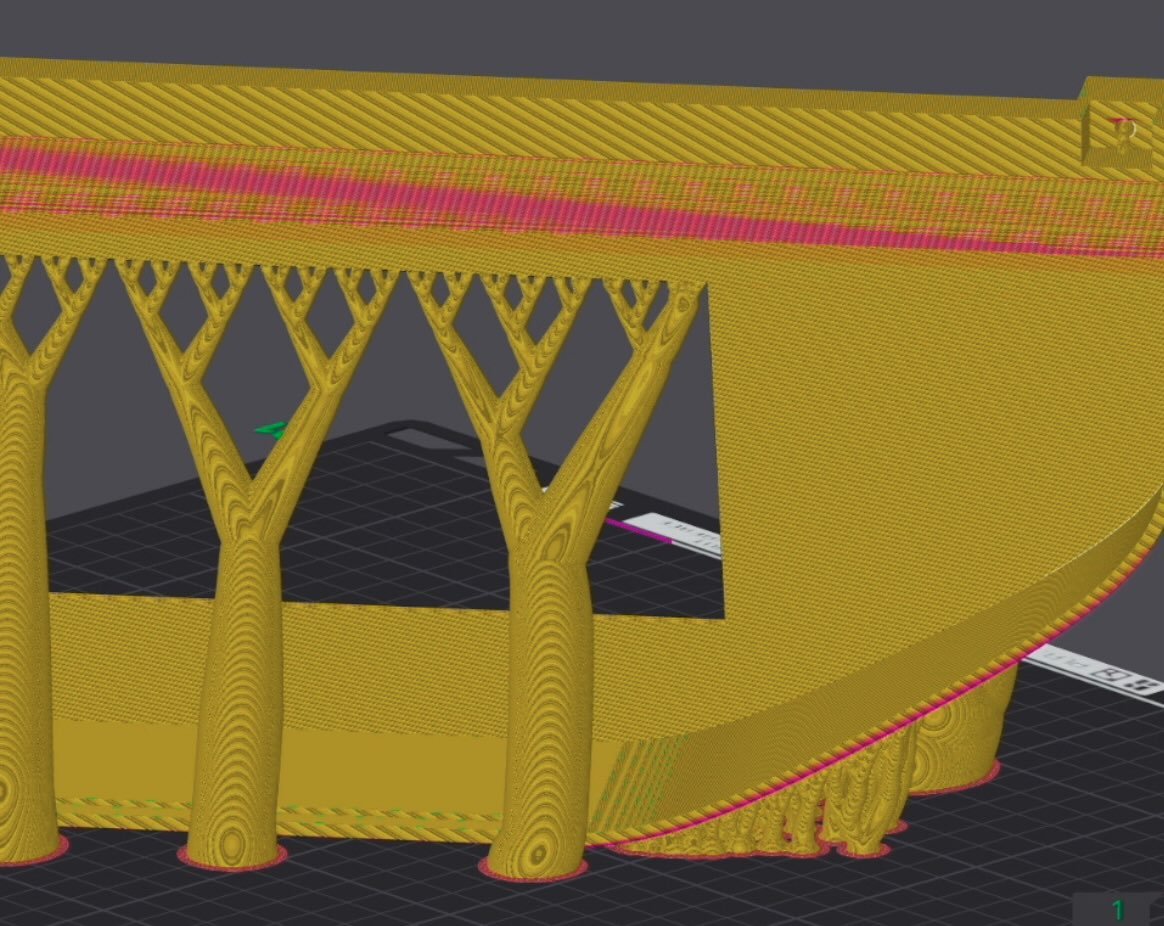
Adjust steep overhangs
Steep angles can cause sagging or incomplete extrusion.
Fix this by making the slopes more gradual or adjusting support settings.
These tweaks help produce OEM-grade parts that feel solid and install cleanly.
And here’s the final results…
The perfect 3d printed digital dashboard for our 1984 BMW e30.
Design 3d Printed Car Parts That Match Your Exact Build.
One afternoon. No complex software. Parts that fit your build perfect.
Instant Access, Risk Free Money Back Guarantee
LEARN MORE