
THE BEST BUDGET 3D PRINTER FOR CAR PARTS
After losing hope with the Ender 3, I found a budget 3d printer solution for 3d printed car parts that only costs around $30 more than any of the Creality Ender 3 series.
TL;DR – Why the Centauri Carbon Wins for Cars
✅ Enclosed Design: Essential for preventing warping in ASA/Nylon.
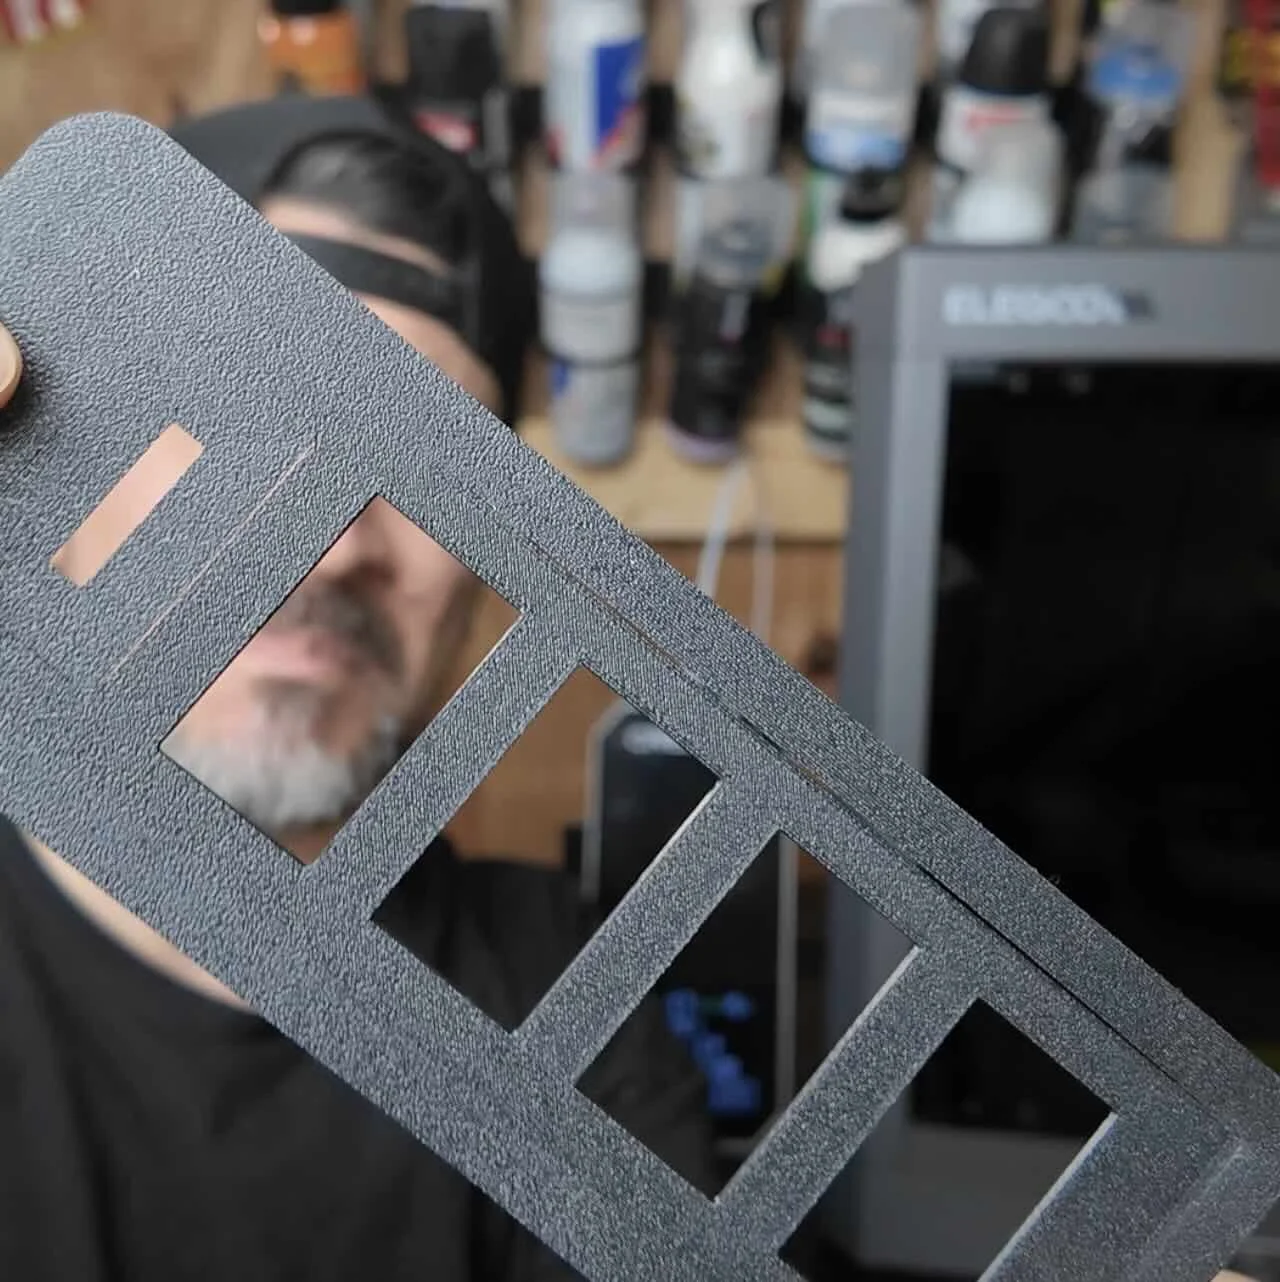
✅ Hardened Steel Parts: Can handle abrasive Carbon Fiber & Glass-infused filaments.
✅ Fixed Bed (CoreXY style): Reduces vibrations compared to "bed slingers" like the Ender 3.
✅ Auto-Calibration: No more manual Z-offset or bed leveling headaches.
The $30 Difference: Ender 3 vs. Centauri Carbon
For $289, the Ender 3 series used to be the industry standard for beginners. But for $319, the Elegoo Centauri Carbon offers features that usually cost $600+ with a night and day difference compared to the Ender 3 series.

| Feature | Ender 3 | Centauri Carbon | Why it Matters for Cars |
|---|---|---|---|
| Enclosure | None, open | Fully Enclosed | Keeps heat in; prevents warping with ABS/ASA/PA-6. |
| Nozzle/Gears | Brass | Hardened Steel | Necessary for abrasive CF/GF infused filaments. |
| Bed Movement | Bed slings back & forth | Core X/Y | Bed moves up/down only, fewer vibrations on tall parts. |
| Calibration (Bed/Z-offset) | Manual (certain models have bed level) | Full Auto-Level | Consistency across every print; reduced failed first layer. |
High-Performance Filaments: The "Big Two" for Cars
In my previous guide, we talked about why PLA fails in cars. If you're moving to the Centauri Carbon, you’ll be ready for printing heavy hitter filaments.
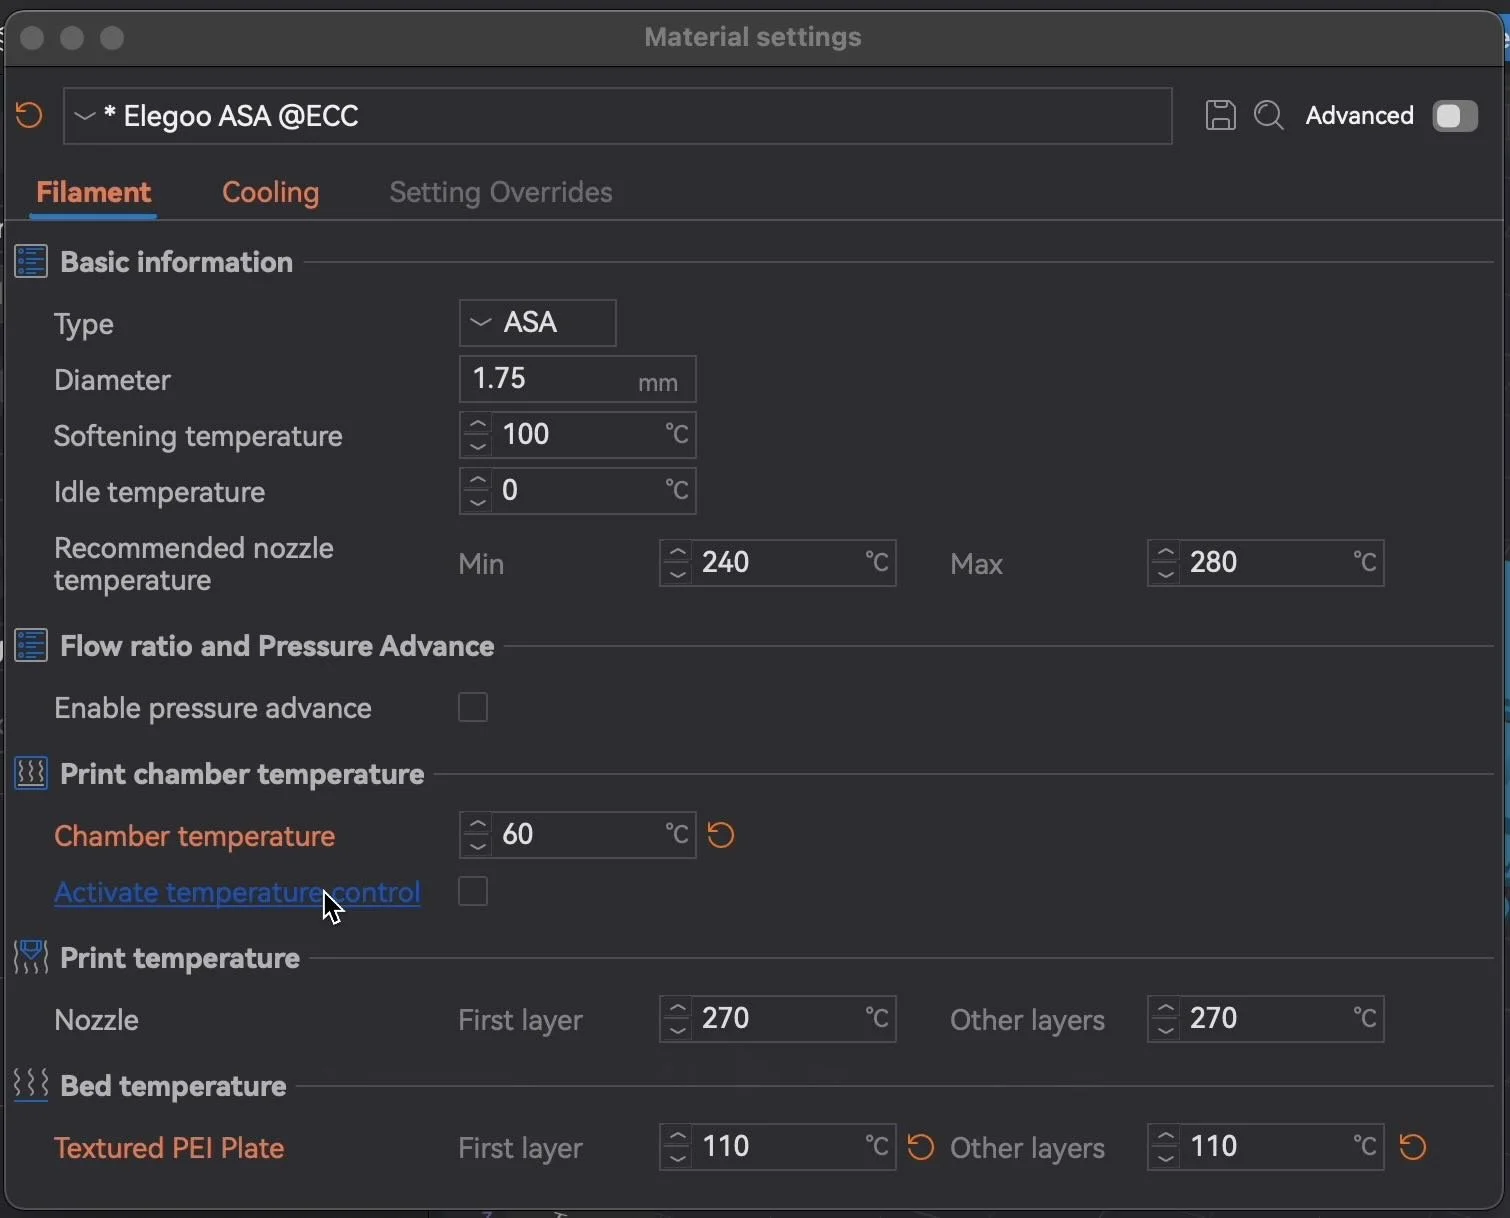
1. ASA Filament (The Standard)
Heat Resistance: ~212°F (100°C).
Best For: Dashboards, mirror caps, and vent gauges.
Why: It has incredible UV resistance (won’t fade) and handles the "greenhouse effect" of a parked car in summer.
The Catch: It requires a very warm printing chamber. This is where the Ender 3 fails and the Centauri enclosure shines.
2. PA6-CF (The Engine Bay Monster)
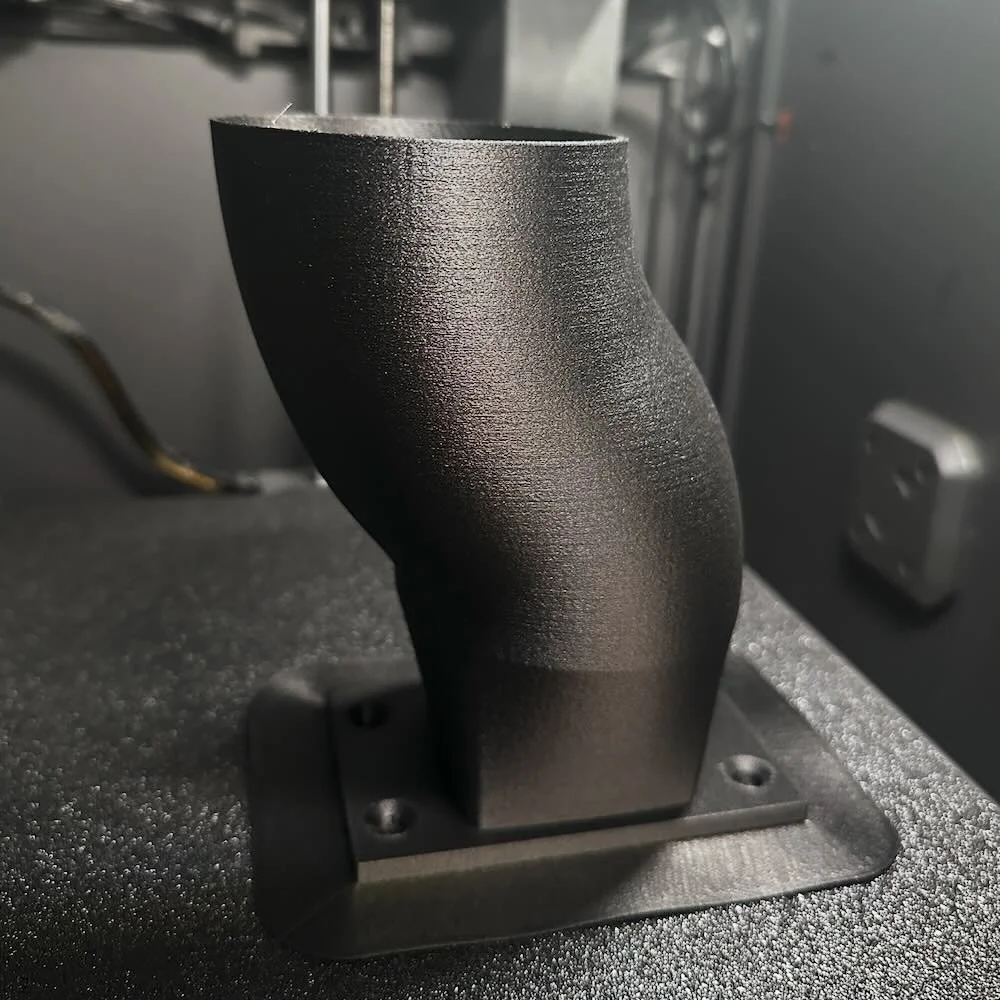
Heat Resistance: ~330°F (165°C).
Best For: Under-the-hood car components.
Why: Infused with Carbon Fiber for extreme stiffness and heat deflection.
The Catch: It is a "moisture sponge." You must dry this for 8–13 hours before printing.
🛑 Avoid the "Cold Garage" Failure
I learned this the hard way: if your garage is 50°F, your prints will warp, even inside an enclosure.
3-Step Fix for Warping:
Preheat the Chamber: Set your bed to 110°C and let the printer sit closed for 20 minutes before you hit print. This creates a heated "mini-oven."
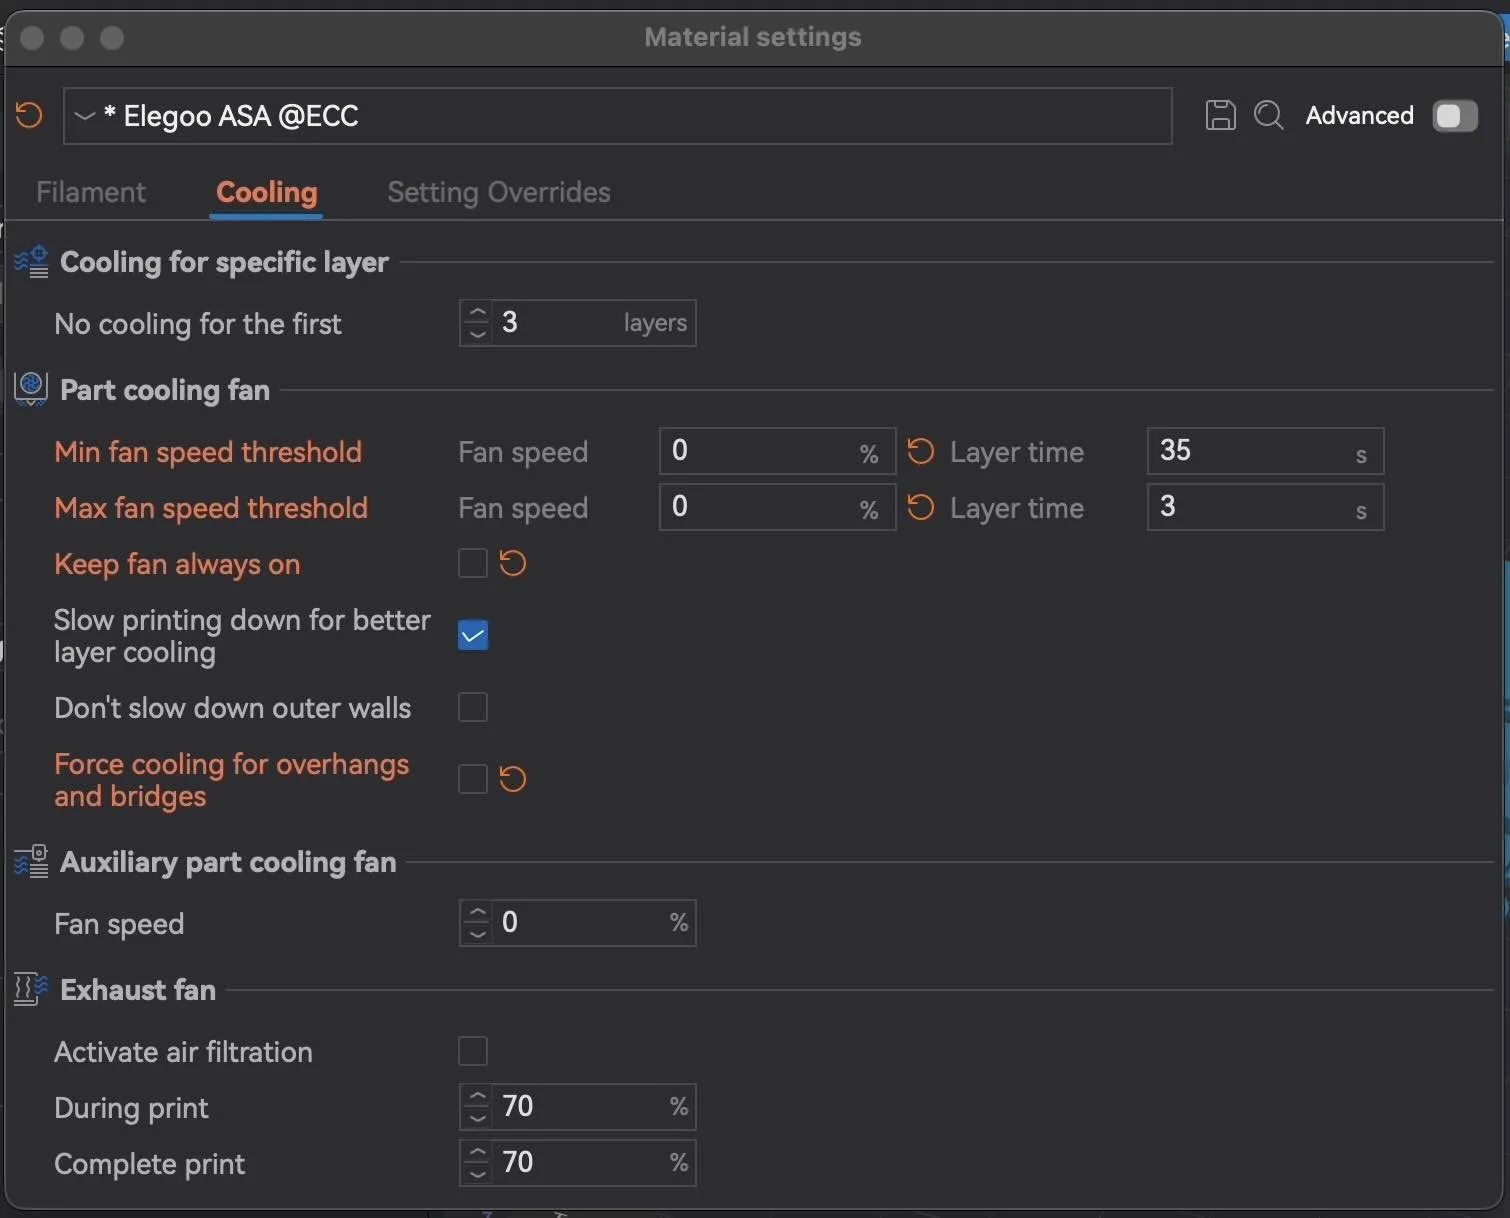
Kill the Fans: In your slicer settings, turn all cooling fans OFF for the first several layers of ASA or Nylon.
The "Brim" Trick: Always add a thick "Brim" (an extra perimeter layer). This increases the surface area attached to the bed, physically holding the corners down.
Smart Printing: OctoEverywhere & AI Detection
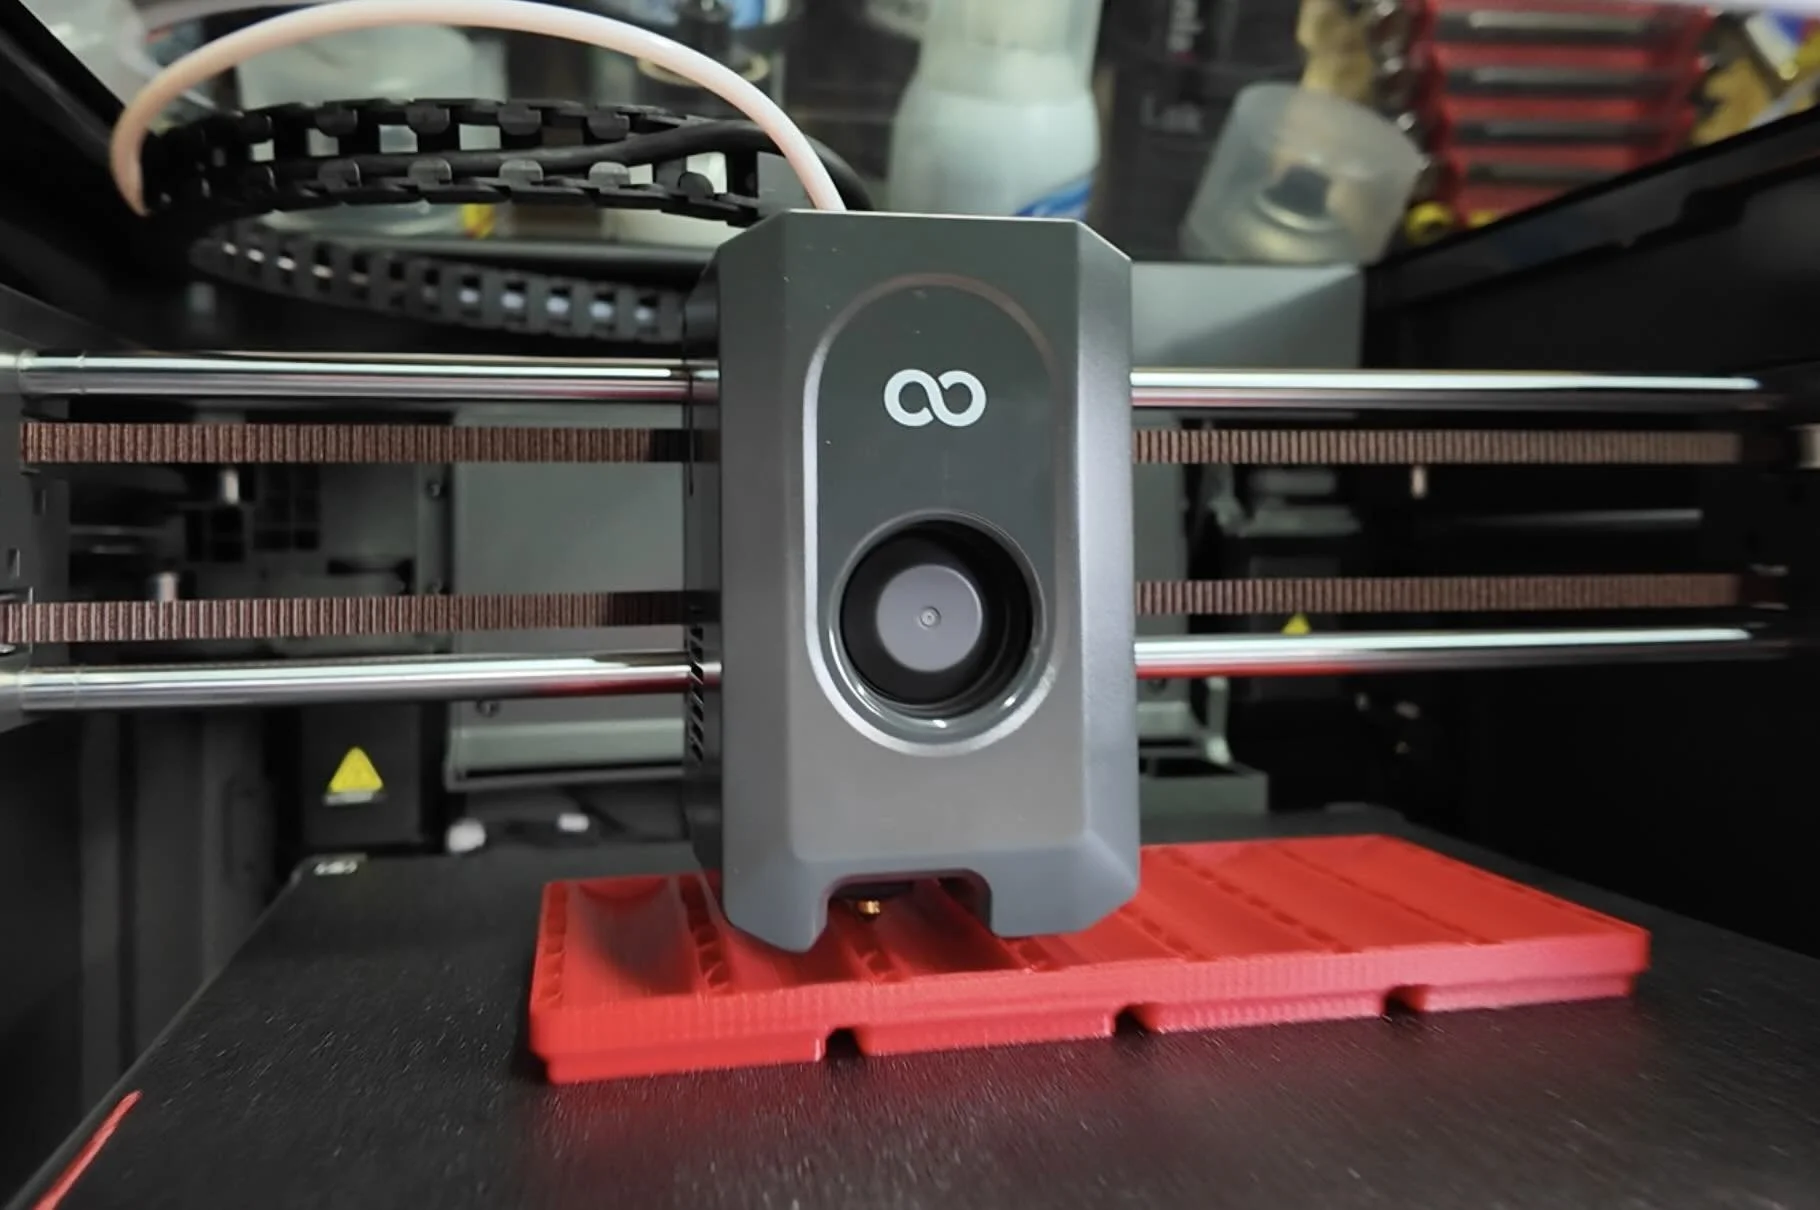
The Centauri Carbon comes with a camera, but it doesn't "think" for itself. To prevent "spaghetti prints" from wasting $50 of Carbon Fiber filament:
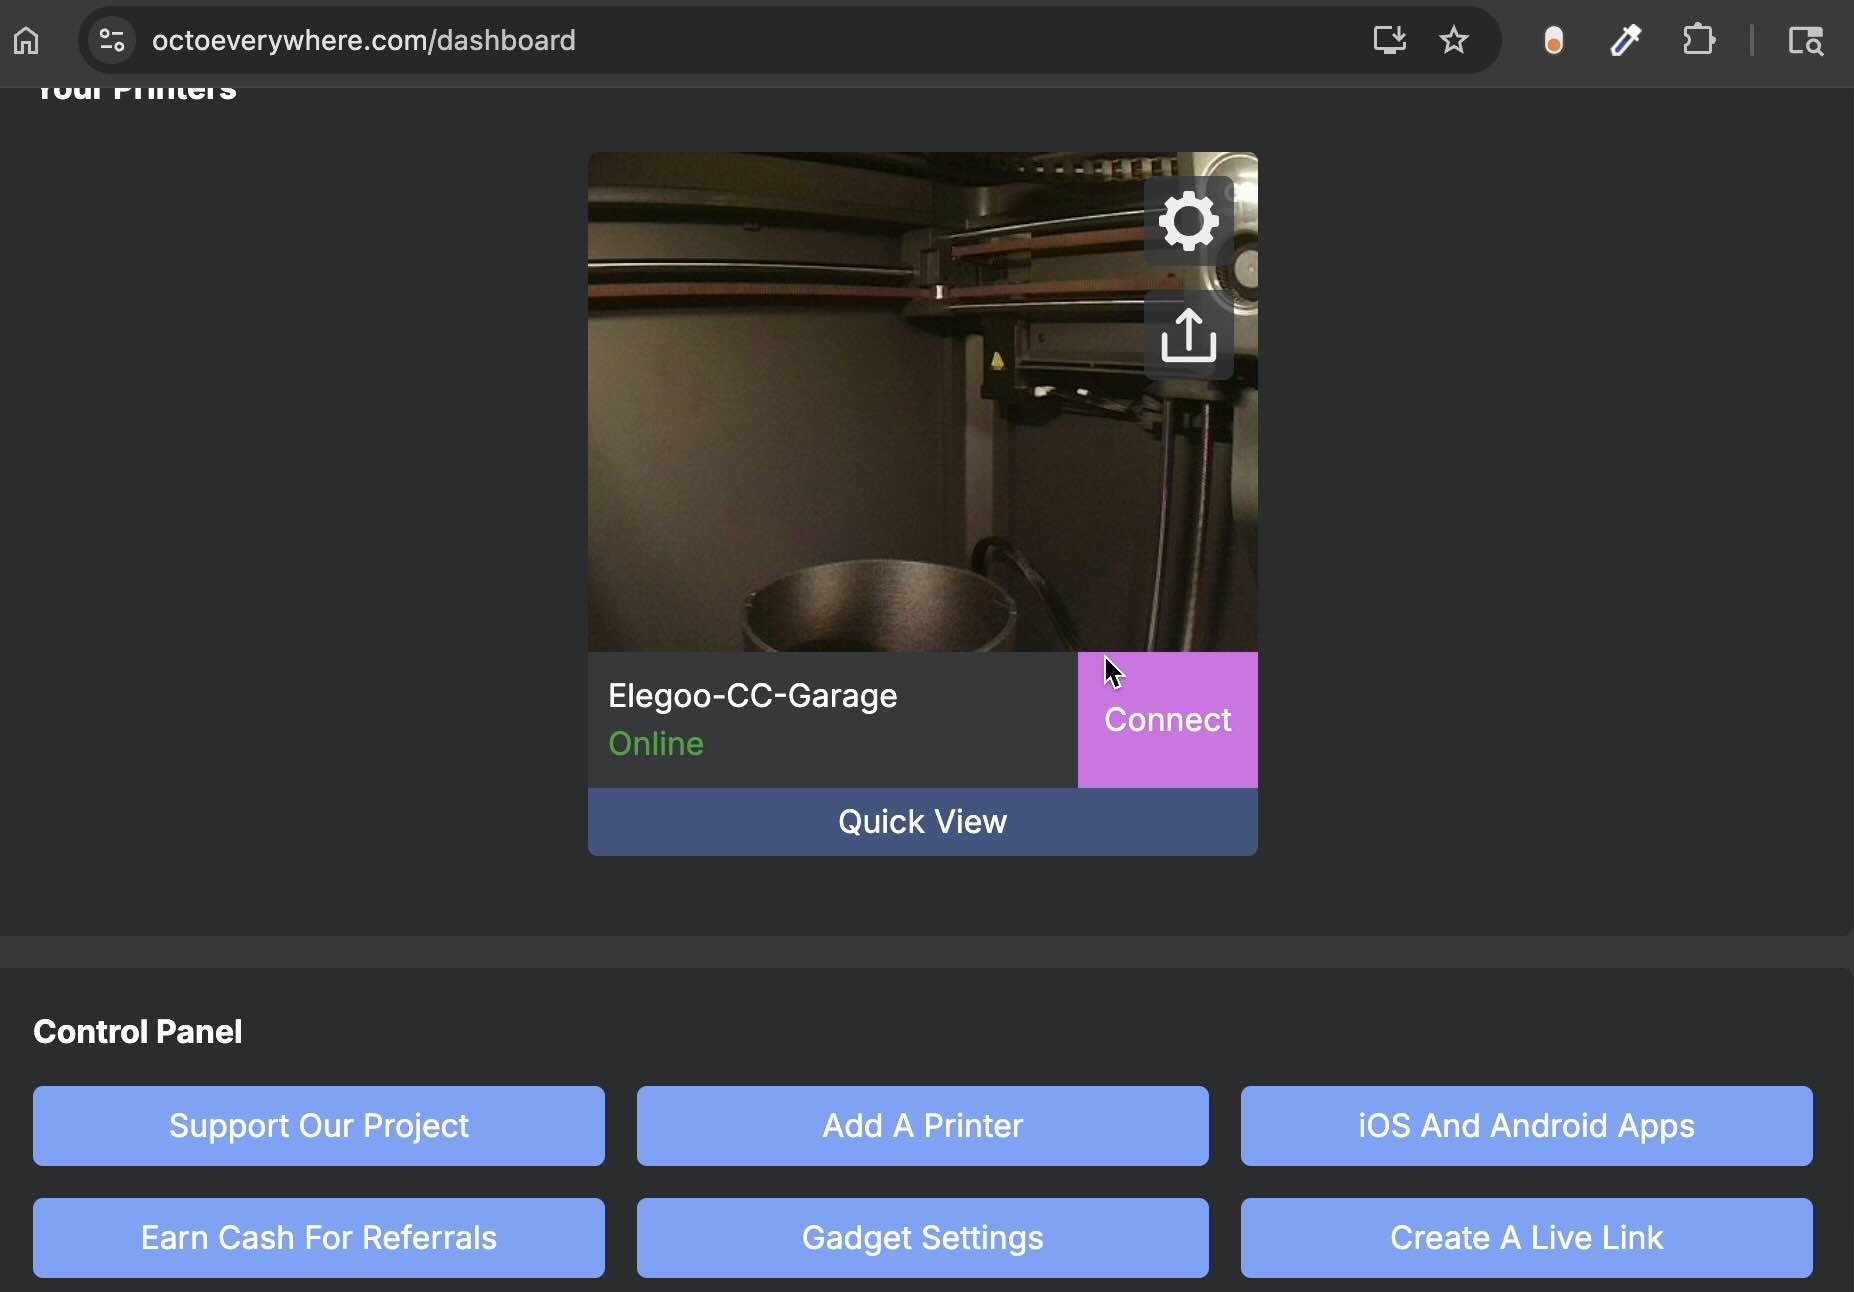
Install OctoEverywhere: It allows you to monitor your print from your PC or phone.
AI Failure Detection: It uses the camera to spot if a part has peeled up and can automatically pause the print for you.
Remote Control: If you’re at work and see a failure, you can kill the print instantly.
Final Checklist Before Your First Car Part
Dry Your Filament: Even brand-new rolls have moisture. 8 hours at 150°F-170°F is the sweet spot. Use a filament dryer.
Calibrate: Run the "One-Check Self Test" on the Centauri to handle vibration compensation.
Clean the Plate: Use water and soap. Fingerprints = Warping.
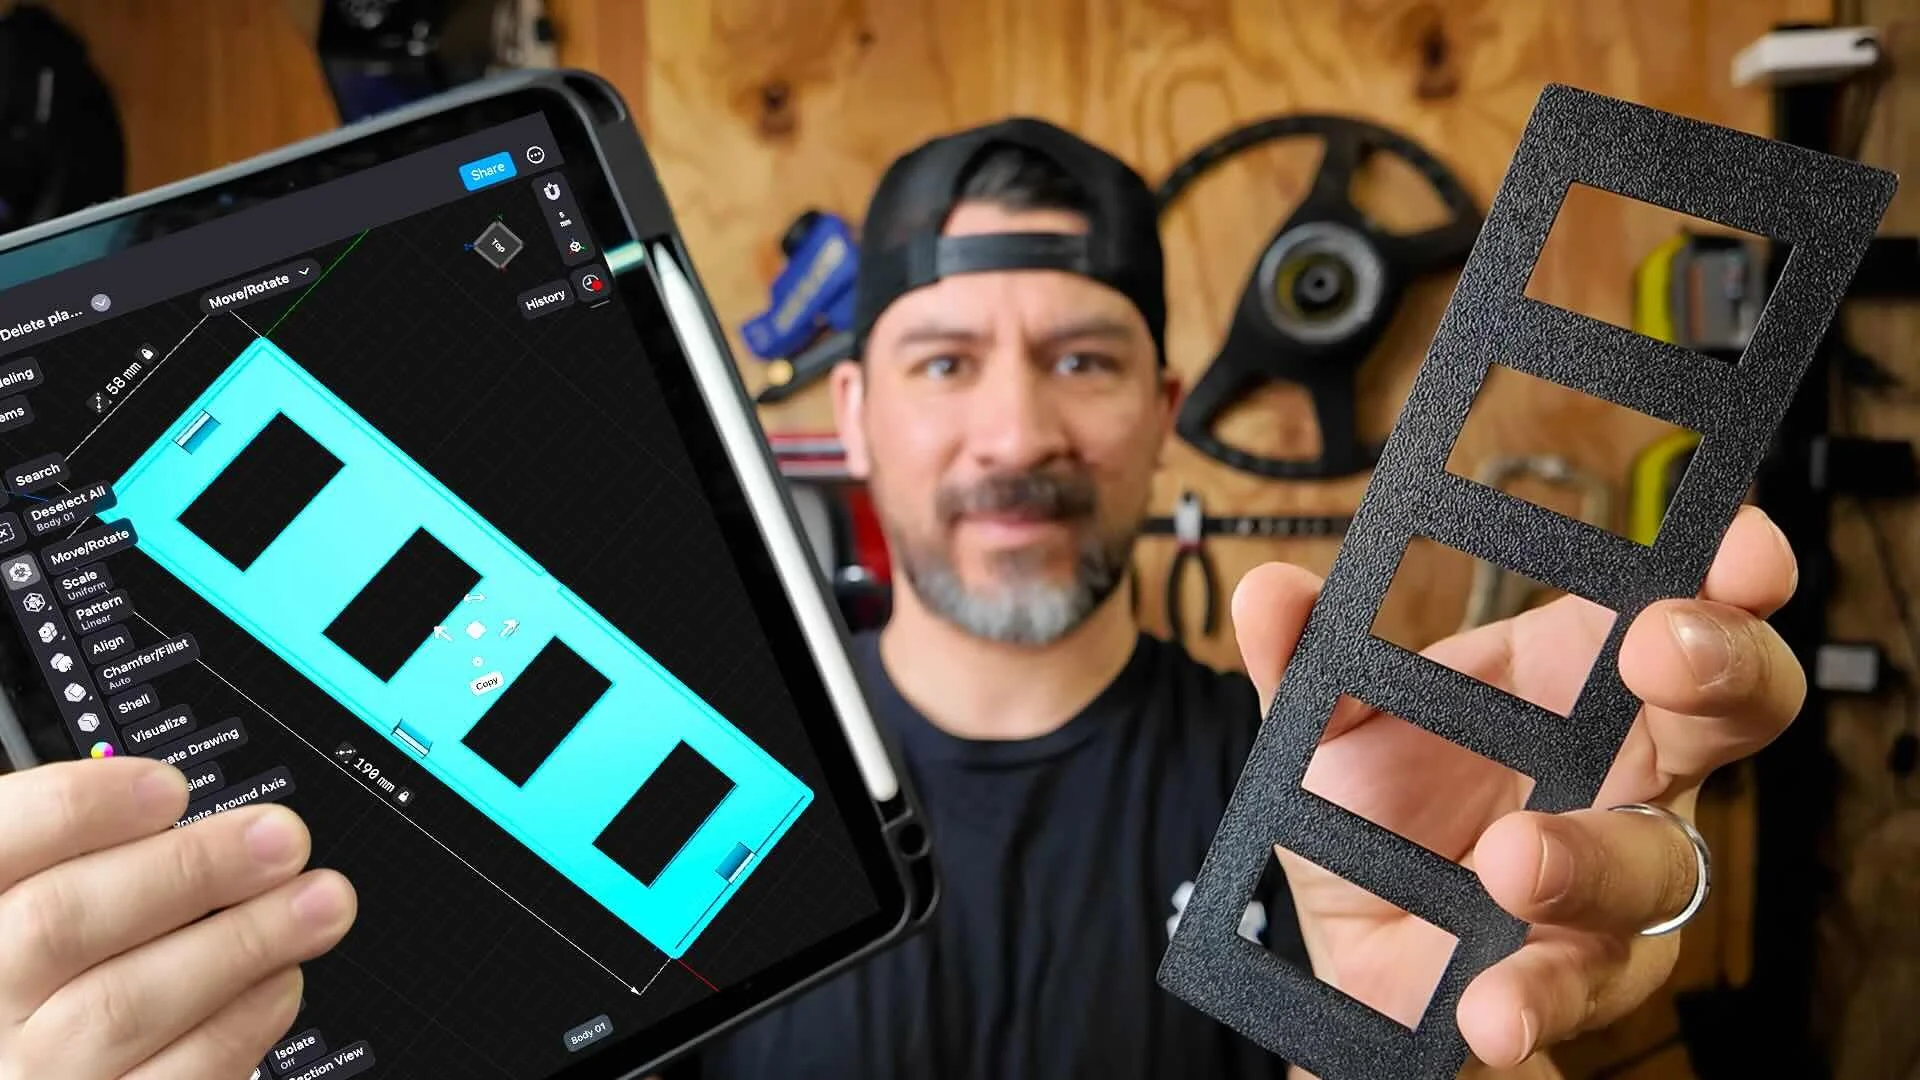
What are you building next?
Whether it’s a radio delete for your E30 or a custom intake, the Centauri Carbon is the best $300 investment you can make for your project car.
But eventually you’ll want to modify existing pre-made online car parts or design your own. That’s why we made this workshop ⤵️
Design 3d Printed Car Parts That Match Your Exact Build.
One afternoon. No complex software. Parts that fit your build perfect.
This workshop finally made designing 3d printed car parts feel doable. I had a replacement part ready for my project car in a few hours.
Instant Access, Risk Free Money Back Guarantee