
HOW TO 3D PRINT AN AERODISC: STEP-BY-STEP GUIDE
Buying new wheels can cost thousands — but with a 3D printer and some simple CAD, you can design and print custom aero discs for a fraction of the price.
✅ A center snap in cap
✅ Aerodisc like fins
✅ Fits on a 256x256mm 3d print bed
This guide will walk you through exactly how I designed, prototyped, and 3D printed custom aero discs using Shapr3D and a Bambu Lab 3d printer.
Grab the full 3d printing car parts guide plus the pre-made car parts STL bundle that includes the Aerodisc design.
STEP 1: MEASURE YOUR WHEEL
Start with accurate measurements. The best place to mount the aerodisc onto our BMW bottle cap rims will be the center wheel cap.

Use a digital caliper to measure the inner diameter and depth of your wheel’s center cap area for mounting.
💡 PRO TIP: Check your measurements and design starting from the inside dimensions outward.
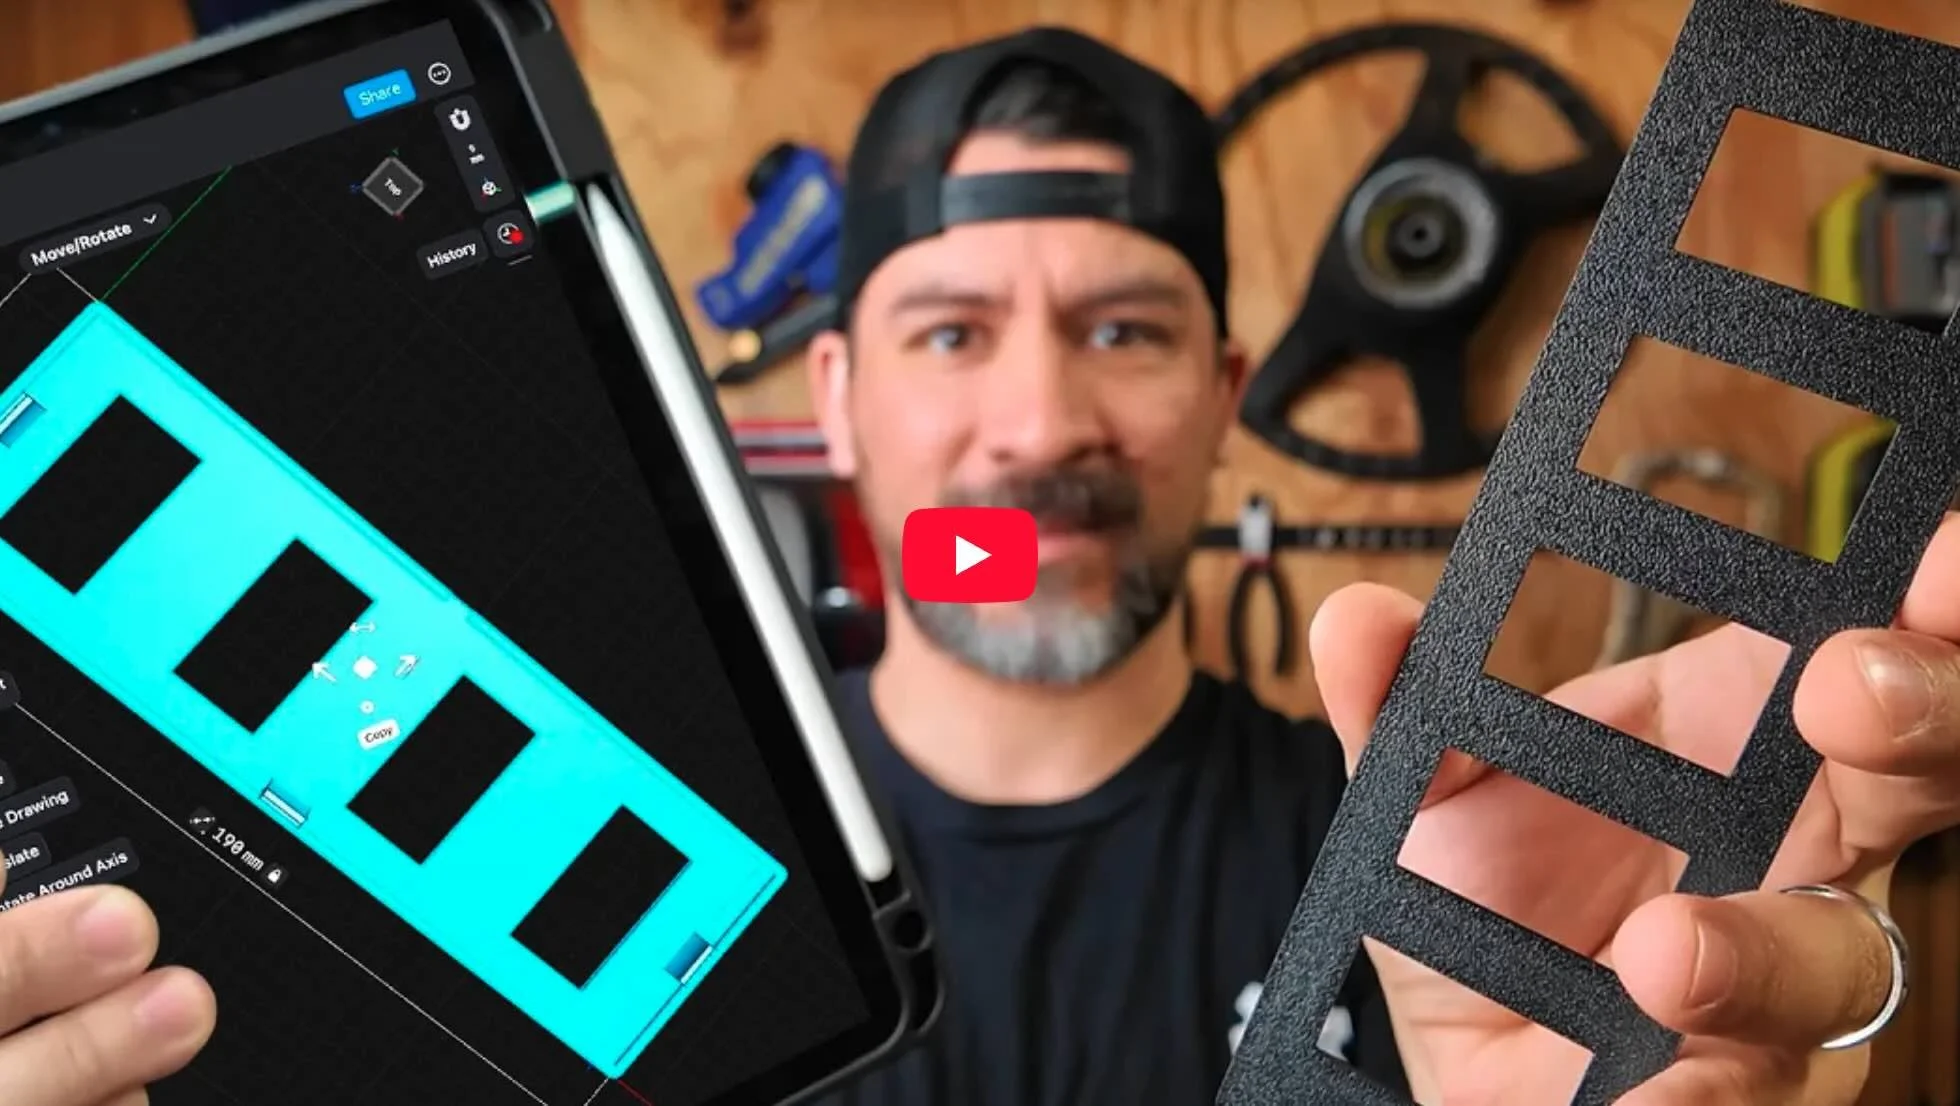
STEP 2: MODIFY THE DESIGN IN SHAPR3D
Open Shapr3D and import the free shapr3d CAD file.
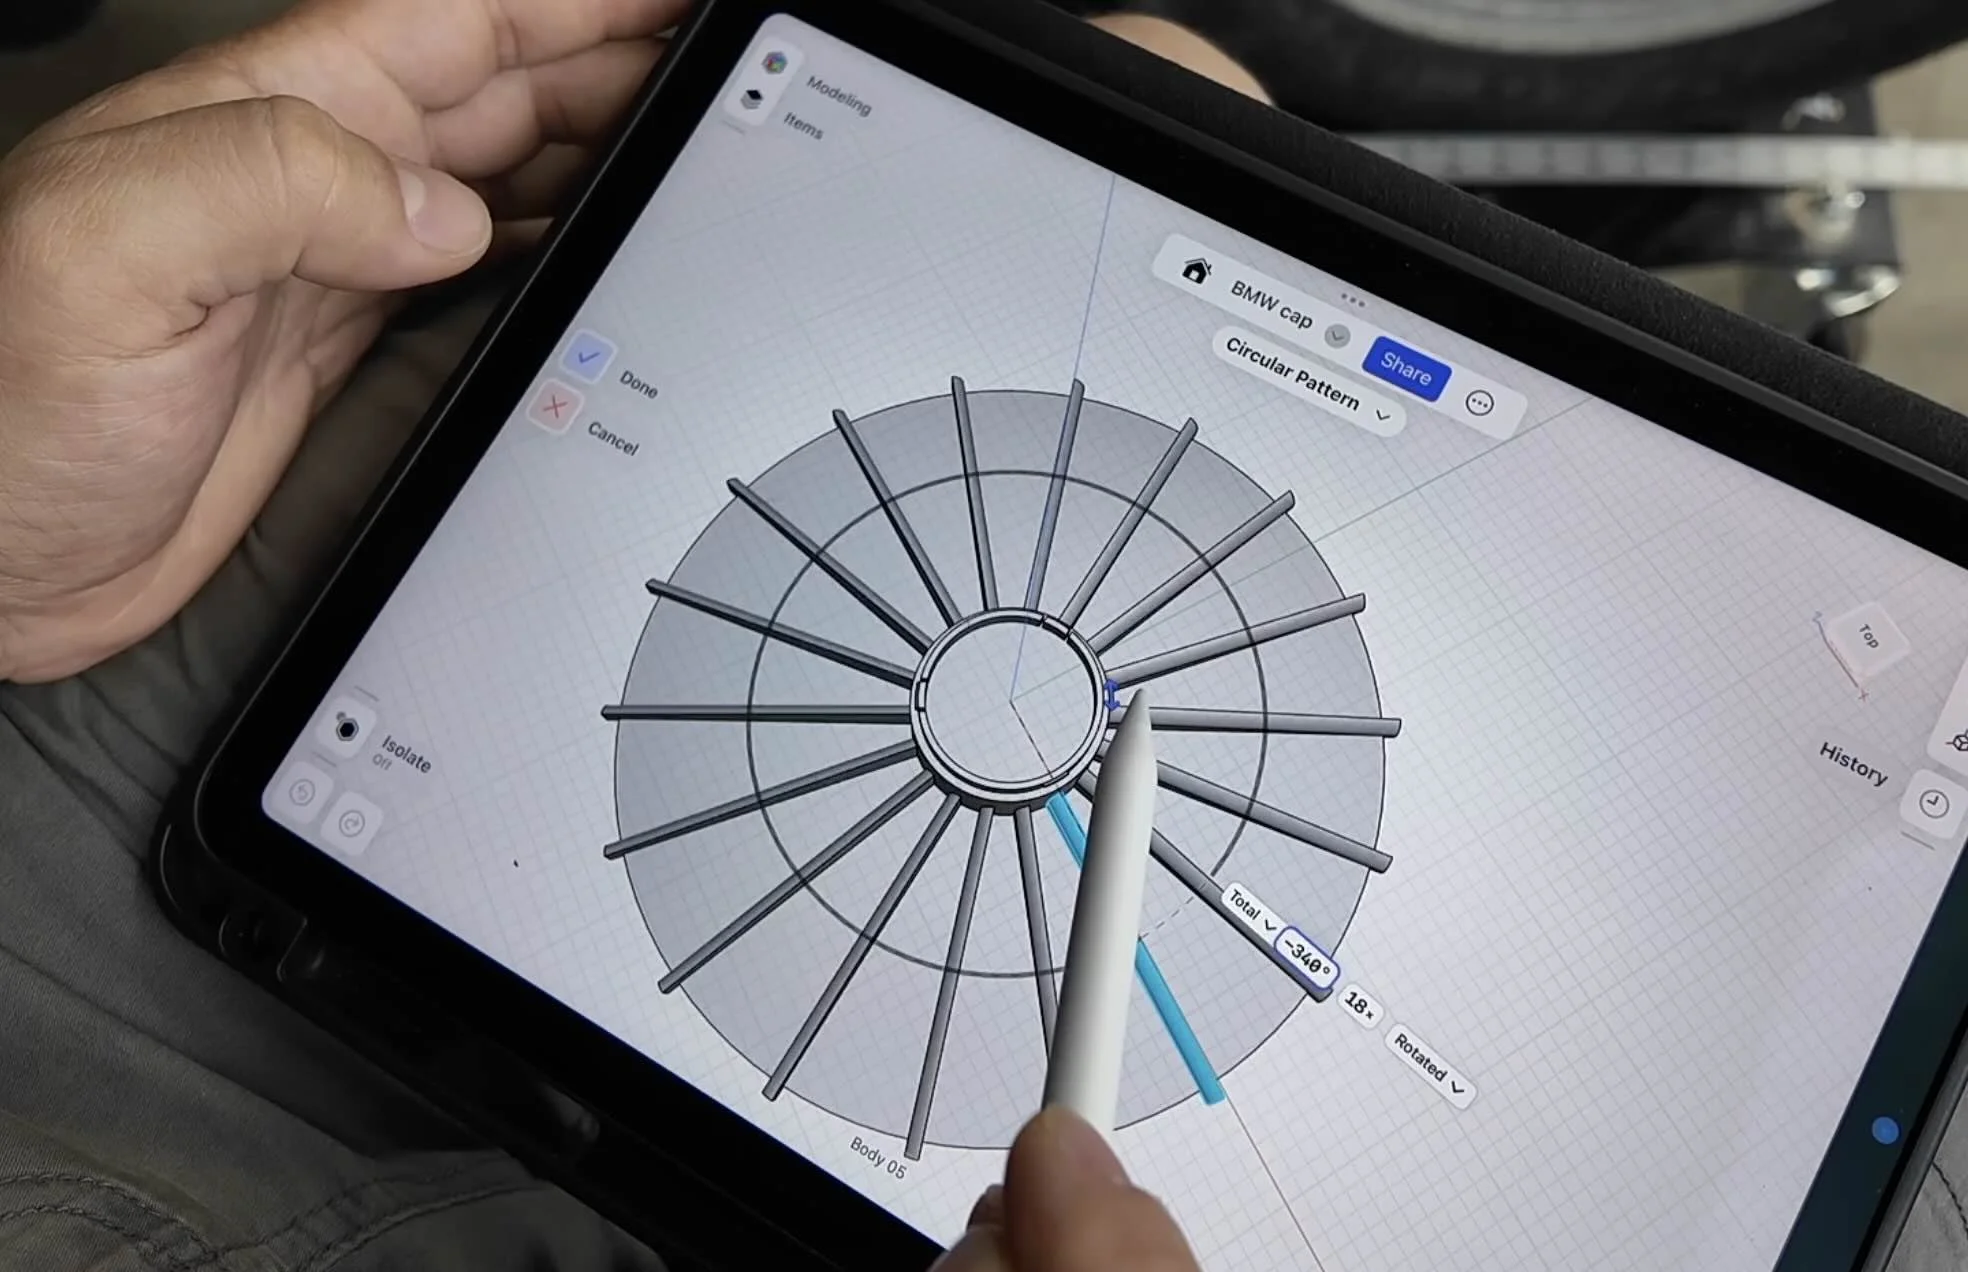
You can the history tool on the right hand side to open and modify the dimensions.
Select the inner ring and modify the diameter, the entire design will adjust based on a change made with the history tool.
If you’re ready to start making your own one-of-a-kind designs just like the aerodisc, then check out the 1-day on-demand workshop here.
STEP 3: PROTOTYPE WITH A TEST PRINT
Before going big, I like to do a test print for fitment. This can be with lower grade filament before doing the final print in more expensive UV and heat resistant filament.
Hide the Aerodisc fins in shapr3d along with the circular plate.
Reduce the extrusion of the cylinder.
Test print the part and check the fitment of the clips.


Print on a Bambu Lab A1 (or any entry-level printer) for prototypes
Use leftover or low cost filament like PLA — this is just for fitment.
Expect to fail a few times. My first version didn’t fit until I adjusted the design and added snap-in clips.
STEP 5: PRINT IN ABS + ADD CUSTOM DESIGNS
For the final part, switch to ABS filament on an enclosed printer like the Bambu Lab P1S, or larger H2S.


ABS resists heat from sunlight.
Use ChatGTP to create logos or patterns and ask ChatGPT to export in SVG
Import the SVG along with the Shapr3d STL into Bambu Studio, assign colors, and merge layers for a clean print.
I used black ABS for the disc and white ABS for different patterns that ChatGTP created.
Pro Tip: If you need help picking a 3d printer, check out our filament and 3d printer selector for car parts [here]
STEP 6: ASSEMBLE AND TEST
Snap the aero disc into your wheel and check the fitment

The clips should lock the Aerodisc into place
If needed, adjust the CAD file in Shapr3d history mode and reprint.
Design 3d Printed Car Parts That Match Your Exact Build.
One afternoon. No complex software. Parts that fit your build perfect.
Instant Access, Risk Free Money Back Guarantee