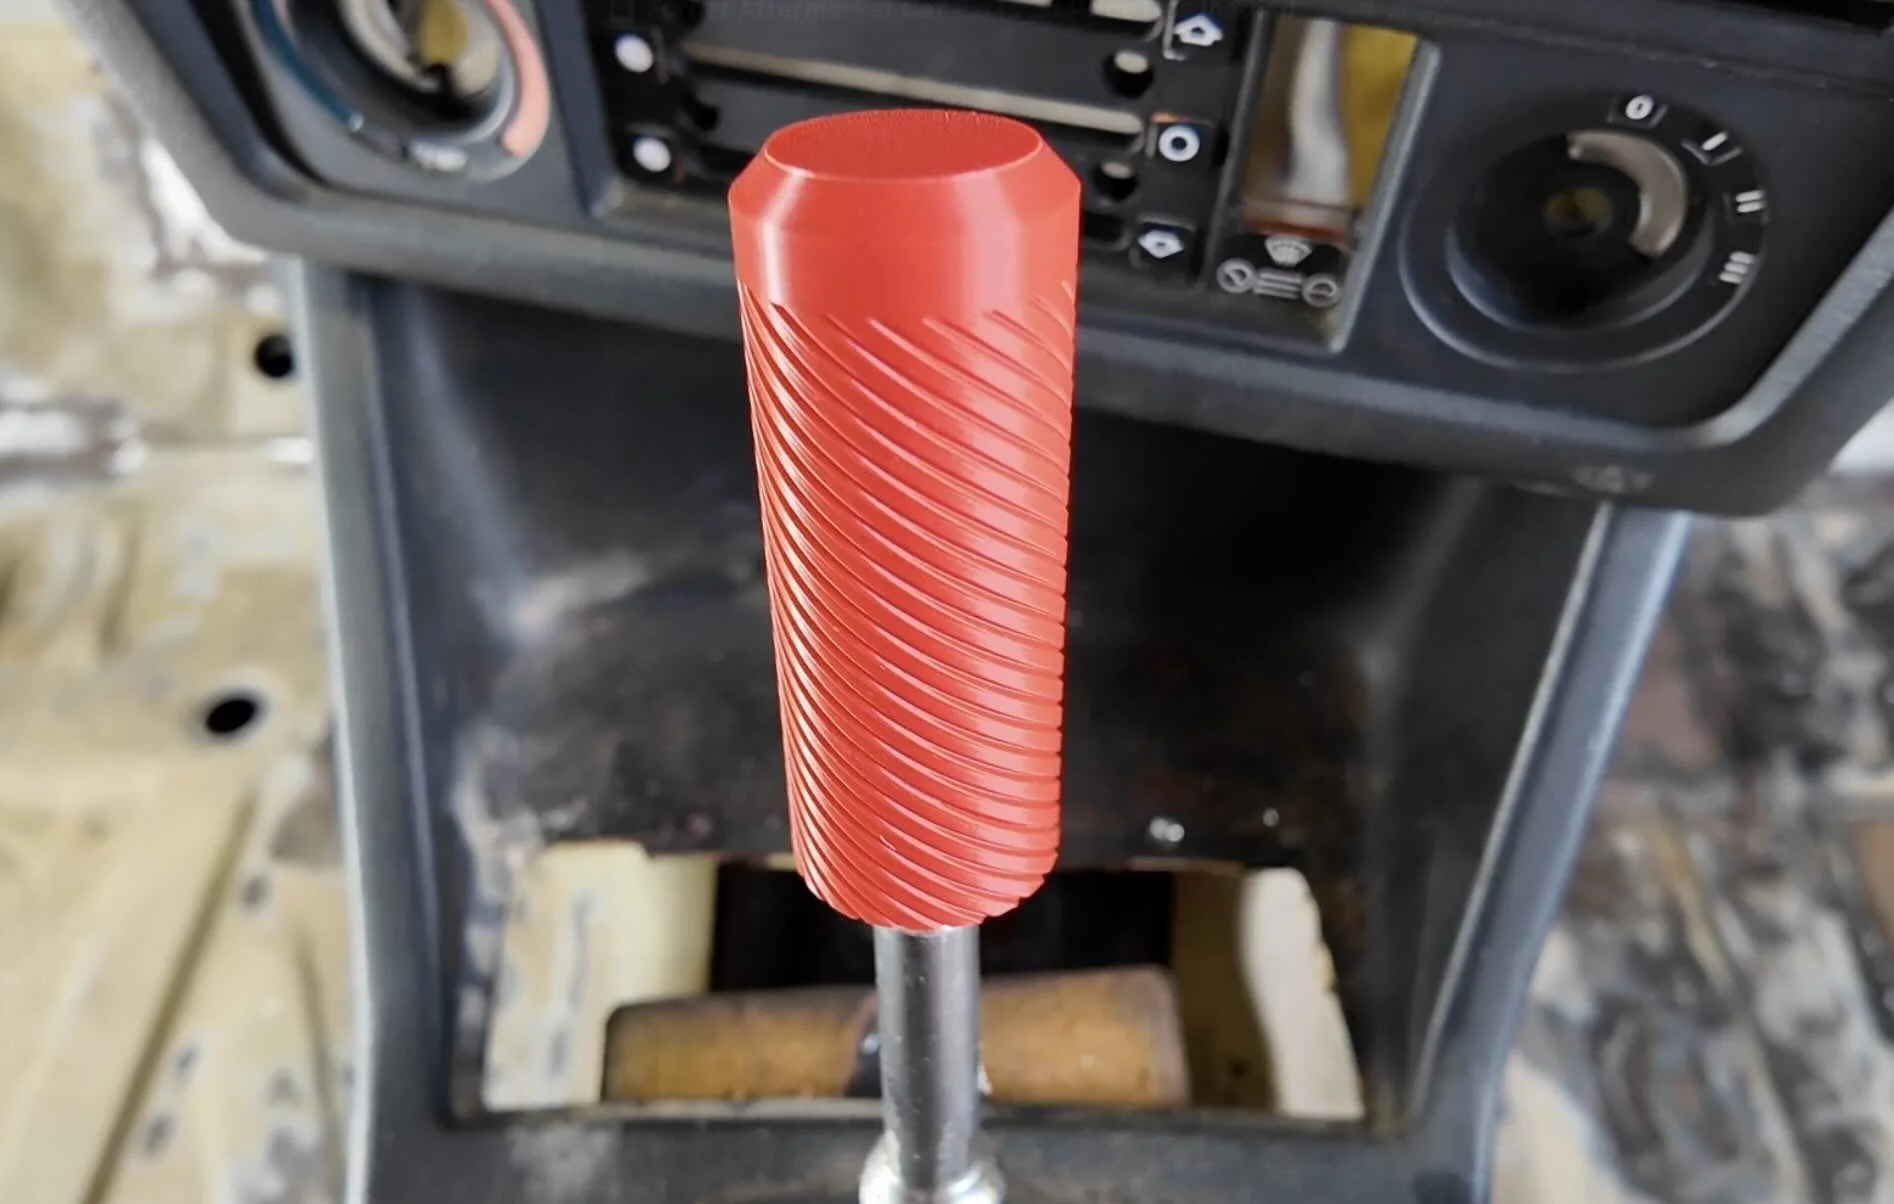
BEGINNERS GUIDE TO 3D PRINTING CAR PARTS
Want to 3D print custom car parts that last? From radio delete plates to exterior trim, the wrong 3d printing filament can melt or warp on a hot summer day.
In this guide, you’ll learn the best filament, printers, and settings to make durable, OEM-quality 3d printed car parts.
STEP 1: PICK THE RIGHT FILAMENT FOR YOUR CAR PART
Not all filaments can survive the inside of the cabin or even parts mounted to the outside of your car.
So make sure you pick the right filament when 3d printing interior cabin and exterior car parts:
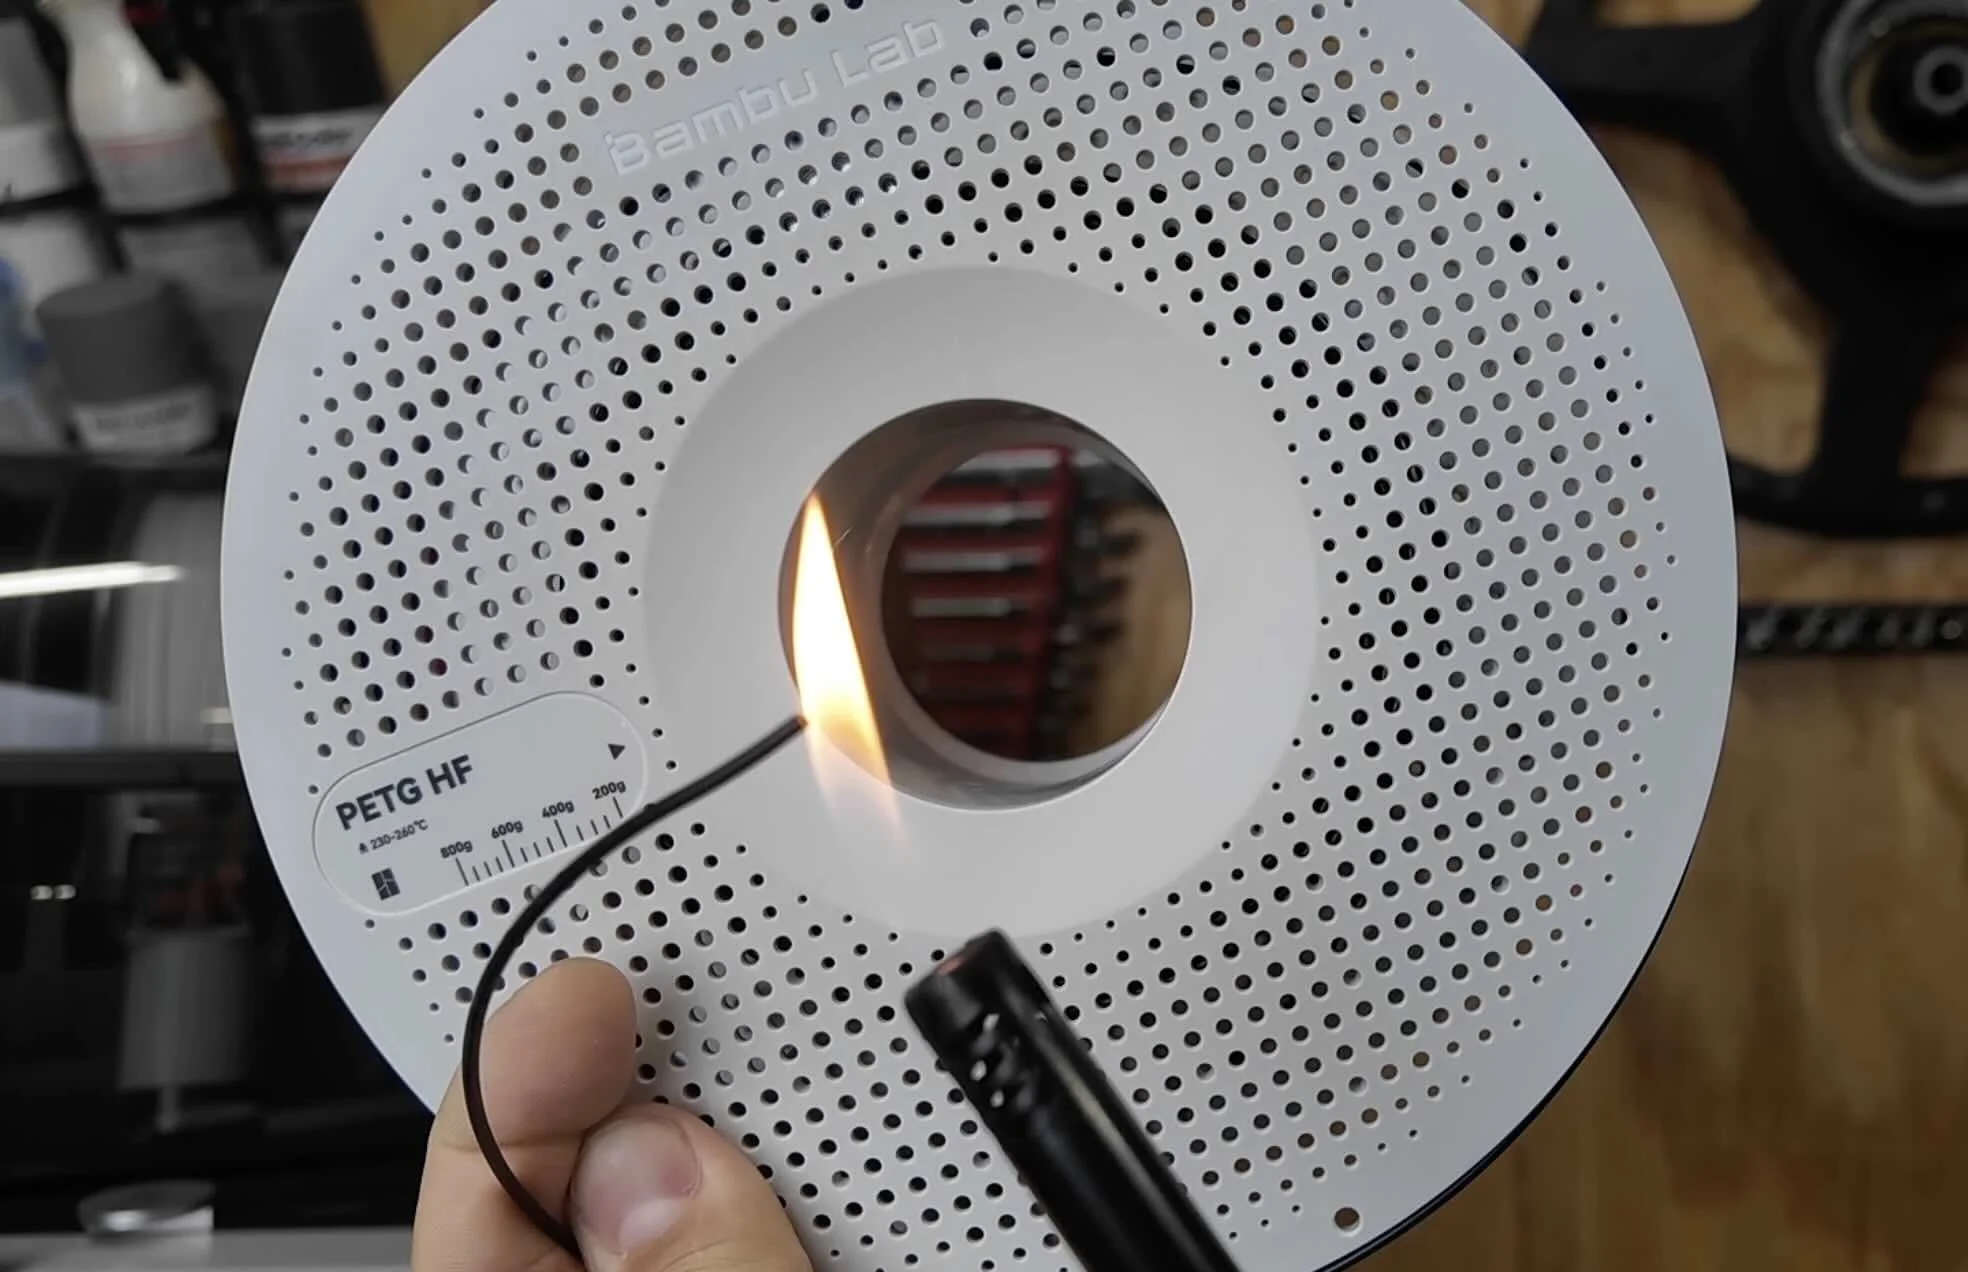
PLA (134°F) → Cheap, easy to print, but melts in the sun.
PETG (154°F) → Slightly better, but can still start to sag in the sun.
ABS (212°F) → Strong, but fades in sunlight over time.
ASA (212°F + UV-resistant) → ✅ Best choice for car parts.
⚠️ Warning: PLA and PETG are only good for prototype car part test fits — not real installs.
For a list of filaments that can withstand engine bay temps, check out our [3d filament selector tool here]
STEP 2: PICK A 3D PRINTER THAT CAN HANDLE ASA
ASA shrinks as it cools, so you’ll need a printer with an enclosure.
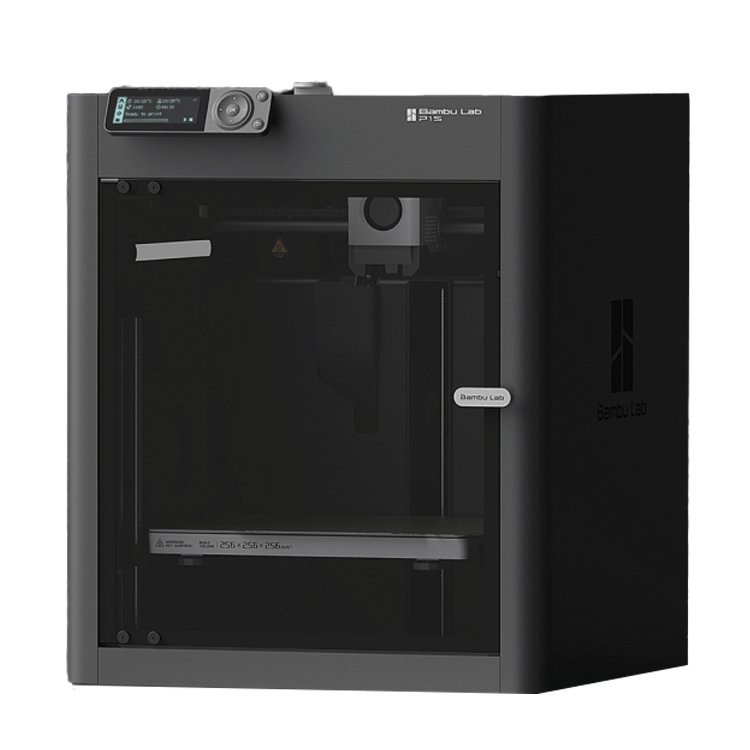


3d Printer for Car Parts Recommended Picks:
Bambu Lab P1S ($600) → Best value, enclosed
Bambu Lab H2S (~$1500) → Large volume for bigger parts
Elegoo Centauri Carbon ($300) → Budget pick, decent for beginners
💡 Pro Tip: Always get a printer with auto-calibration features like auto-bed leveling. It saves hours of frustration.
STEP 3: PREP YOUR ASA FILAMENT
Moisture = weak, stringy prints. ASA is especially sensitive to wicking moisture, so you need to dry it out.
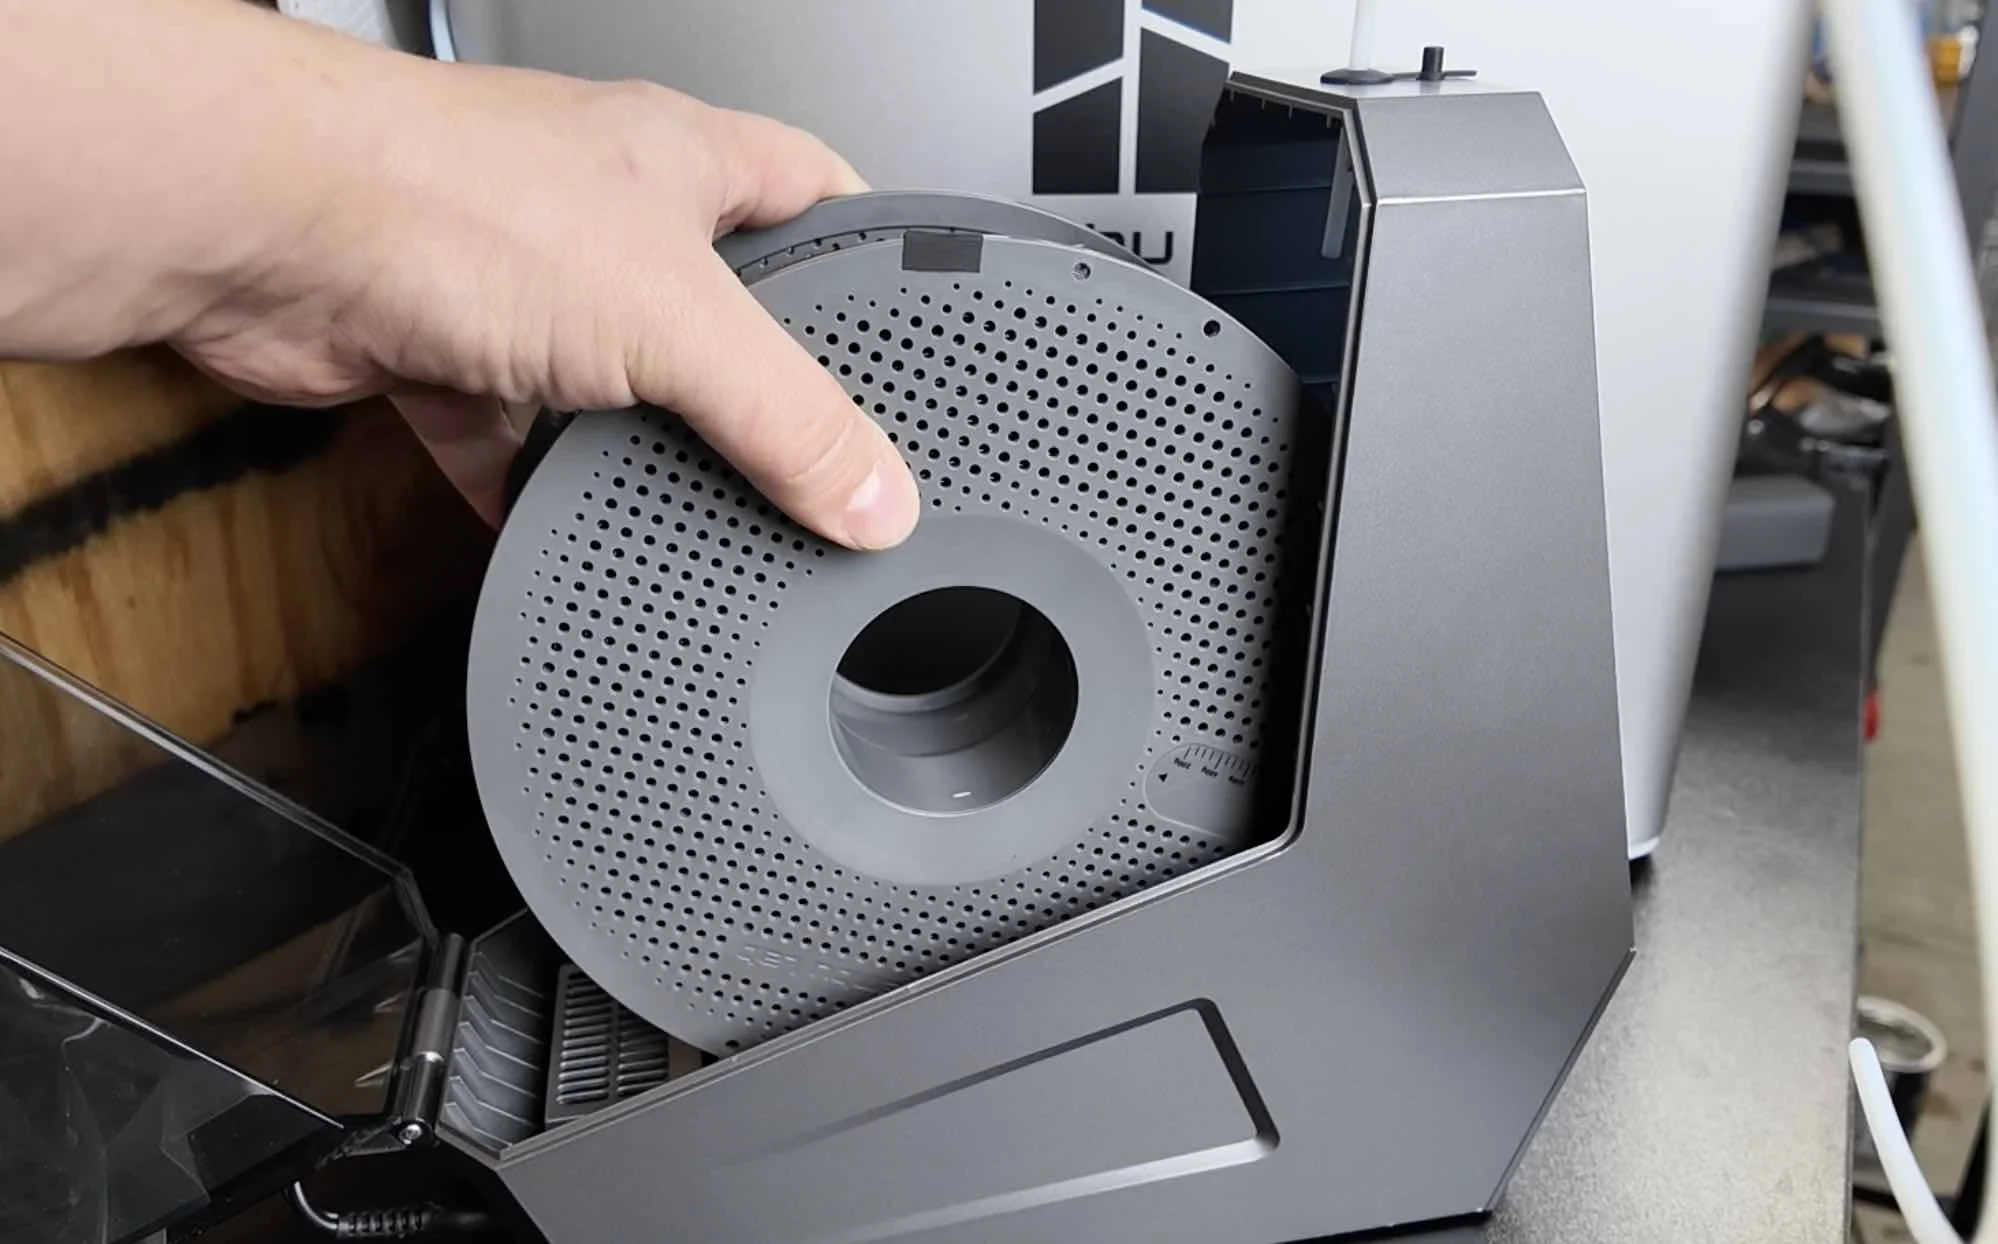
Enclosed 3d Printer Built-in Drying = 12+ hrs
Dedicated Filament Dryer = ✅ faster & keeps spools dry while printing too.
💡 Quick Tip: Dry your filament every time before printing for flawless 3d printed car part prints.
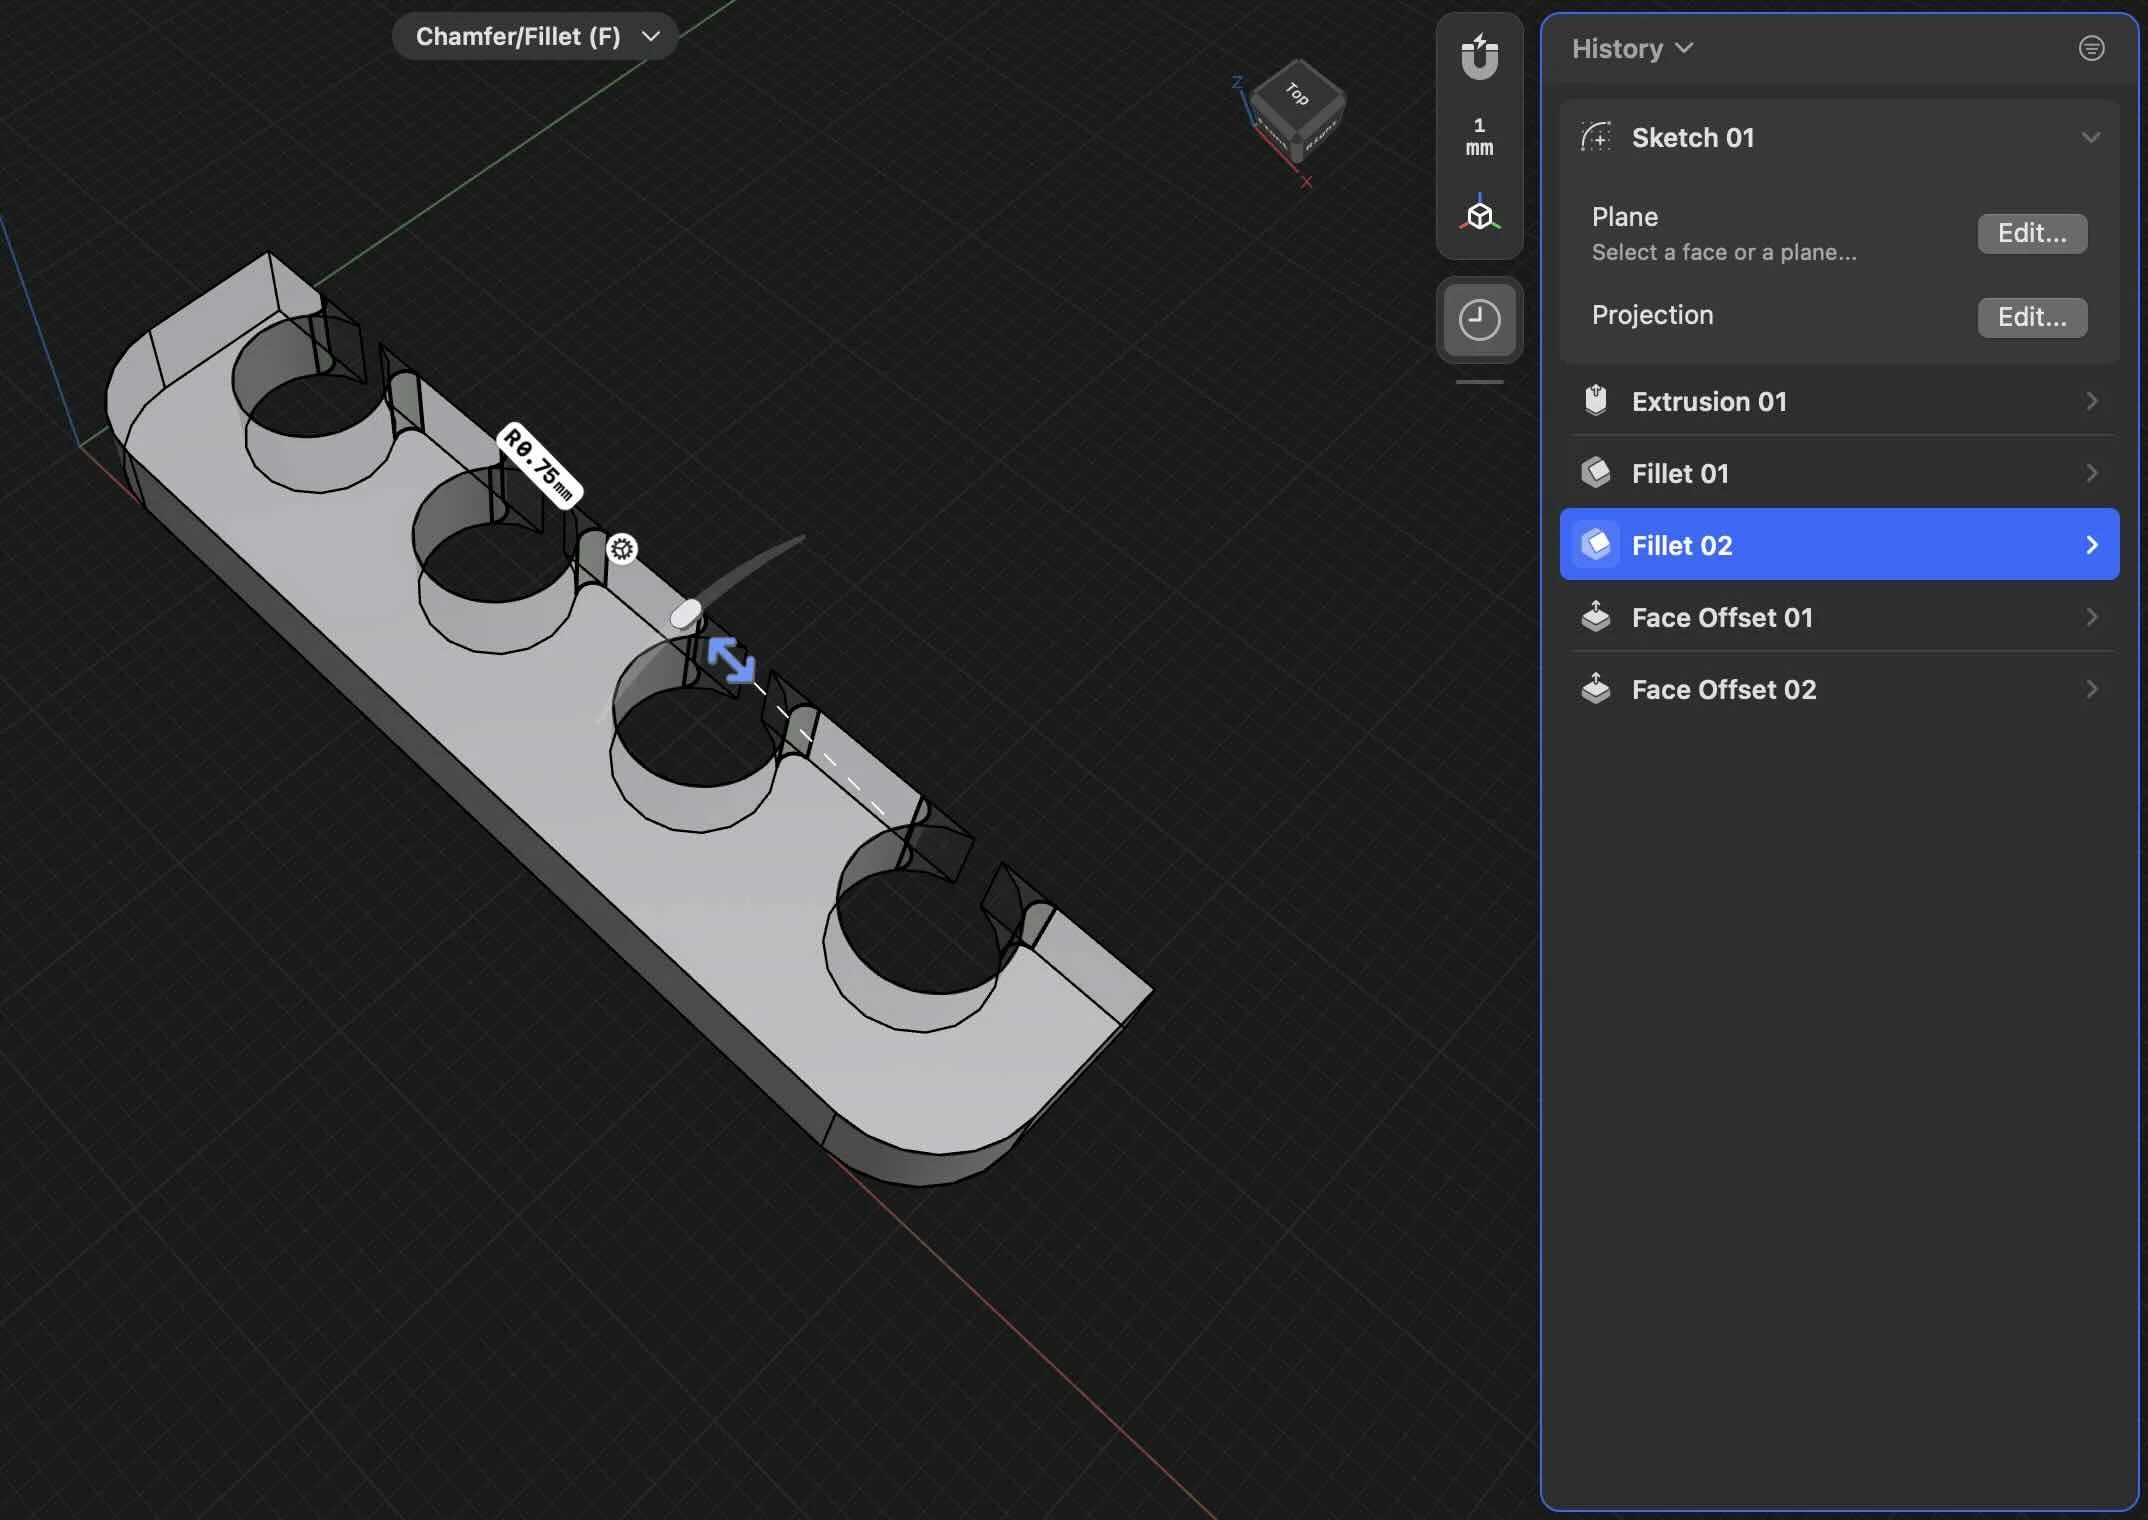
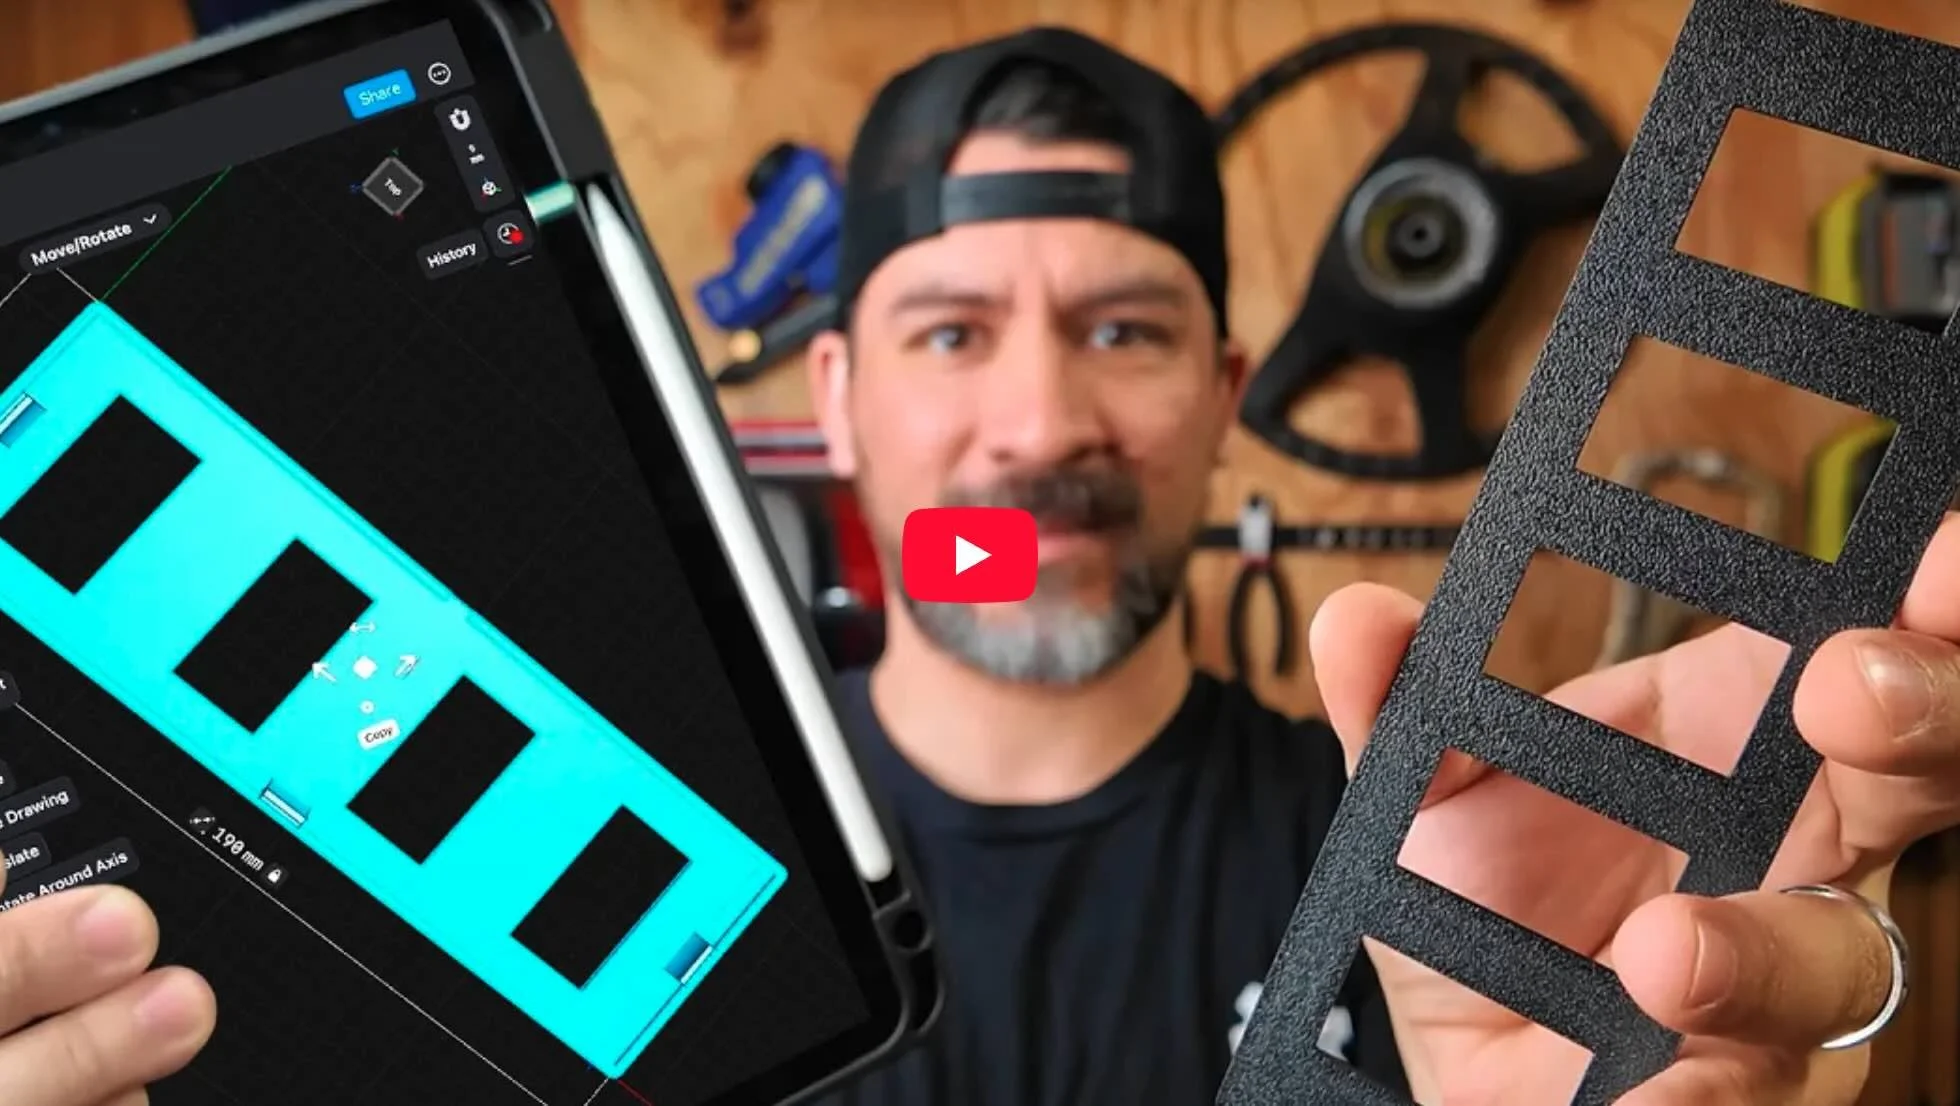
STEP 4: ADJUST SLICER SOFTWARE SETTINGS
These software slicer settings can help provide your car parts a bit more stability, ease of use, and more texture:


2 Wall Loops (Default) → Increase to 4 for added layer adhesion
Infill (Default Grid) → Change to Gyroid, pattern increases stiffness
Supports (Default Normal) → Tree supports for easy removal
Add Brim → Places extra material around part on first layer which helps prevent warping
Fuzzy Skin (Default Disabled) → Enable, it can add an OEM-style texture
Optionally you can opt for the following
ASA + Carbon Fiber Filament → Helps hide layer lines
Requires a Hardened Steel Hotend/extruder Upgrade → For Bambu Lab P1S.
With ASA filament, an enclosed printer, and the right settings, you can 3D print car parts that resist heat, look OEM, and cost just a few dollars in filament.
Design 3d Printed Car Parts That Match Your Exact Build.
One afternoon. No complex software. Parts that fit your build perfect.
Instant Access, Risk Free Money Back Guarantee
GRAB MORE STARTER DESIGNS HERE