
DESIGN AND 3D PRINT A RADIO DELETE PLATE WITH SHAPR3D
THE BIG PROBLEM
The original pre-made radio delete plate I downloaded from thingiverse was super bulky and had super thin clips that failed during installation.

Our fix? Design a new radio delete plate from scratch.
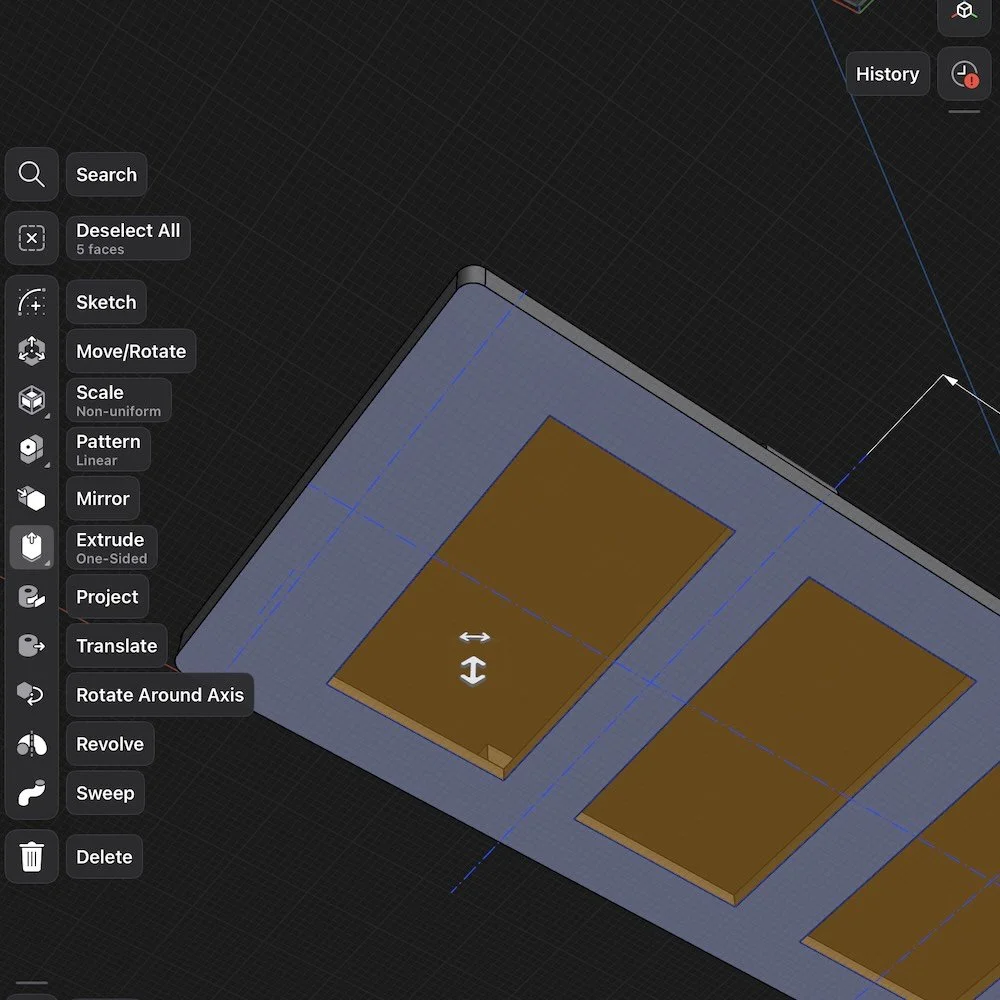
The first measurement we needed to correct was the depth of the radio delete plate insert.
The second was the lip where our newly designed clips would be.

Rather than relying on thin tabs, we built beefier clips—and added more of them into the design.
MODIFY THE DESIGN FOR YOUR RIDE
With the [FREE version of Shapr3d] you can create and modify the pre-made design. Shapr3d is by far one of the simplest CAD software programs out there.
You can run the trial version or the free version. The only downside with the free version is that you can only export low resolution STLs for 3d printing.
But if you go for the Pro version of Shapr3D, use the member affiliate code ALLABOUTTHEBUILD10 for 10% off.
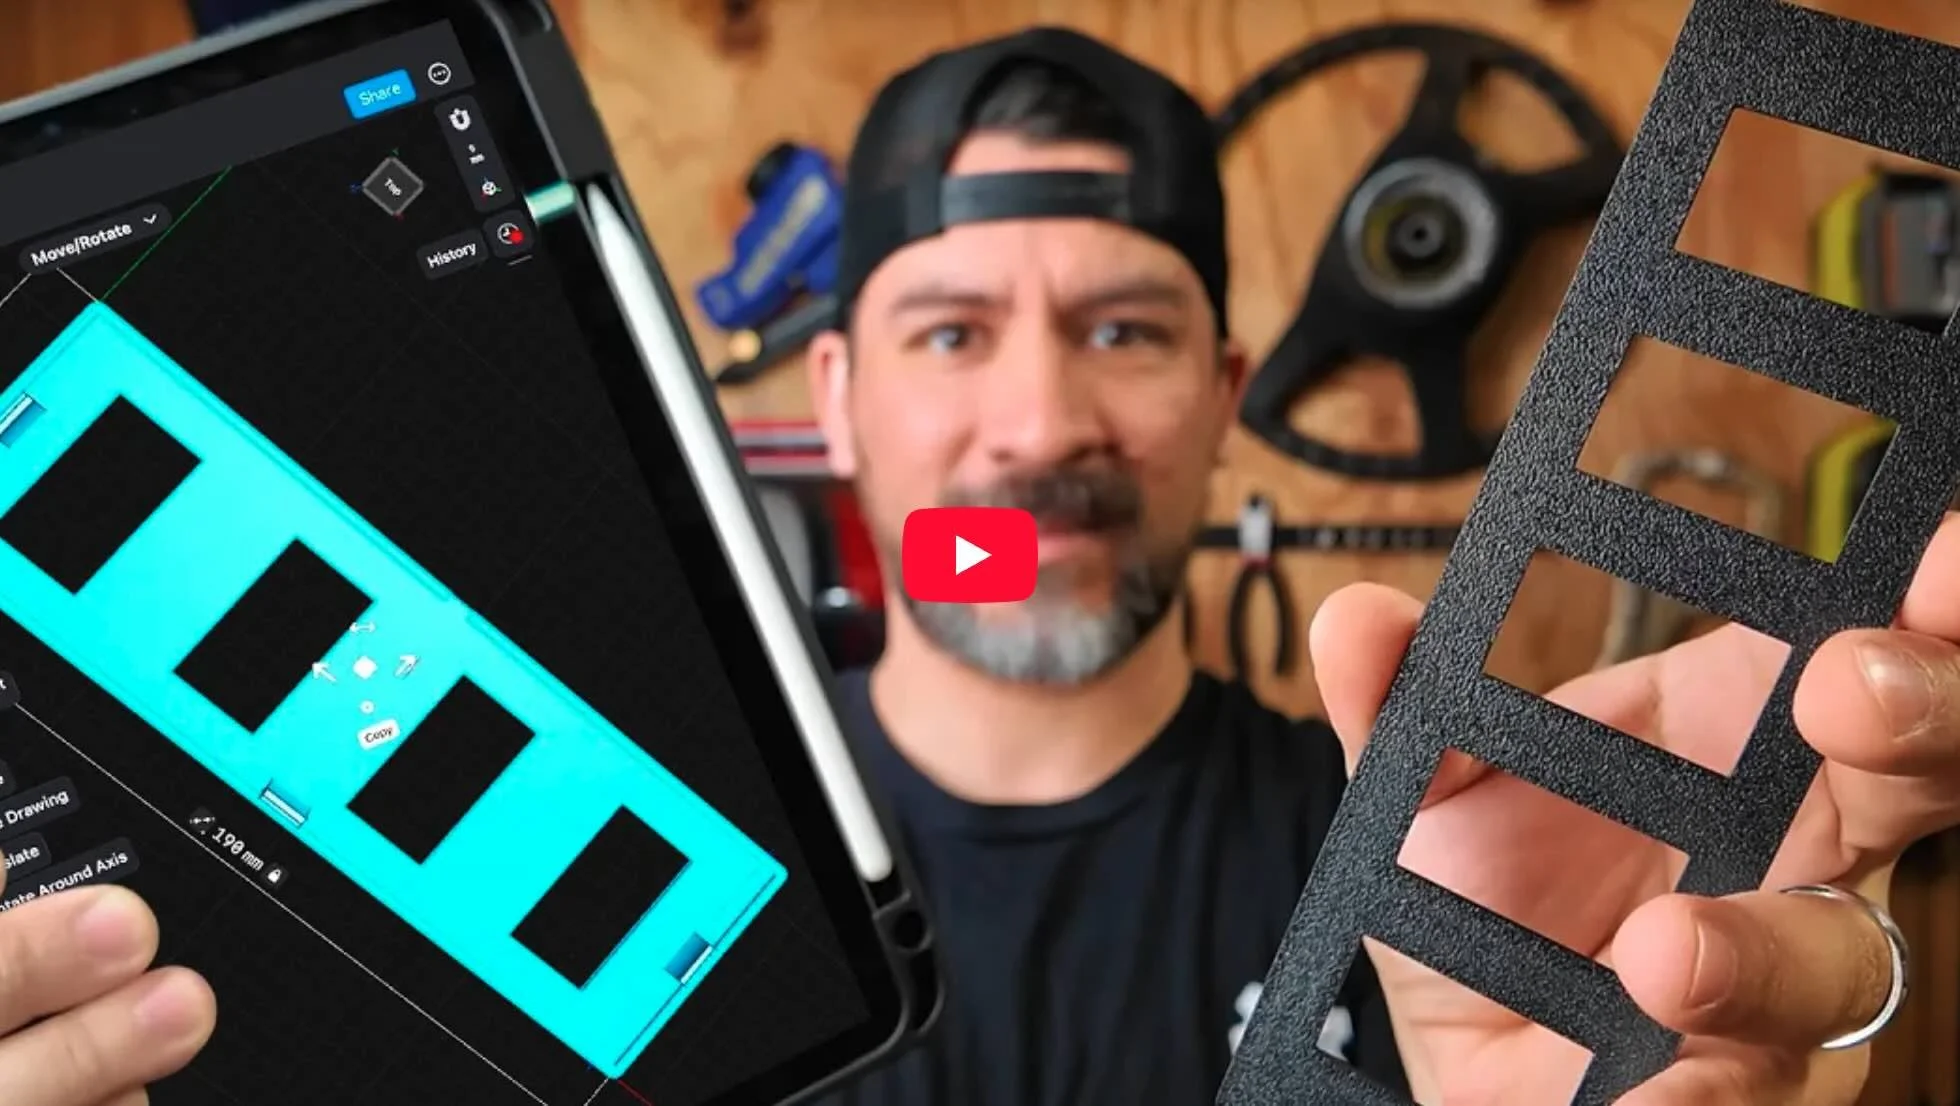
Using the sketch tool in Shapr3d, you can import and modify the size of the free radio delete plate to fit your cars measurements.
Grab the full 3d printing car parts guide plus the pre-made car parts STL bundle that includes the radio delete plate design.
You can add or remove the rectangular inserts based on your application with the extrude tool as well.
PRINT THE PART
Once you have the right size, you can export the design as an STL file and load it into your favorite 3D printing slicer software.
💡 PRO TIP: Use UV-resistant ASA filament, which is perfect for in-car applications thanks to its ability to withstand temperatures up to 220°F.
And if you need help picking out a 3d printer for car parts check out this [3d printer selector for car parts here].


The result? A snug-fitting, durable 3d printed radio delete plate with solid mounting clips.
But there’s one more trick…
You can even 3d print your part in more than one color with an AMS or automatic material system [from Bambu Lab].
Just insert your radio delete plate and svg image into your slicing software, center your parts, reduce the height of the image, and merge the objects.
We have an entire guide on multi-color 3d printing car parts here.
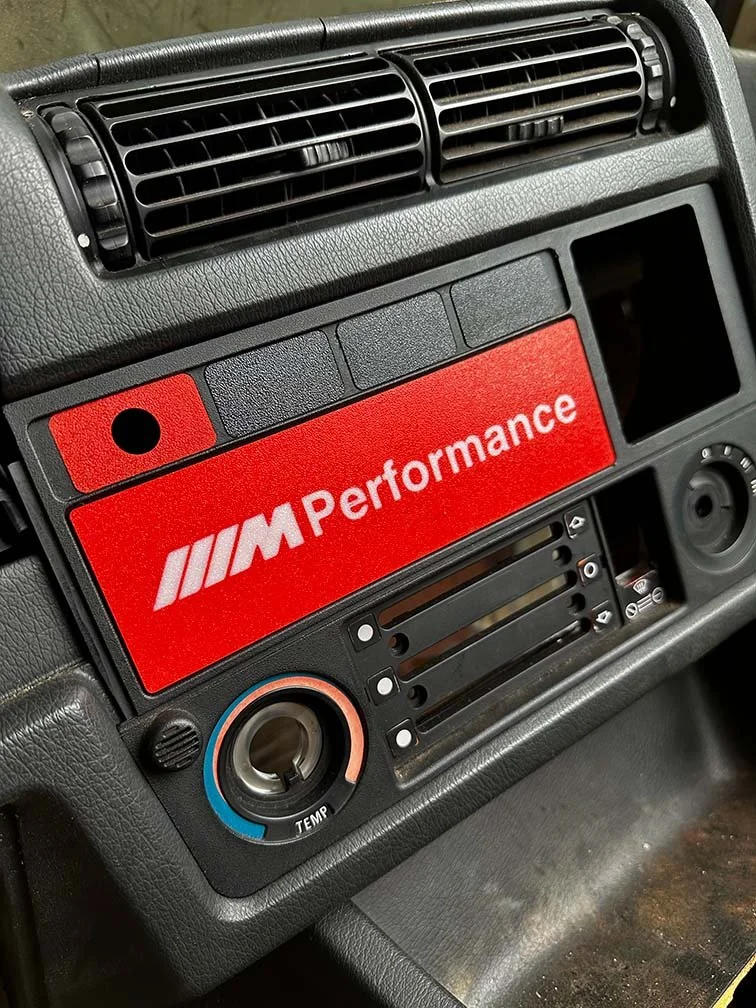
The result? A secure, custom-designed panel that fits like a glove.
Design 3d Printed Car Parts That Match Your Exact Build.
One afternoon. No complex software. Parts that fit your build perfect.
Instant Access, Risk Free Money Back Guarantee