
HOW TO 3D PRINT CAR PARTS - THE COMPLETE BUILDERS GUIDE 2026
CAR PART FILAMENT SELECTOR | SCANNING & 3D PRINTING CAR PARTS | DIGITAL DASH BUILD | DESIGN YOUR FIRST CAR PART
STEP 1. PICK THE BEST 3D PRINTER FOR CAR PARTS
I recommend one of two enclosed 3d printers that we use to make custom car parts.
Option 1: Budget Build
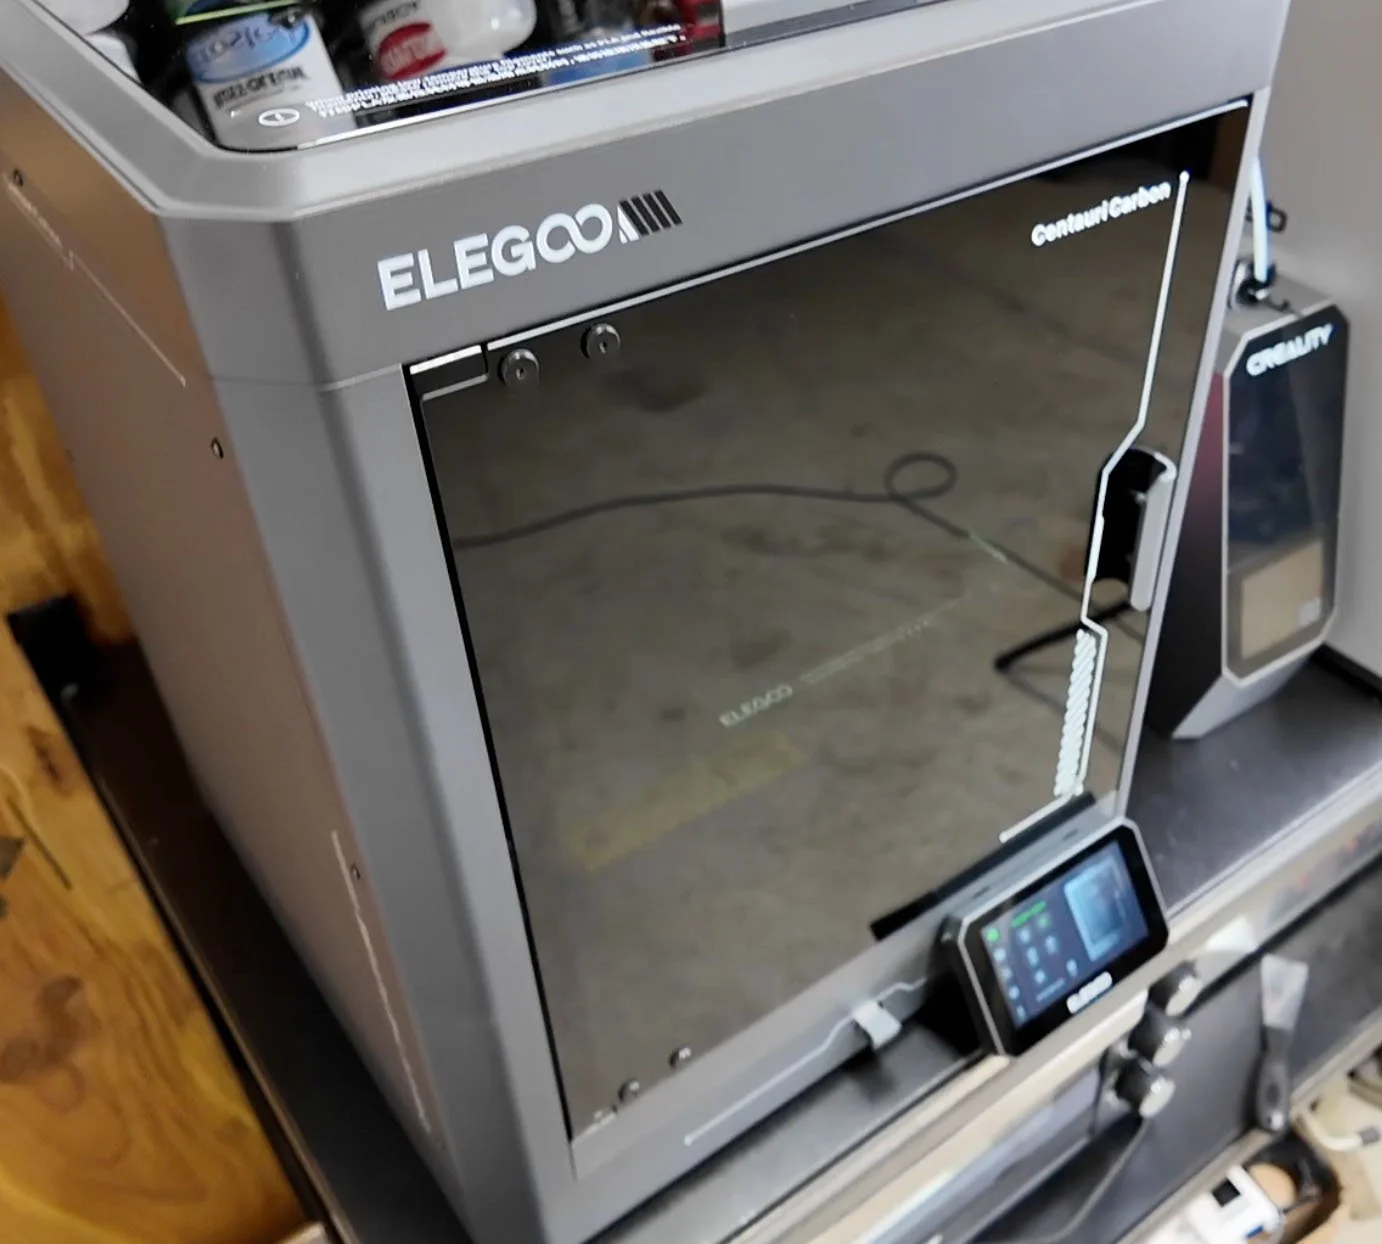
If you’re a beginner on a budget, then the Centauri Carbon from Elegoo is perfect.
It’s great for car parts up to 10 inches long, by 10 inches deep, and up to 10 inches tall.
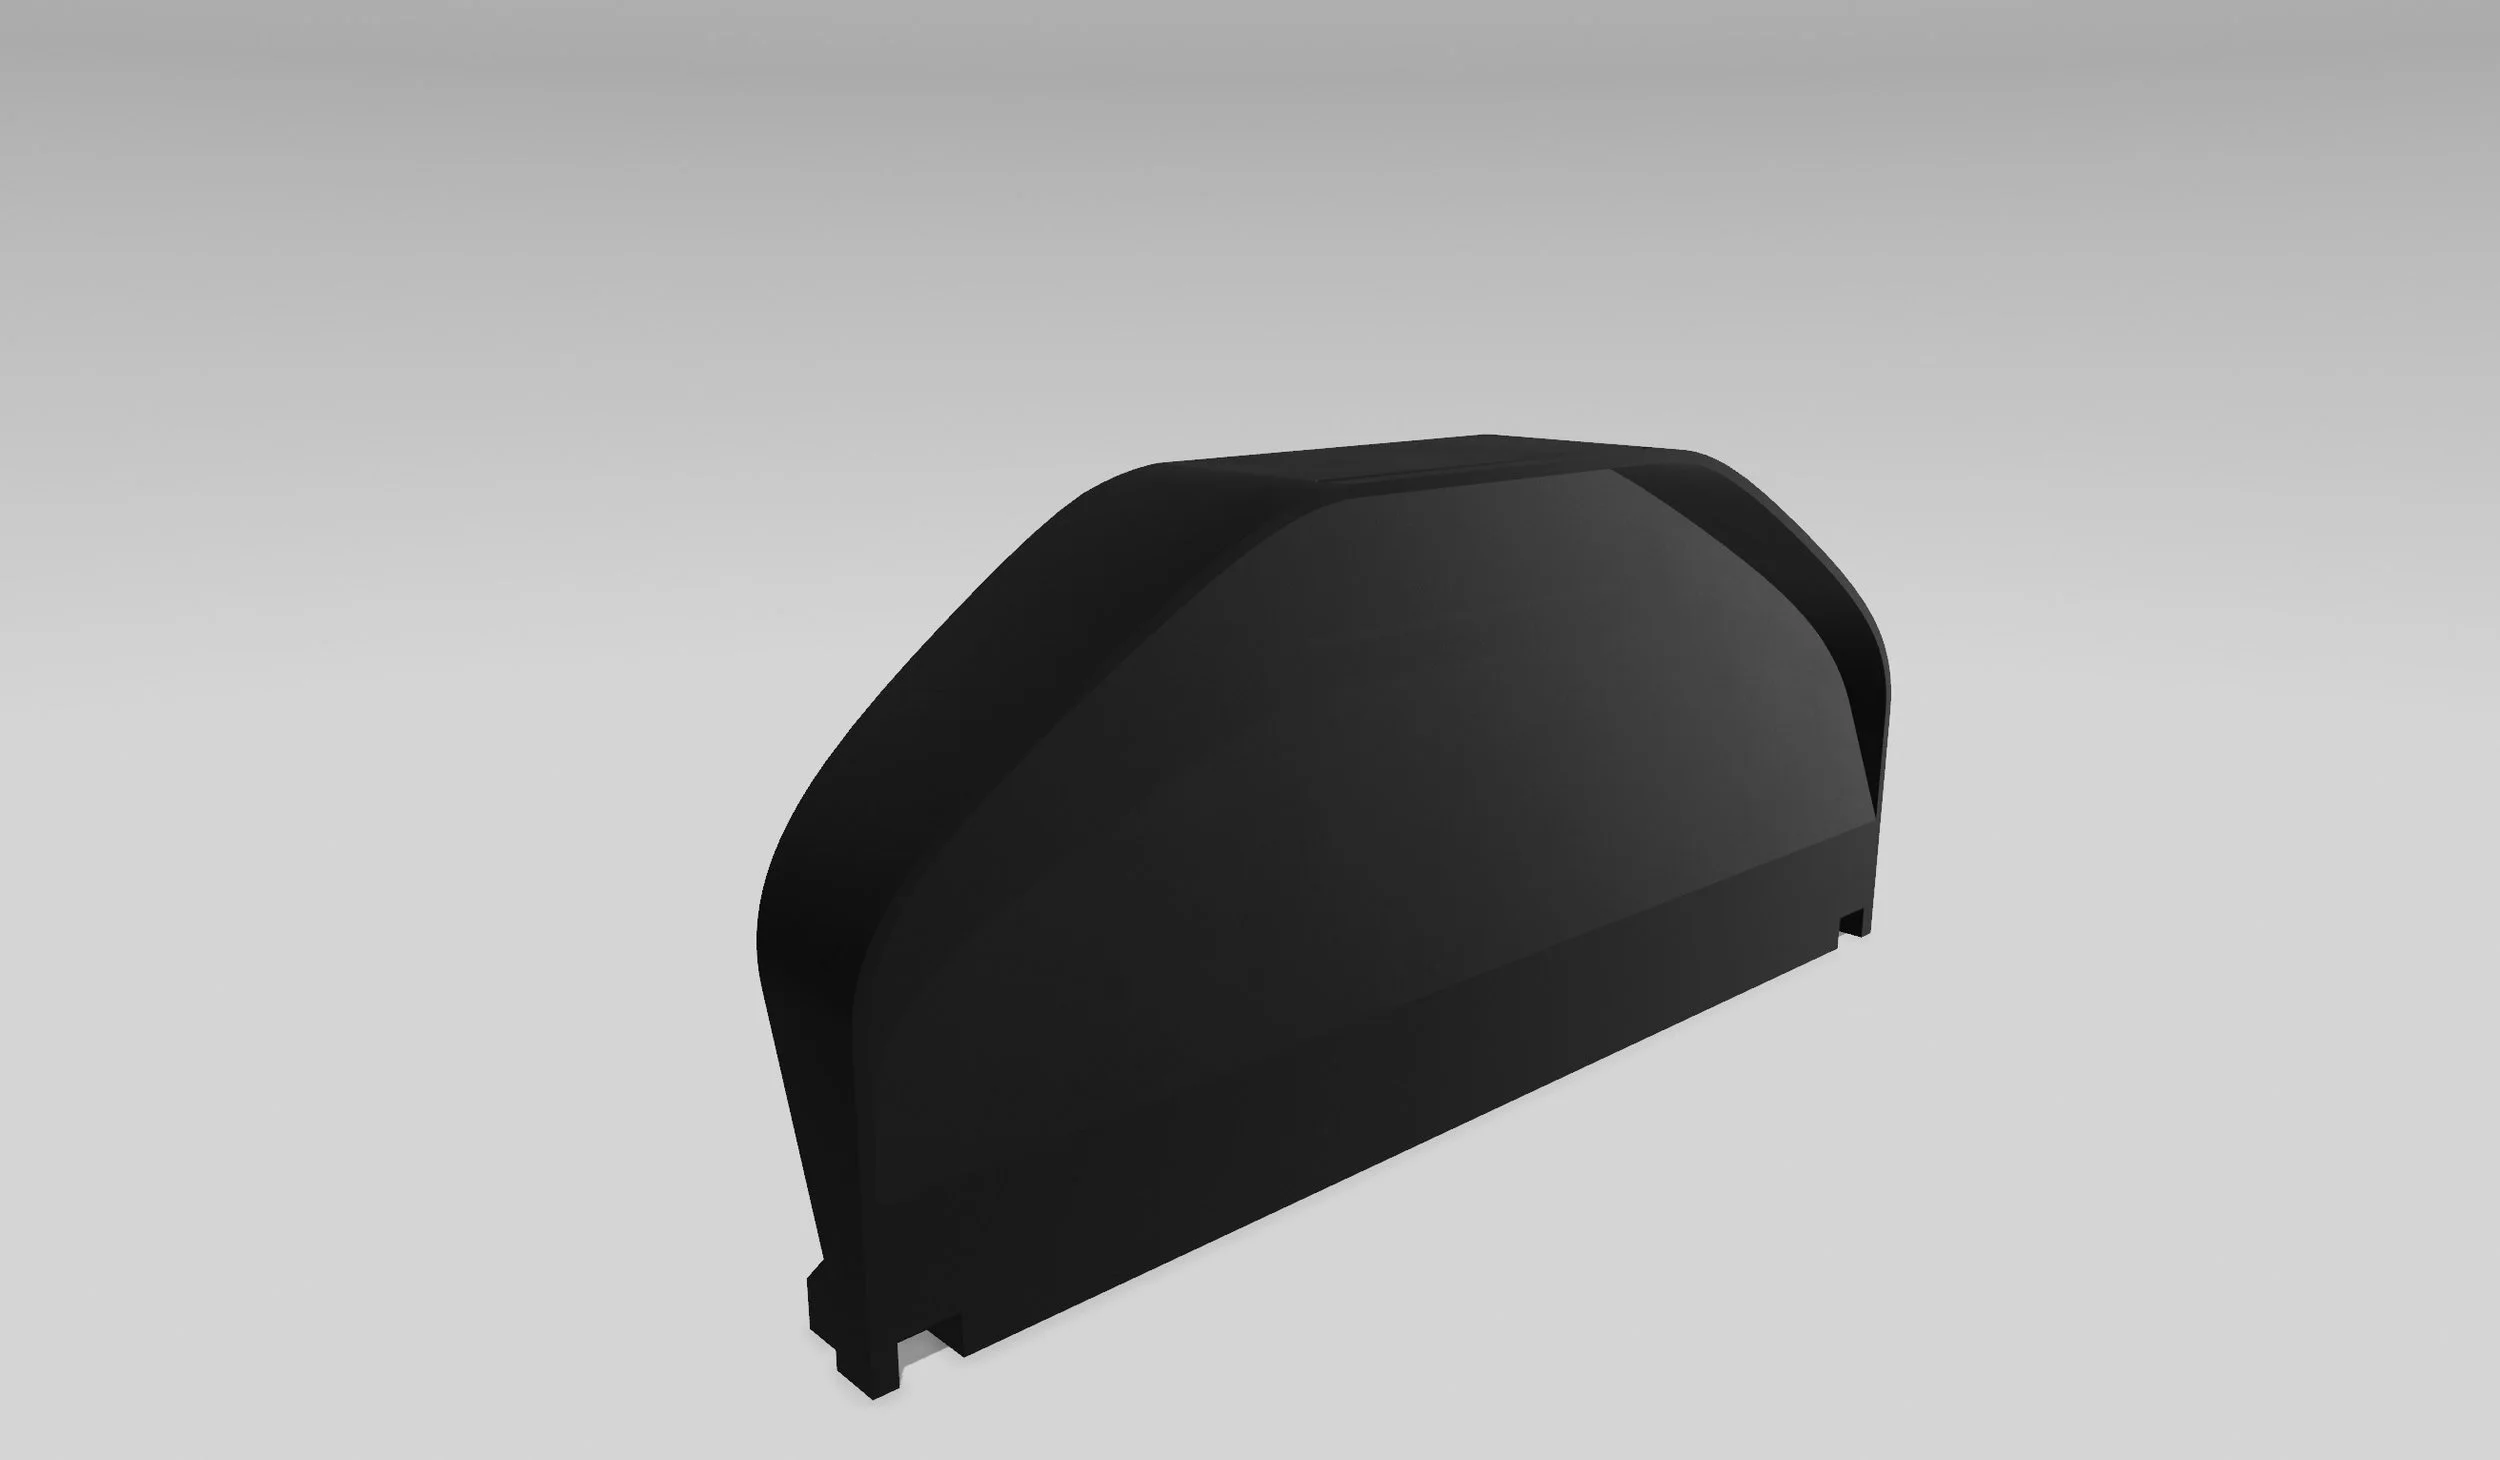
You’ll be able to print parts like interior blanks, radio delete plates, fuse covers, wheel caps, exterior plastic parts, and tons more.
Option 2: Xtra Lrg Parts
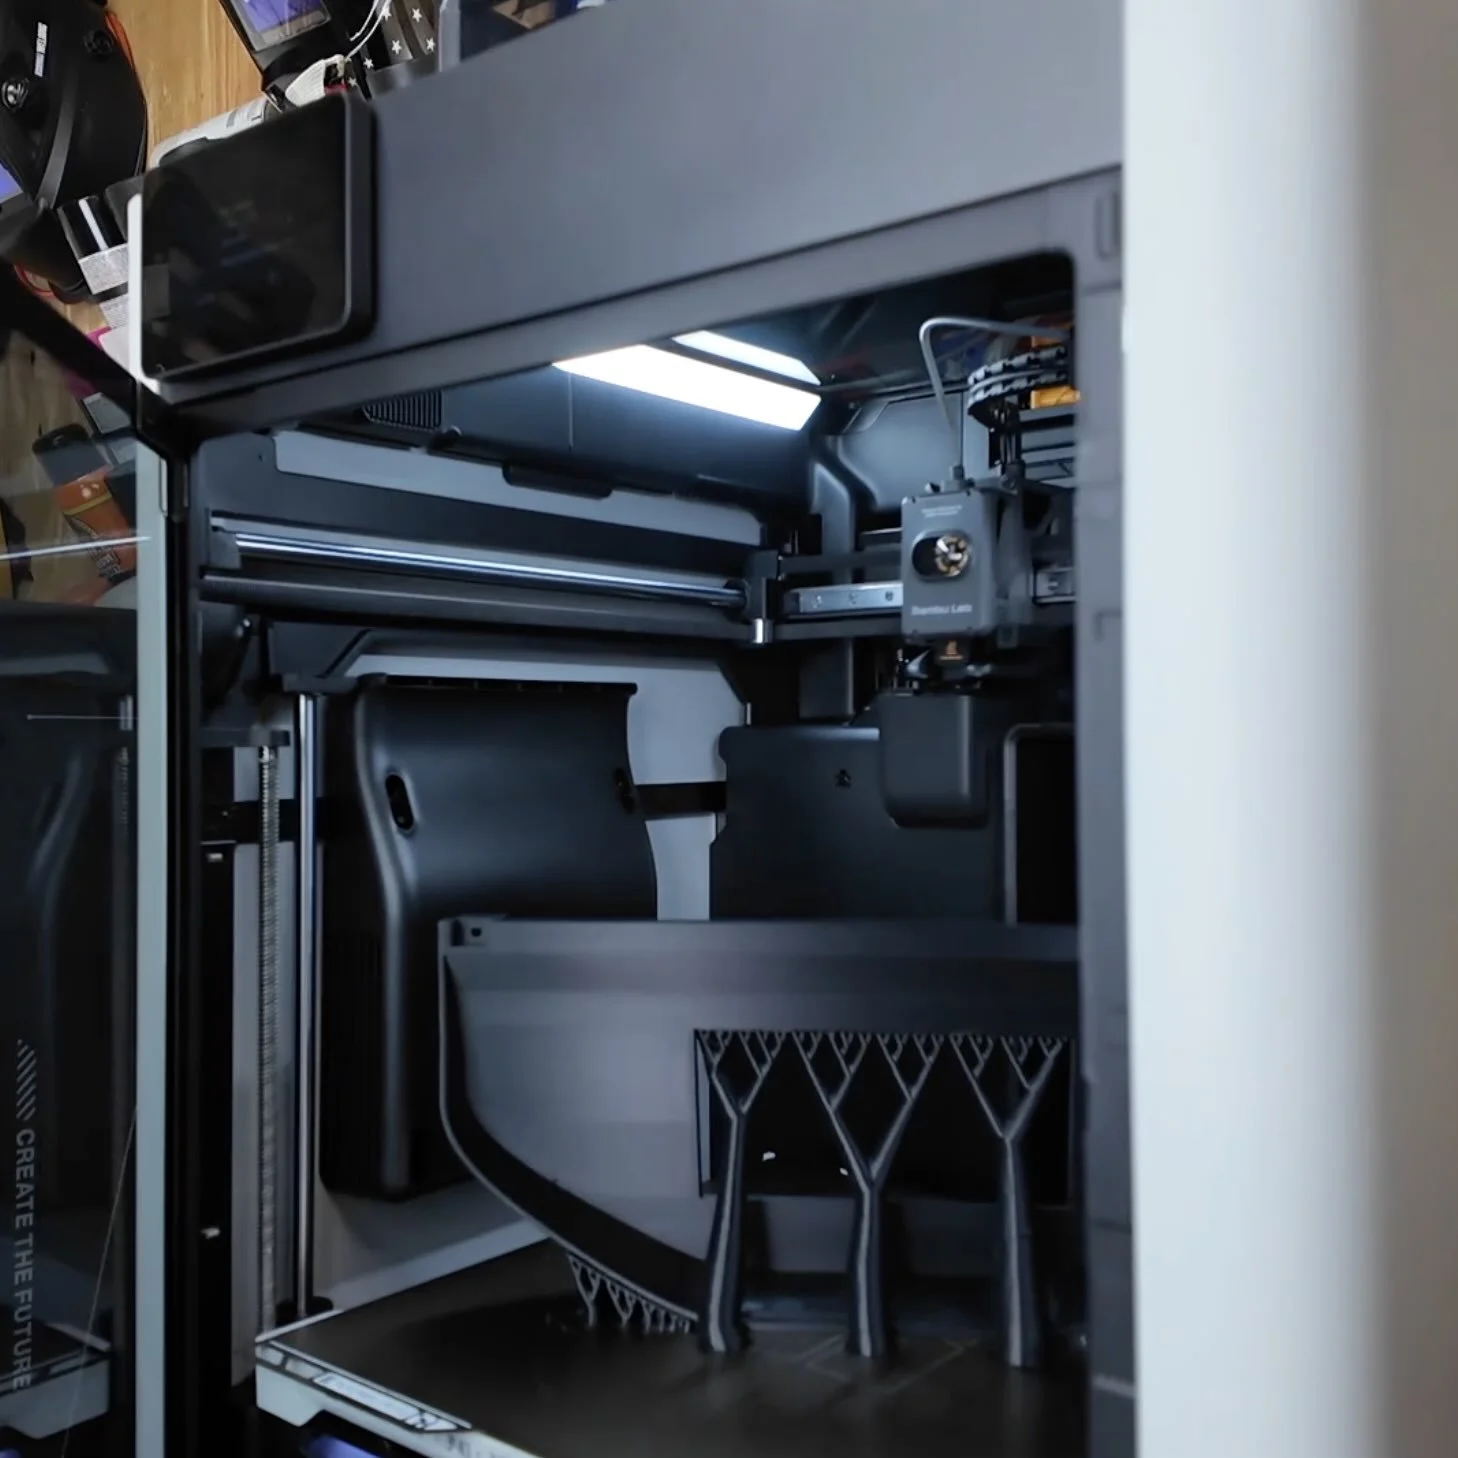
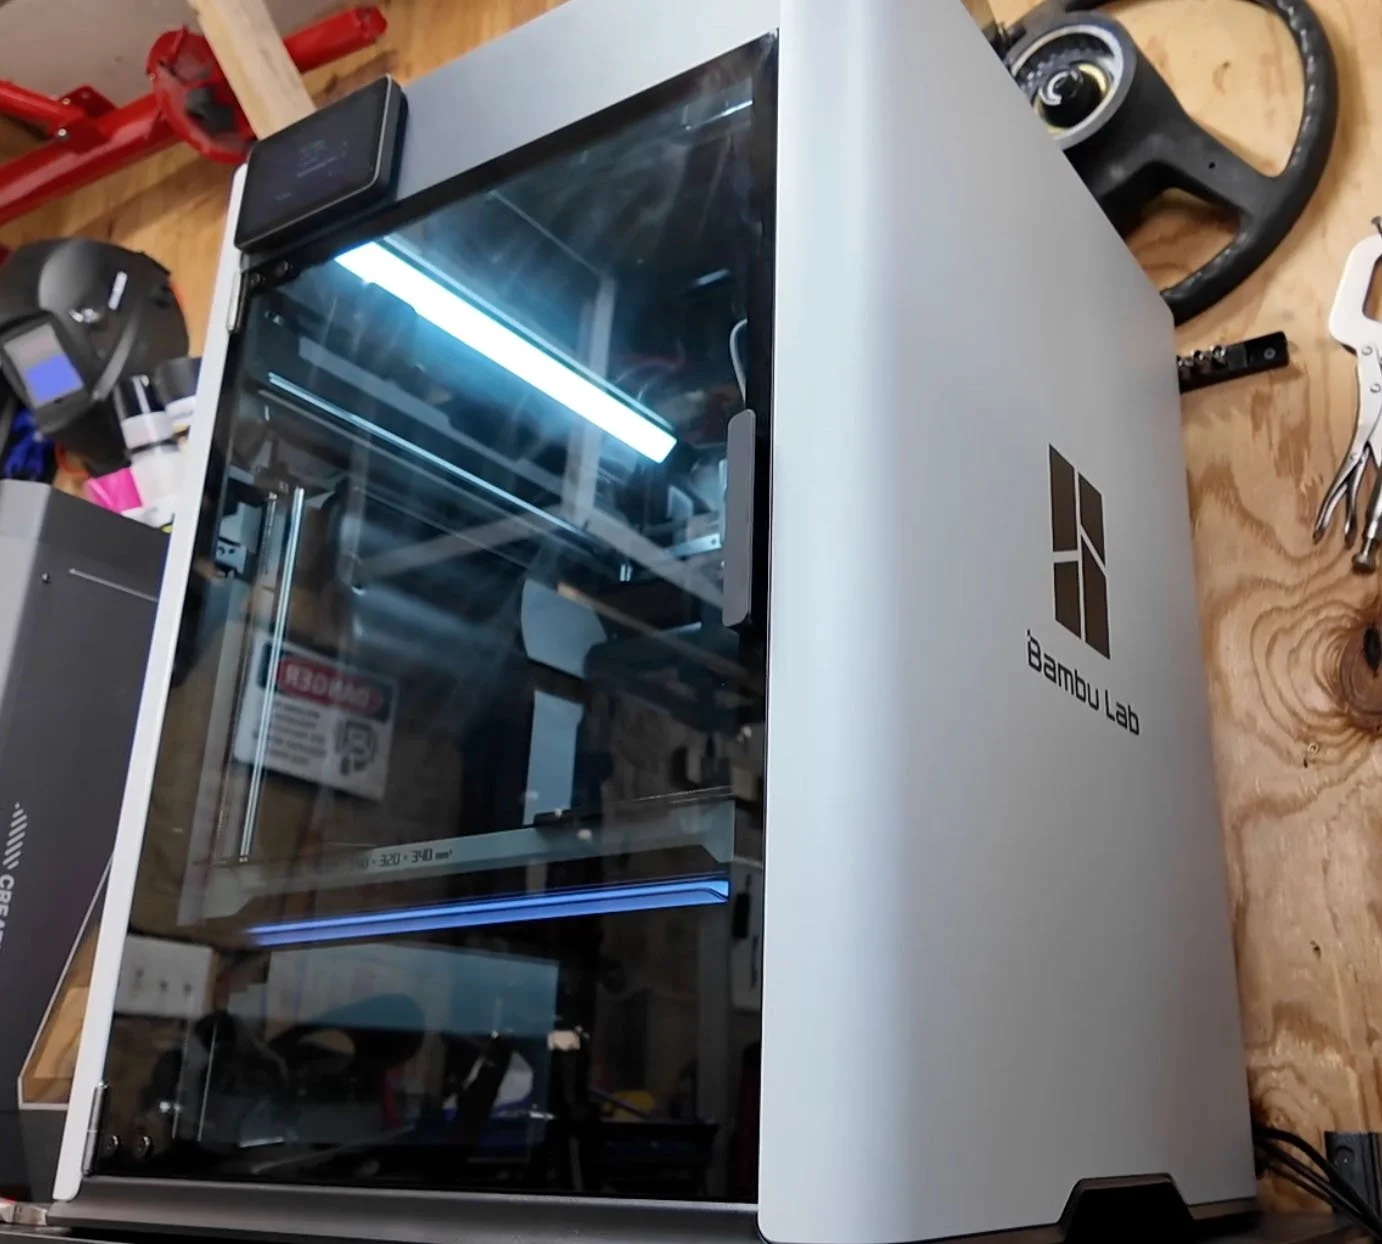
If you need to print bigger parts like full size digital cluster gauges, or other large car parts then I recommend the Bambu Lab H2S along with an AMS 2 Pro.
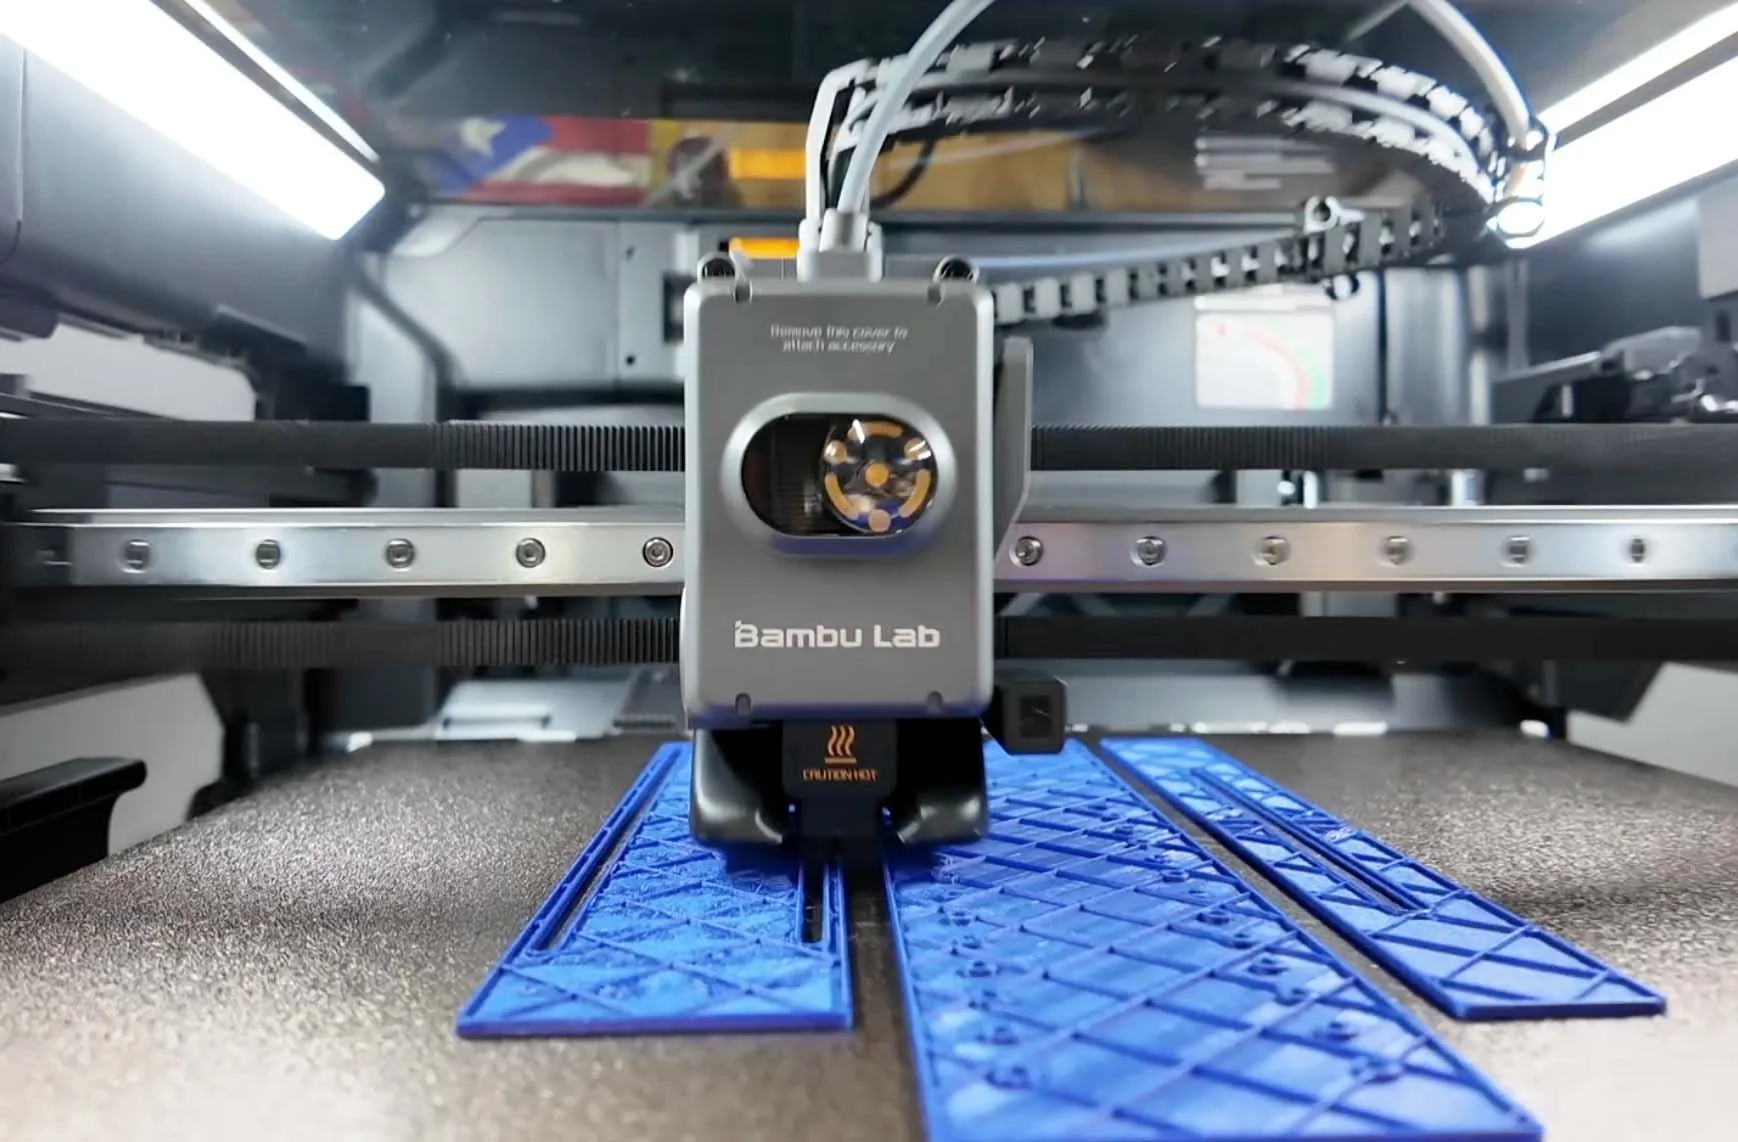
The H2S can print parts up to around 13.3 inches long, by 12.6 inches deep, and up to 13.3 inches tall.
With the AMS 2 Pro, you’ll be able to print your car parts in multiple colors and the AMS 2 Pro also helps prepare higher end filaments.
STEP 2. CHOOSE THE RIGHT MATERIAL TO PRINT WITH
For interior or exterior parts, I recommend ASA filament material.
It’s a thermoplastic that’s an upgraded version of ABS which most plastic parts in your car are made of.

ASA can handle temps up to 200 degrees Fahrenheit and has superior weather and UV resistance too.
Just make sure you remove the moisture before you print your part with a filament dryer.
If you’re using the Elegoo Centauri Carbon, you can use a standalone filament dryer.
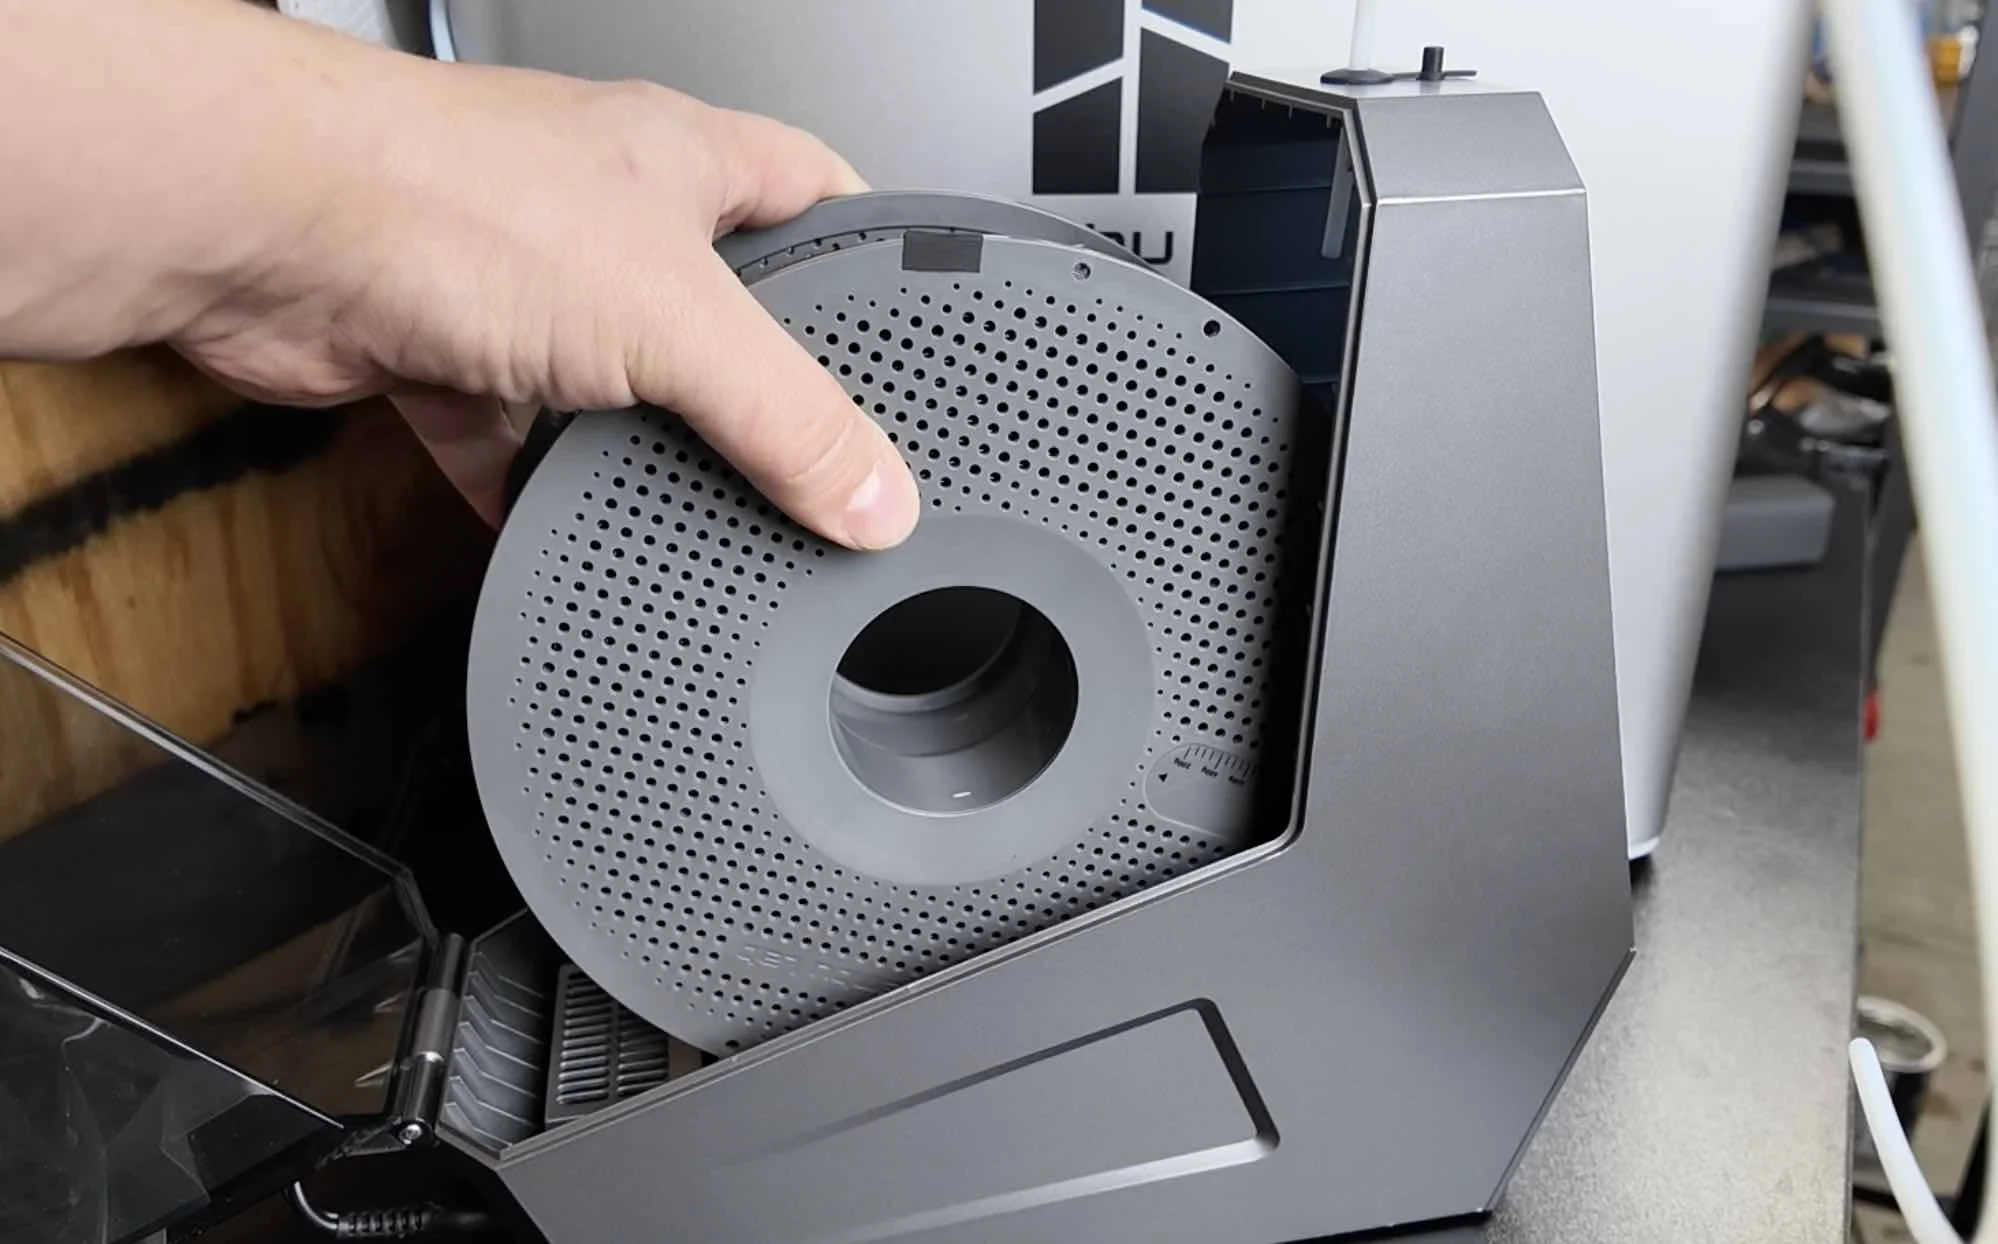
The AMS 2 Pro that you can purchase along with the H2S not only allows you to print in multi-color, but also dries filament too.

It includes a built-in heating element and also rotates the filament during the drying process which helps remove moisture evenly across your rolls of ASA filament.
If you want to save a few bucks and don’t care about multi-color printing, you can also go with the single Bambu Lab AMS HT filament dryer instead.
💡 Pro Tip: ASA needs to stay nice and warm during the entire printing process or your part can start to warp. Always dry your filament
Centauri Carbon Settings:
Pre-heat the printer with the print bed on max temp for 20-30 minutes before you start your print and make sure all the fans are off while 3d printing your ASA filament.
Bambu Lab H2S Settings:
The H2S has a built-in heating chamber with a default setting of 60 degrees Celcius for ASA filament. So you don’t need to pre-heat the printer.
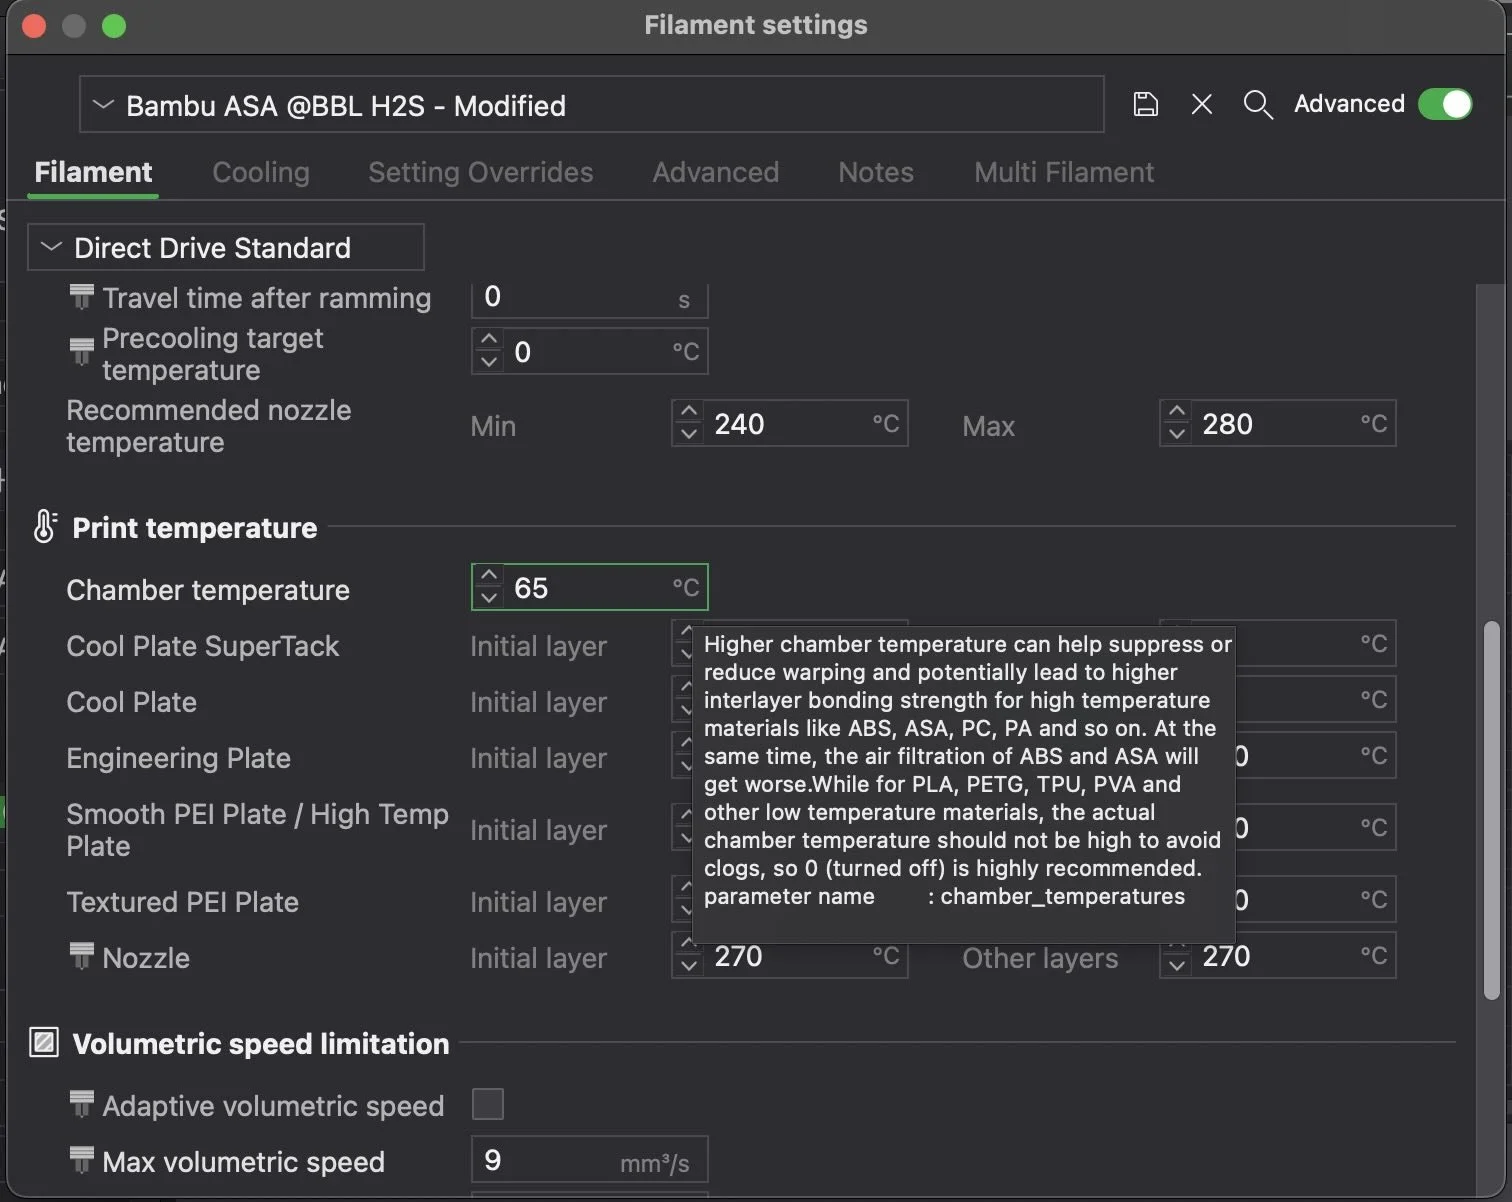
However, increasing the chamber temperature to 65 degrees Celcius in your ASA filament profile will help keep things nice and warm which will prevent your part from warping.
⚠️ Stay Safe: Make sure to follow all the 3d printer manufactures printing recommendations. It’s good to have proper air circulation as certain filament fumes while printing can be unhealthy.
STEP 3. CHOOSE THE PART YOU WANT TO PRINT
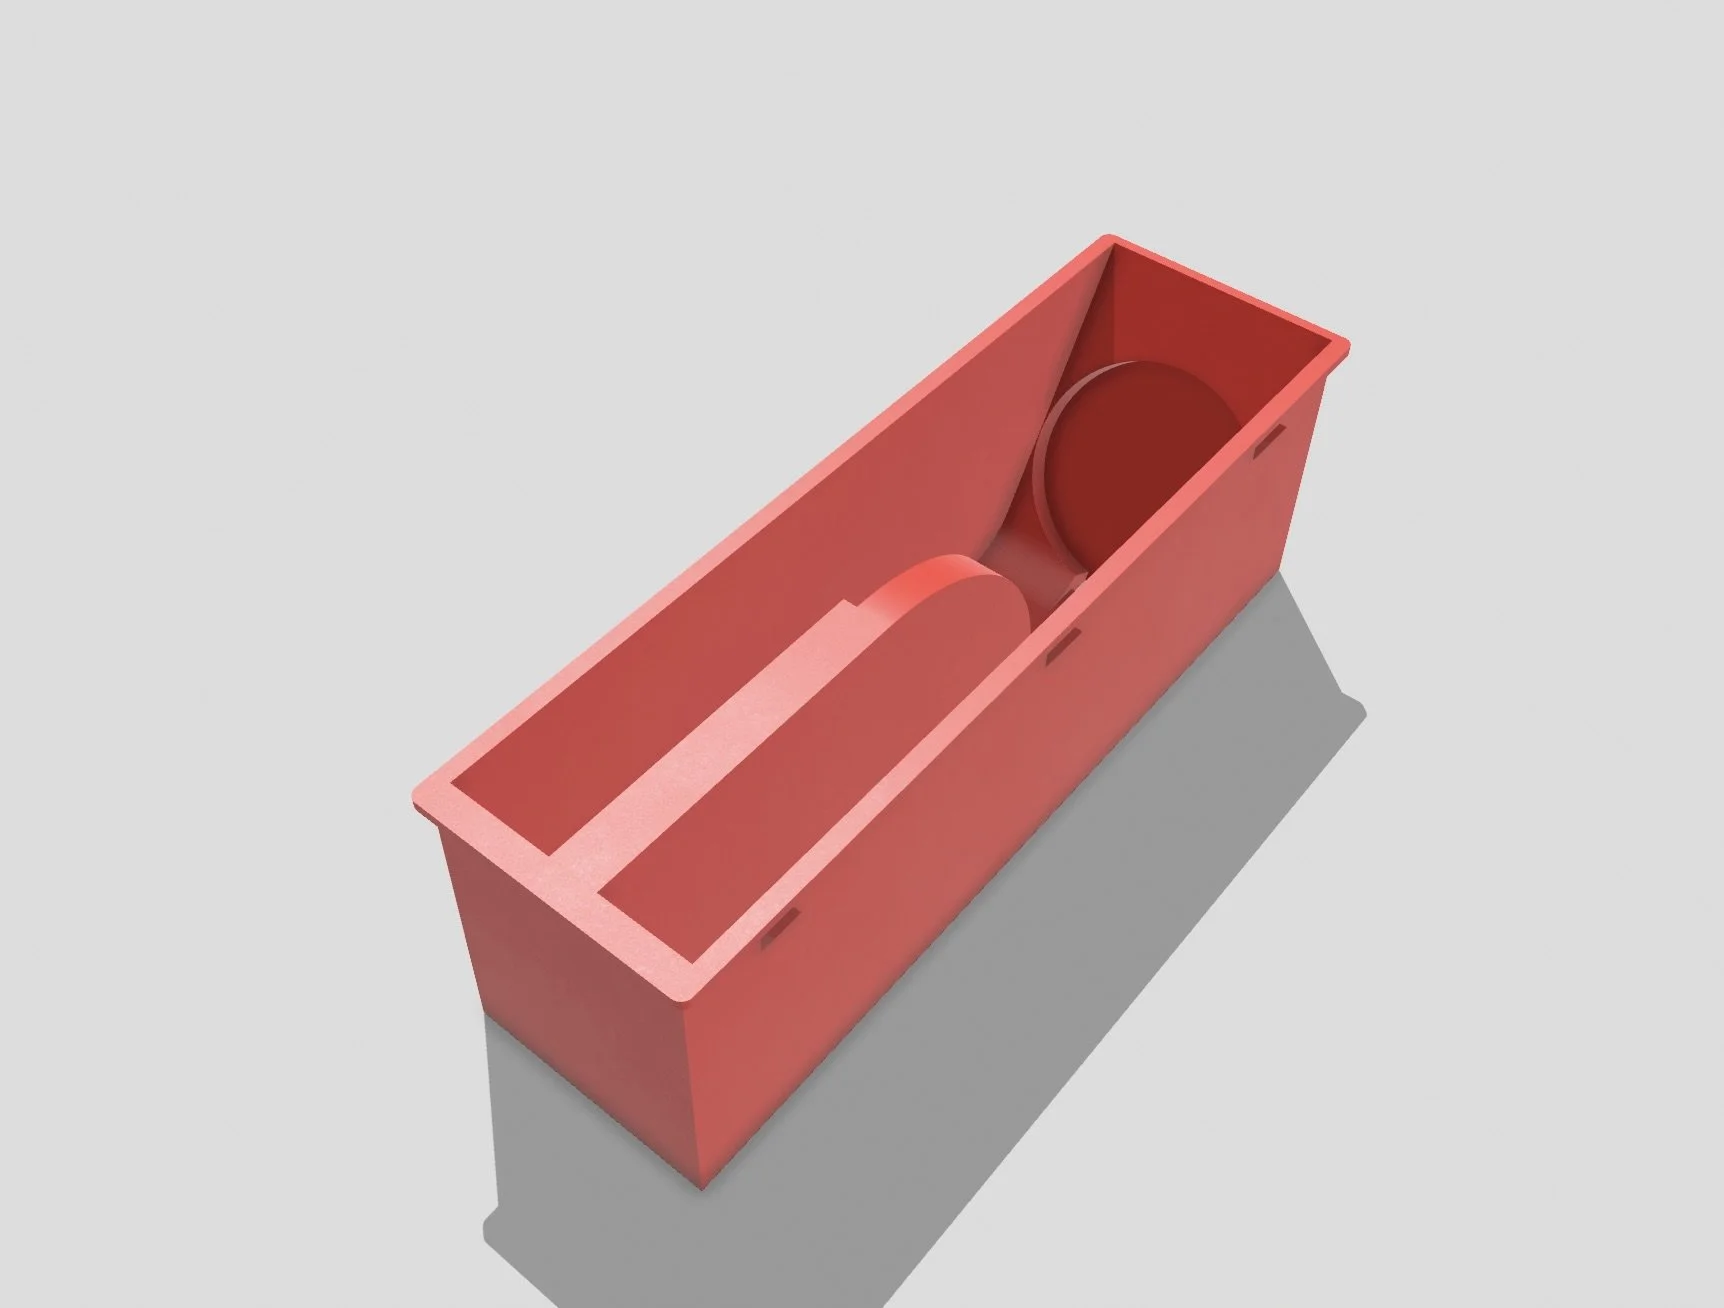
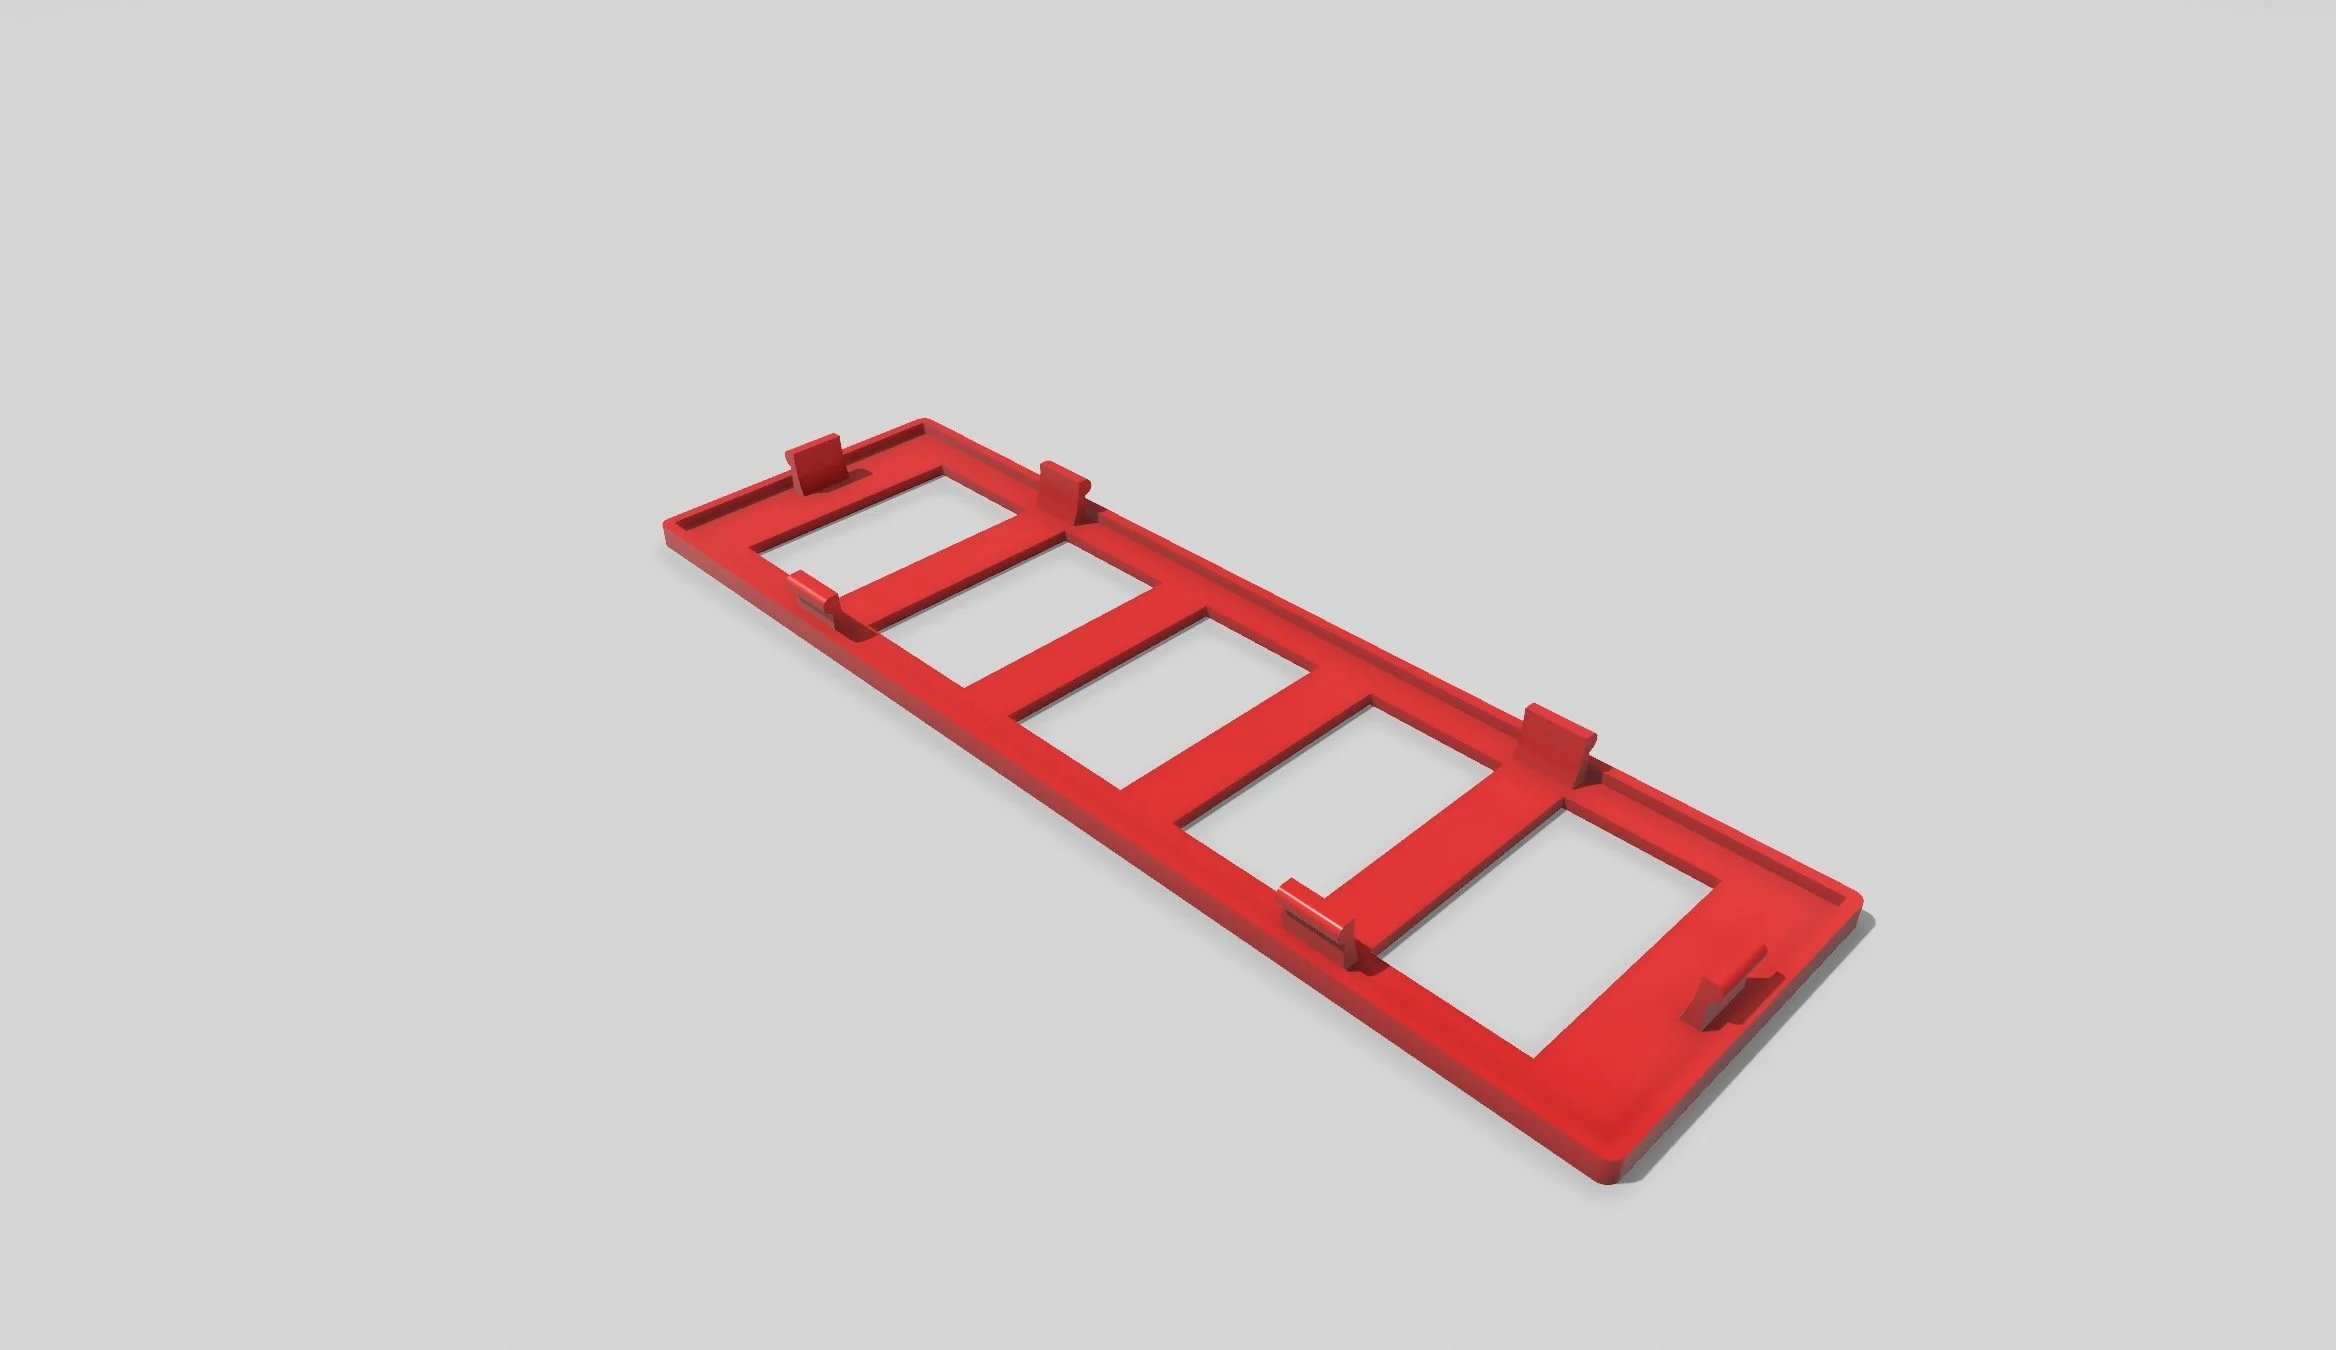
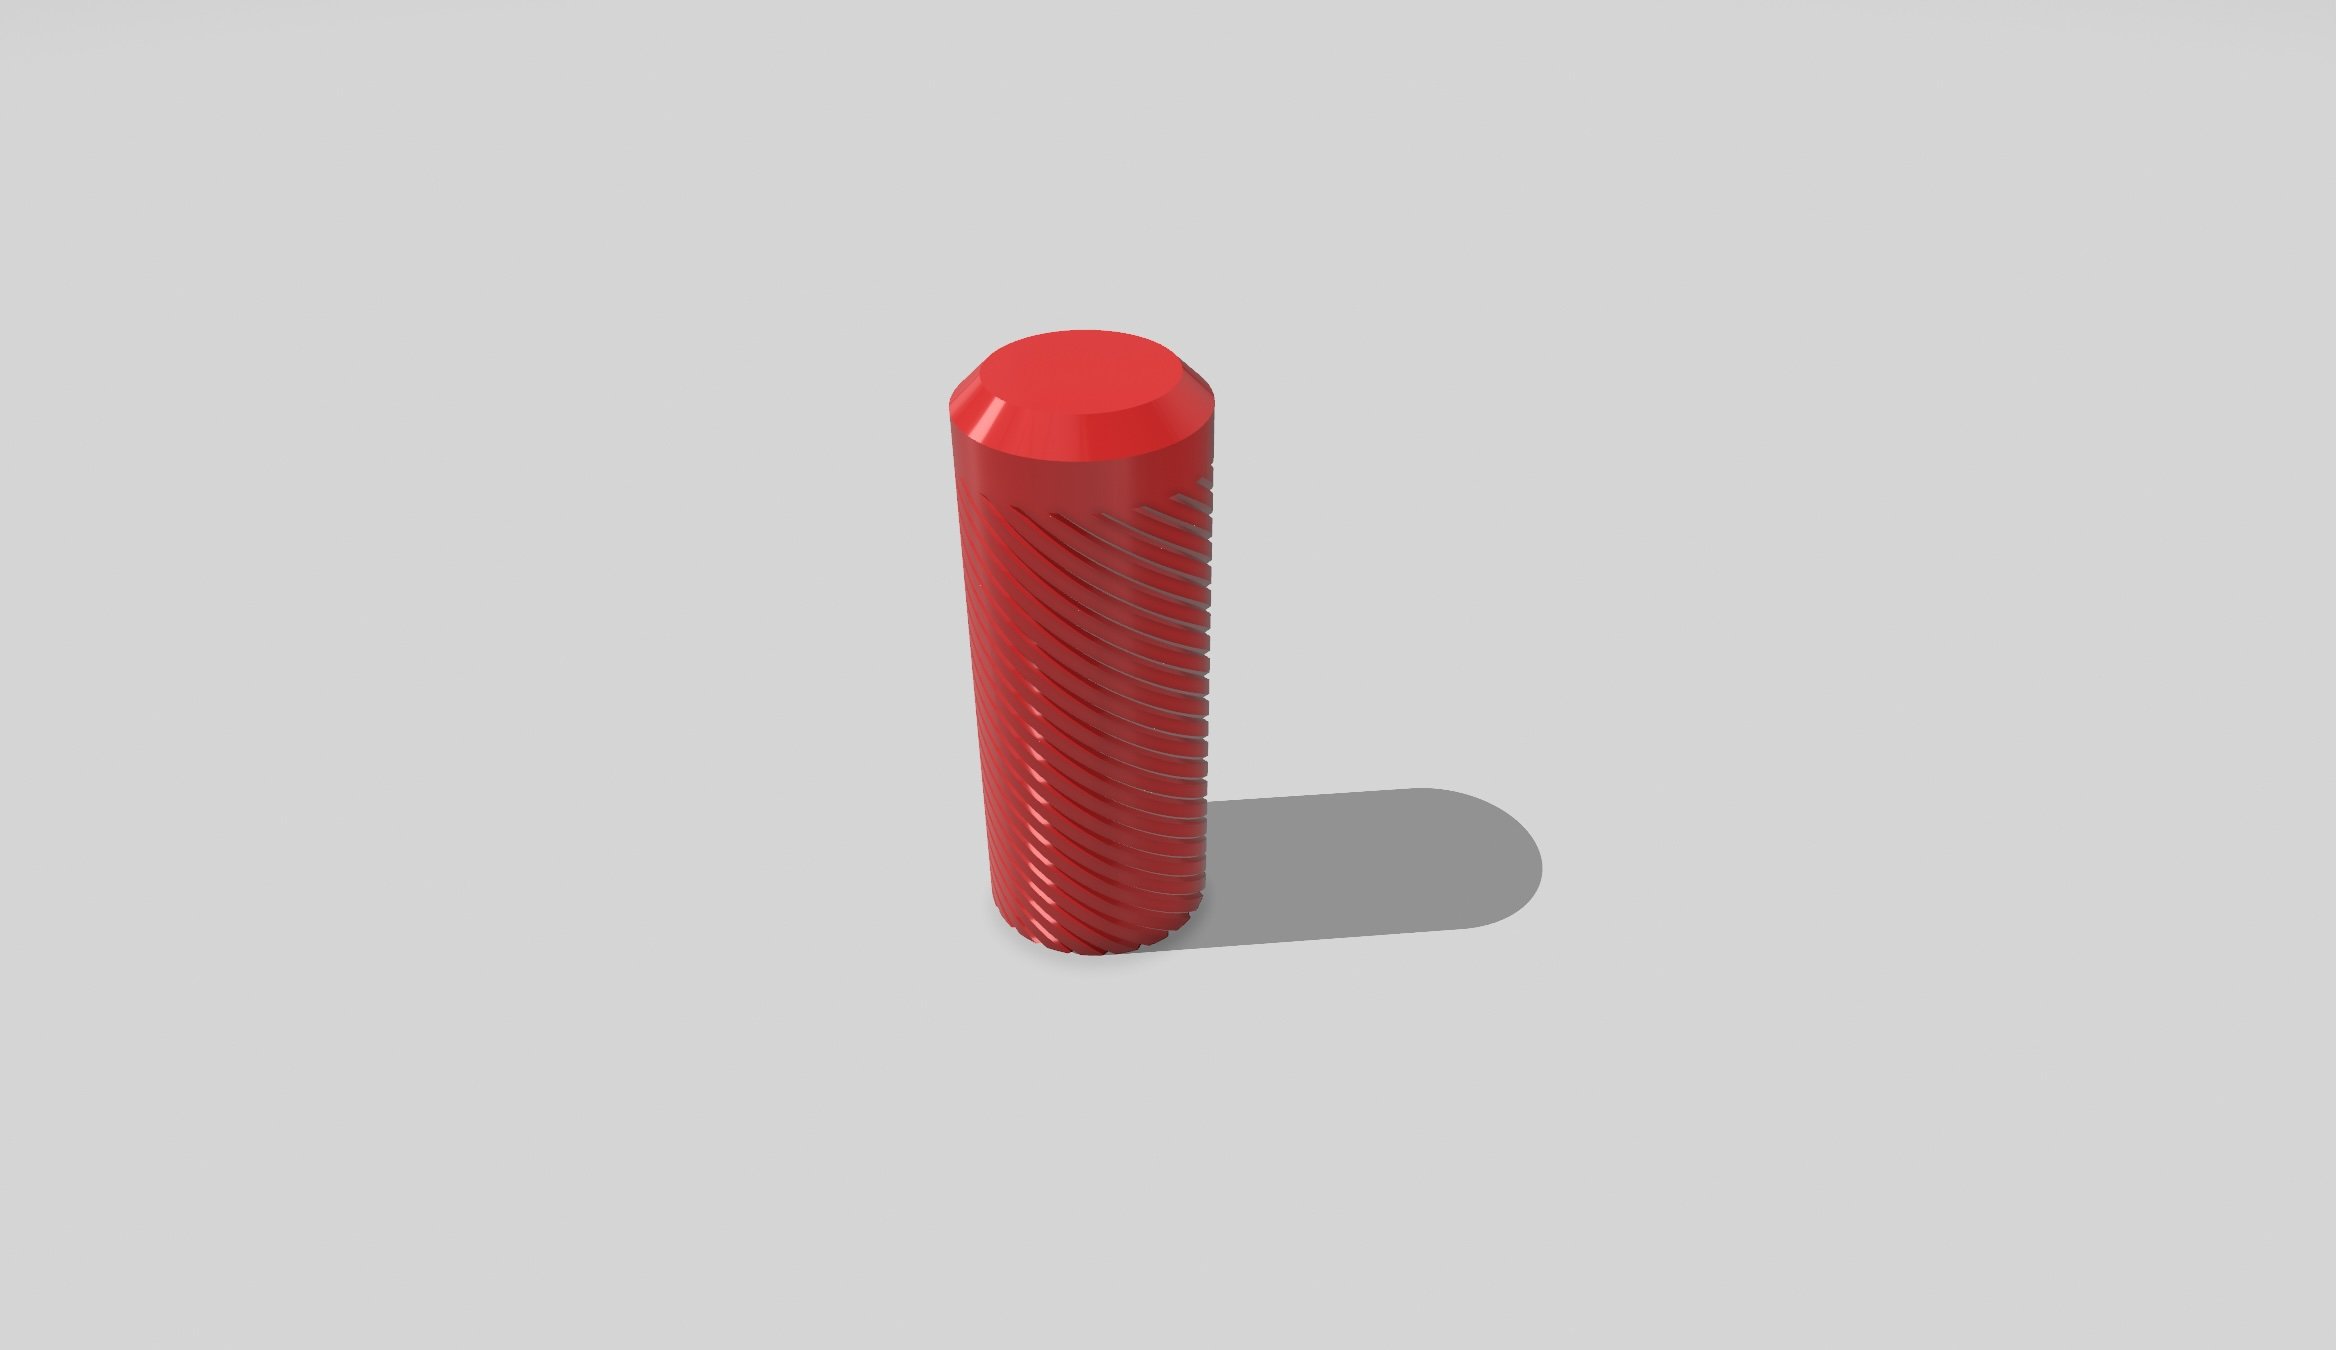
We have tons of pre-made parts you can access. Some from my very own e30 BMW project car, to Harbor Freight U.S. General tool box organizers.
You might have even seen a few of them showcased on our [YouTube Channel].


Sign up to our newsletter for more 3d scanning car part tips and tricks.
We’ll also send you the pre-made 3d printed car part bundle which includes all the STL models shown above.
But if you want to start designing your own custom one-of-a-kind 3d printed car parts, that’s where the workshop comes in.
Design 3d Printed Car Parts That Match Your Exact Build.
One afternoon. No complex software. Parts that fit your build perfect.
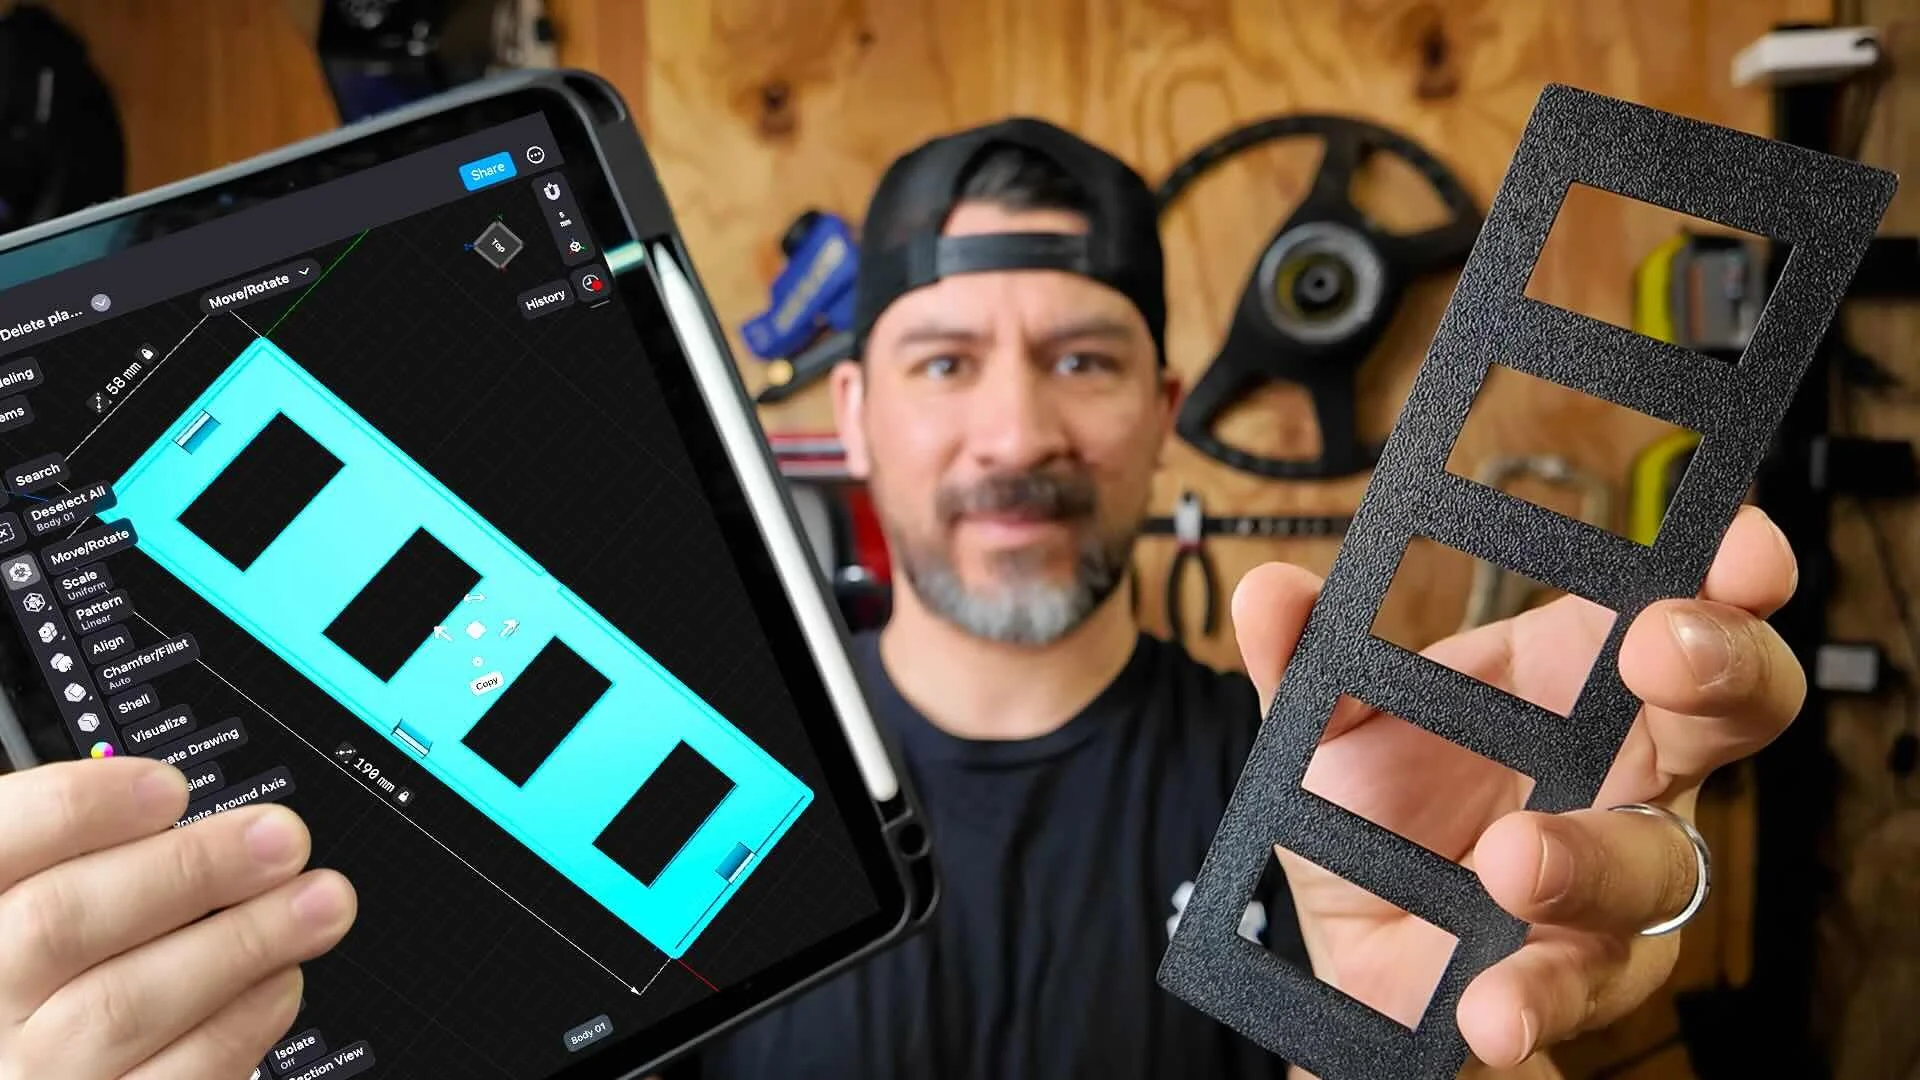
This workshop finally made designing 3d printed car parts feel doable. I had a replacement part ready for my project car in a few hours.
Instant Access, Risk Free Money Back Guarantee