
REVOPOINT POP 4 REVIEW: TESTED ON 5 REAL CAR PARTS (PLUS AN OUTDOOR BODY PANEL TEST)
So you want to know if the Revopoint POP4 3D Scanner holds up on actual automotive car part scans?
We tested it on an engine block, body panels, cylinder head, and small interior parts you can't source anywhere — not tabletop toy demos or peoples faces.
We ran the test on five actual parts from our BMW E30 and Datsun builds, including an outdoor fender and bumper section in direct sun on the daily driver.
Here's exactly what we found:
Which of the five scanning modes works on which car part.
How it handles reflective and dark surfaces without scanning spray.
Whether outdoor body panel scanning is actually usable in full sunlight.
How close direct scan-to-print really gets.
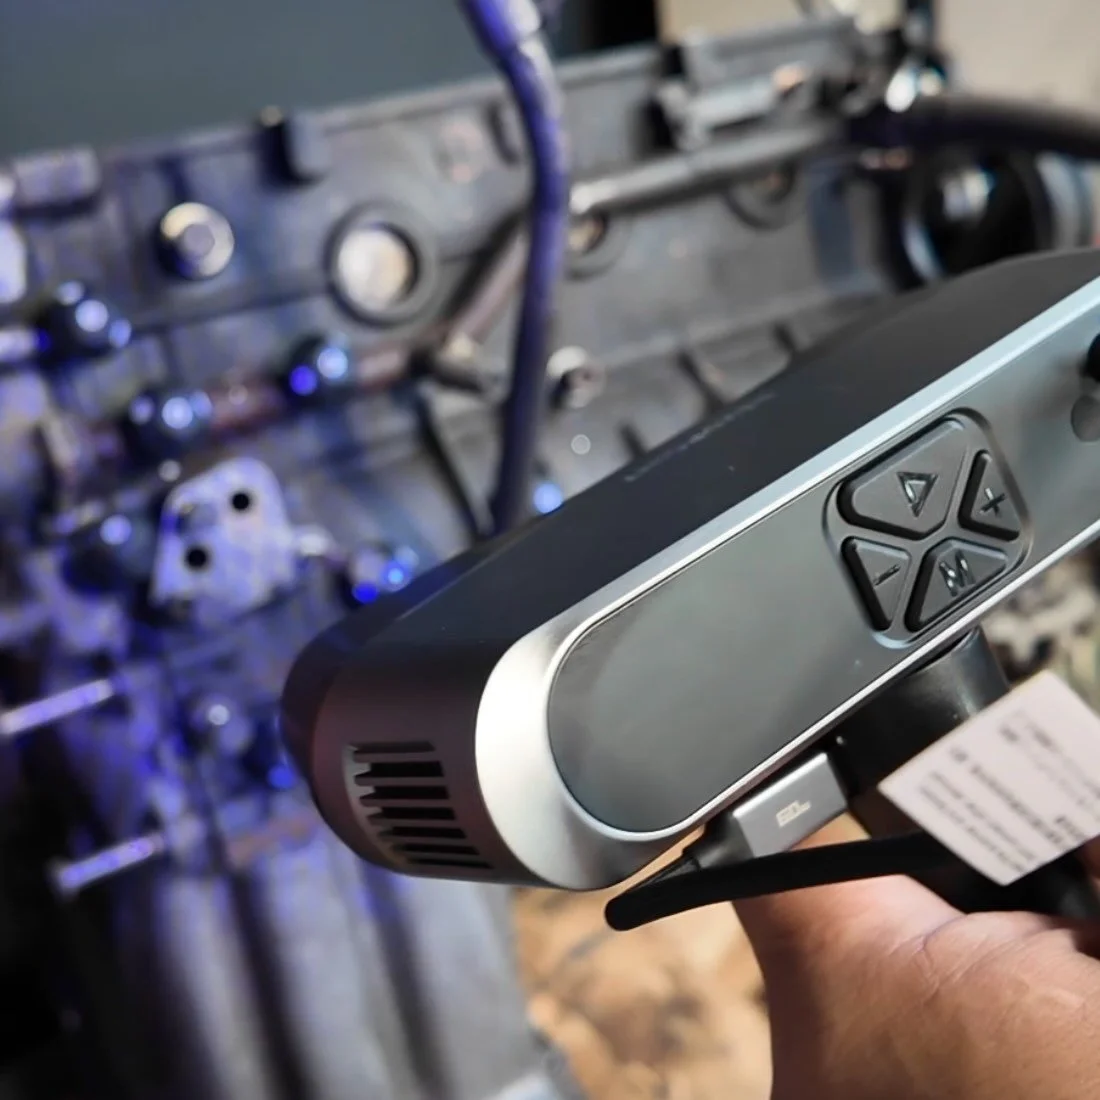
WHAT DOES THE POP 4 KIT ACTUALLY COME WITH?
The POP4 kit from Revopoint isn't just the scanner — there's a lot here that directly affects how you'll be scanning car parts.

Use affiliate code REVOPRAATB for an additional discount to get your Revopoint POP4 Scanner
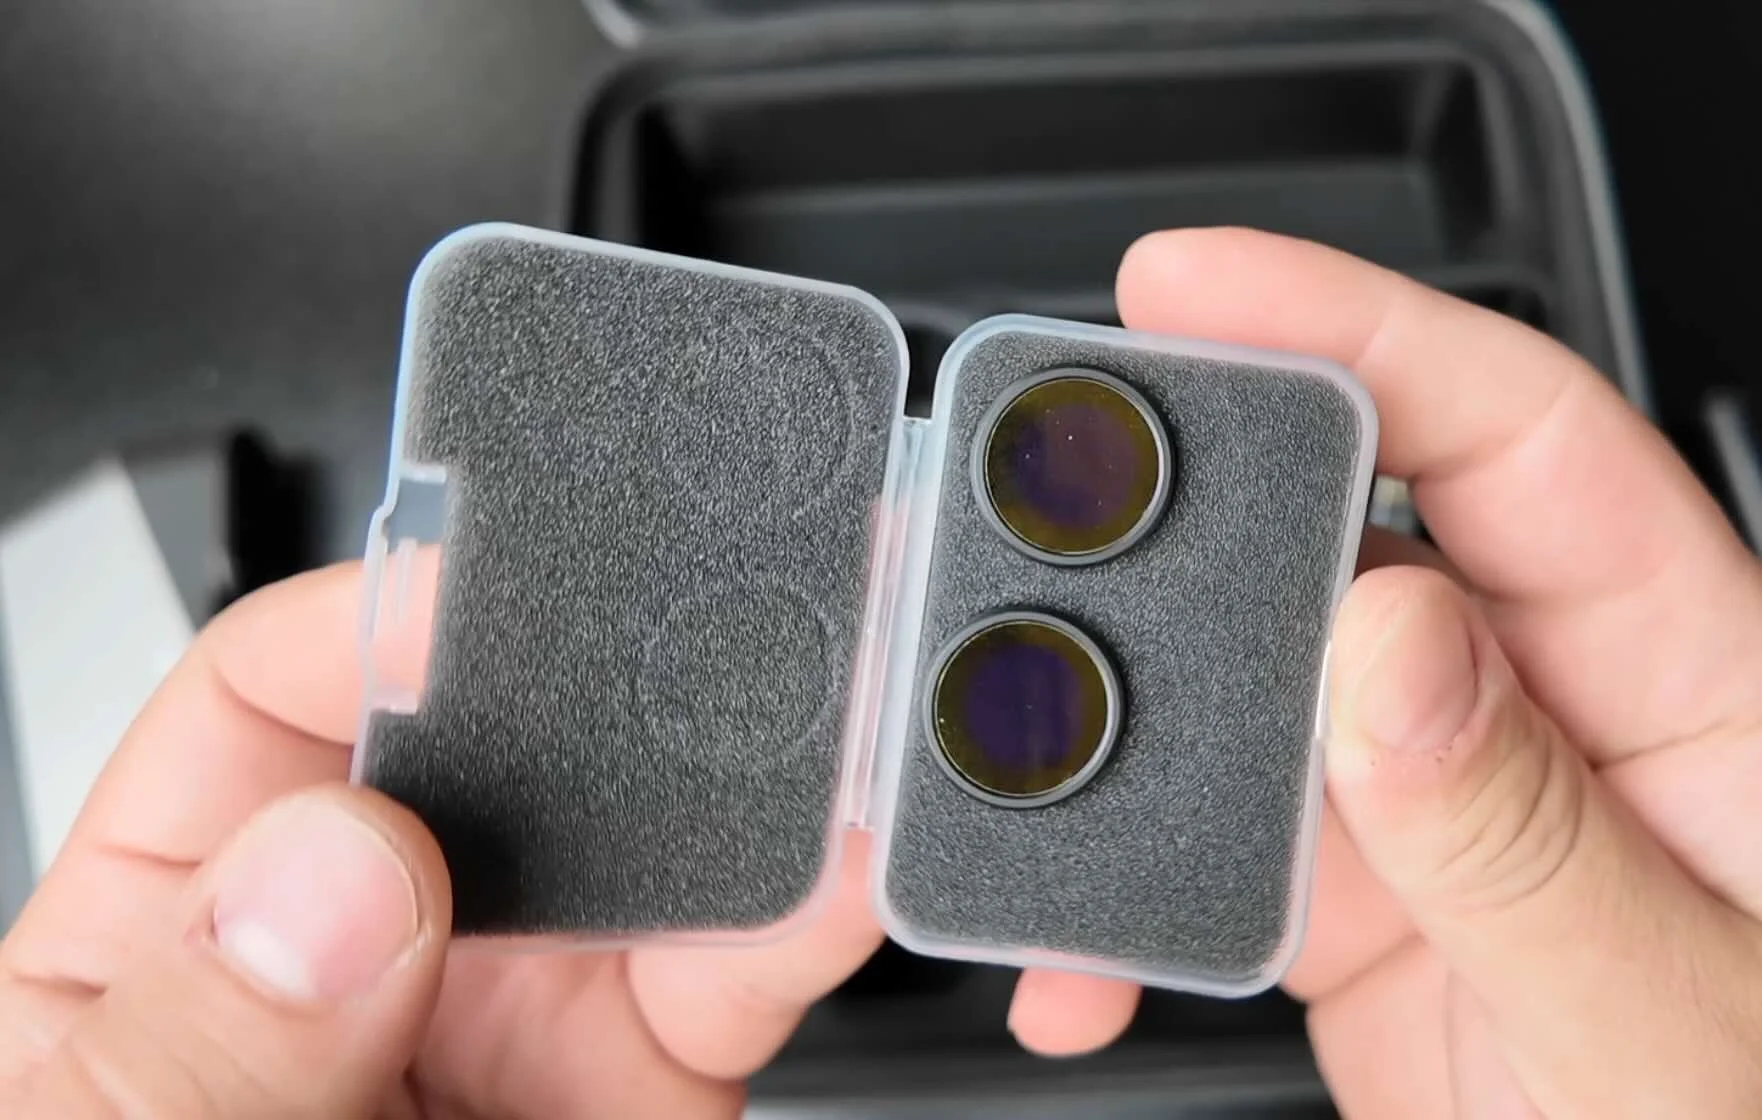
Included: automated turntable, battery pack for wireless scanning, tripod mount, USB cables, tracking markers, calibration board, and a set of magnetic filter lenses.
The filter lenses are the detail most reviews skip.
They pop onto the front of the scanner magnetically and block competing ambient light — which is the entire reason outdoor scanning becomes usable. More on that in a minute.
The POP 4 also has five scanning modes: Full-Field HD Infrared, VCSEL Rapid, Hybrid HD, 30-Cross Blue Laser Lines, and Single-Line blue laser line.
Most scanners in this price range give you one or two modes. Switching between all five modes — on the same part, even — is the actual differentiator.
Bezels, clips, trim pieces, ebrake handles
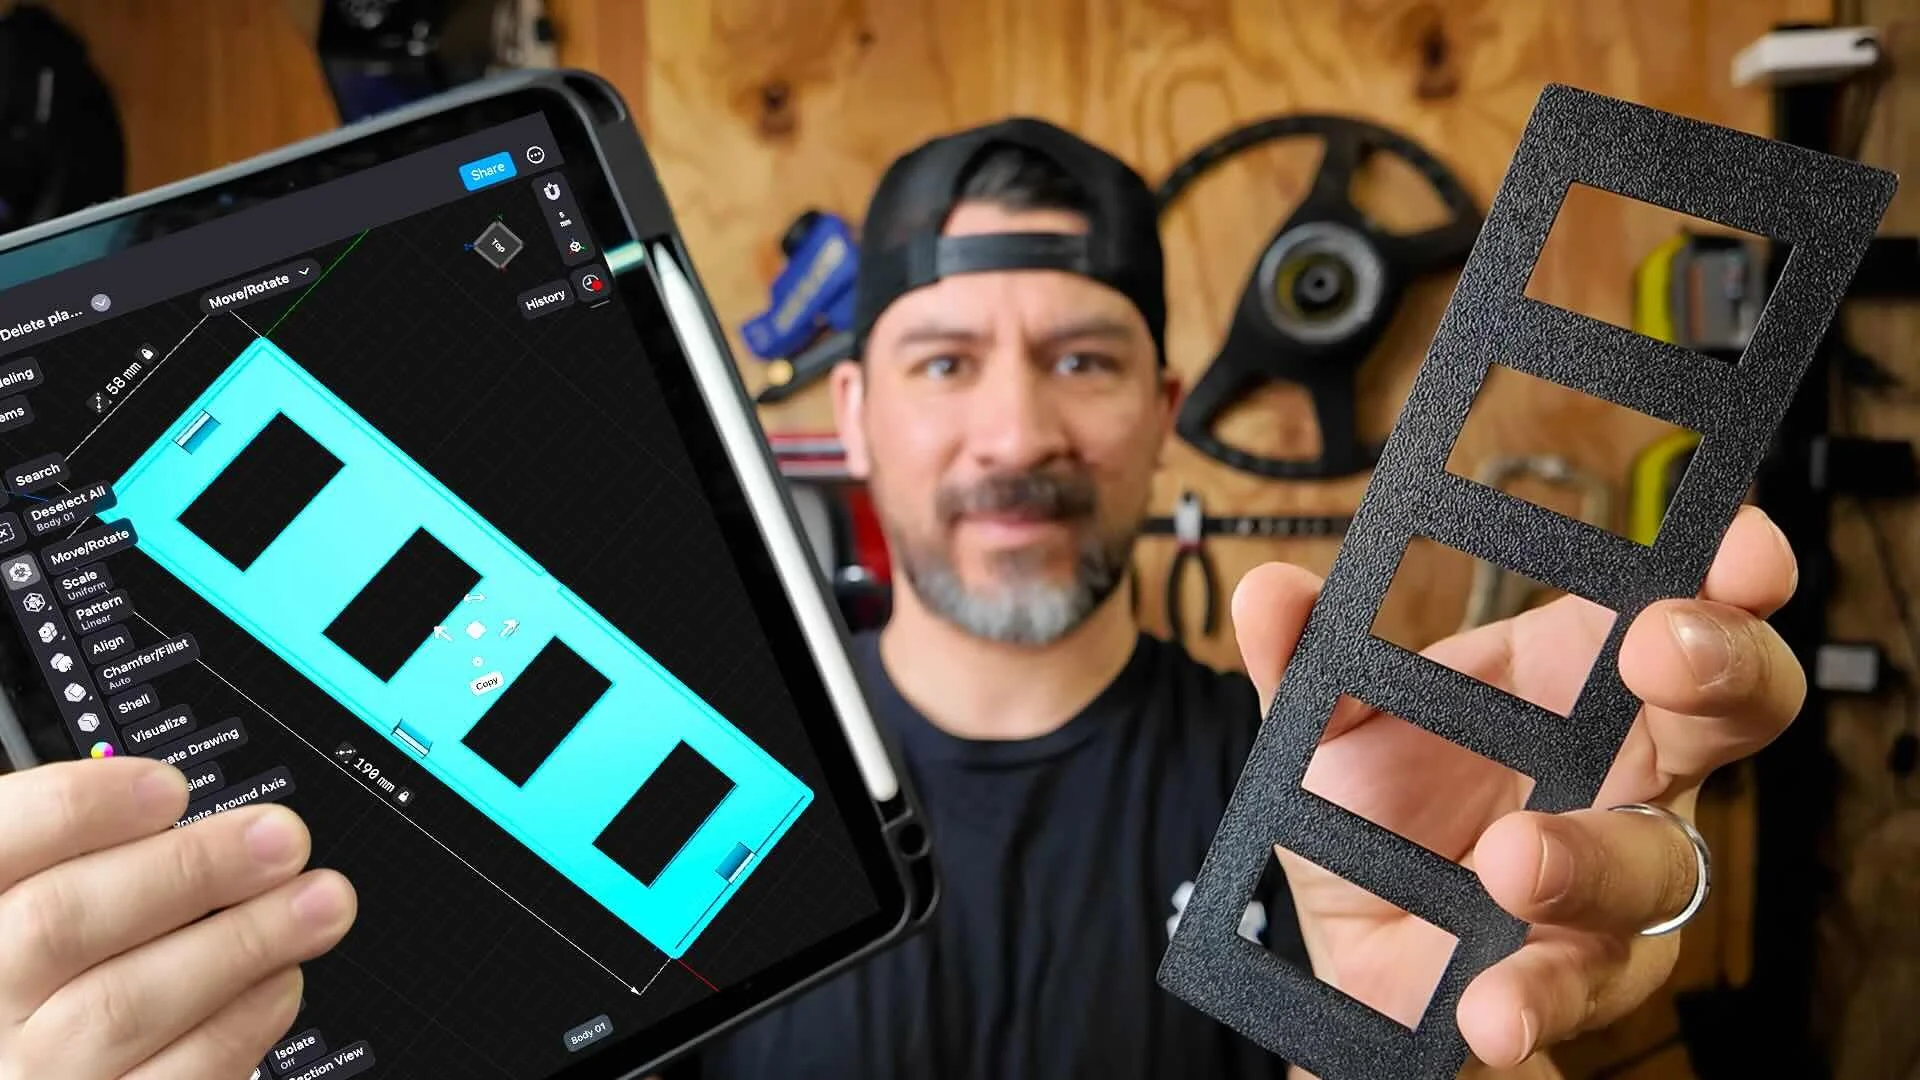
Featureless covers, caps, delete panels
Casting detail, ITB reference, bracket templates
Quick bracket mockup, mount location
Fenders, bumpers, profile reference
Reflective paint, bright environment
Tested on BMW E30 build parts — May 2026. Results vary by surface condition and ambient light.
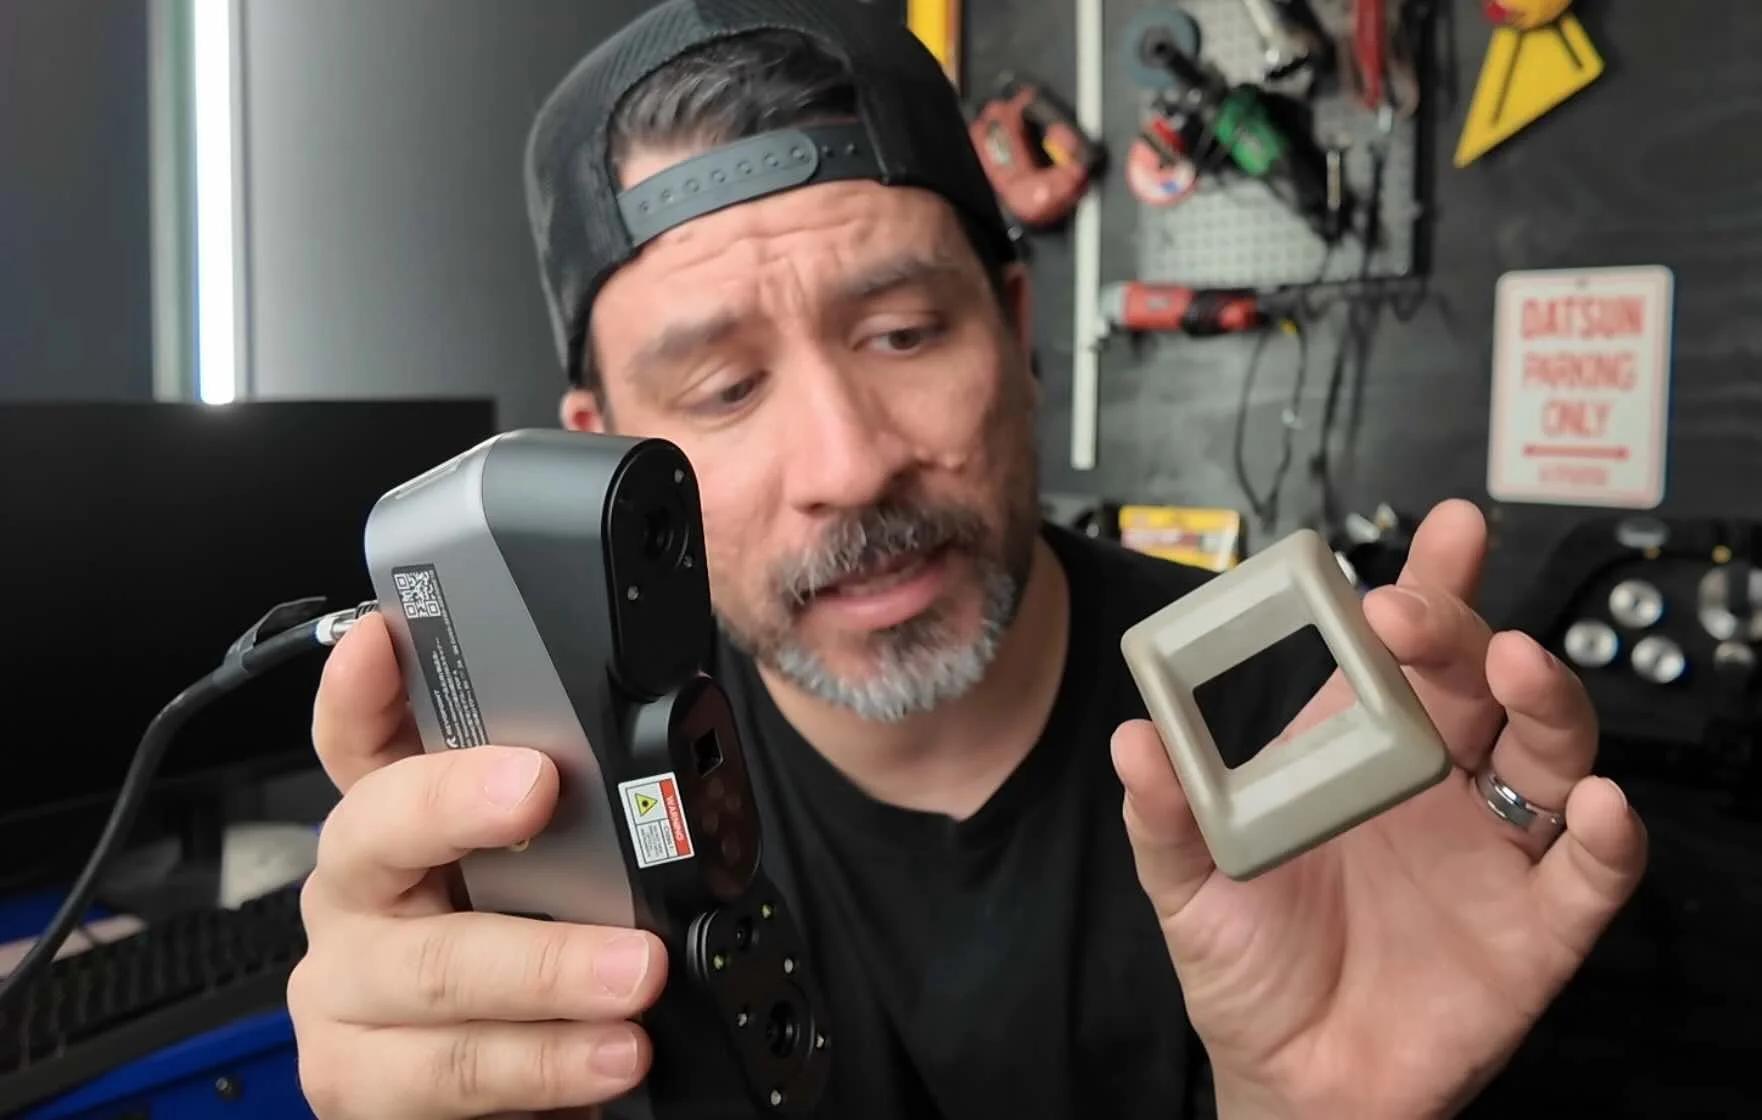
HOW DOES FULL-FIELD HD MODE PERFORM ON SMALL INTERIOR PARTS?
We started with two small interior pieces that are nearly impossible to source for an E30 and a Datsun — the exact use case this scanner is designed for.
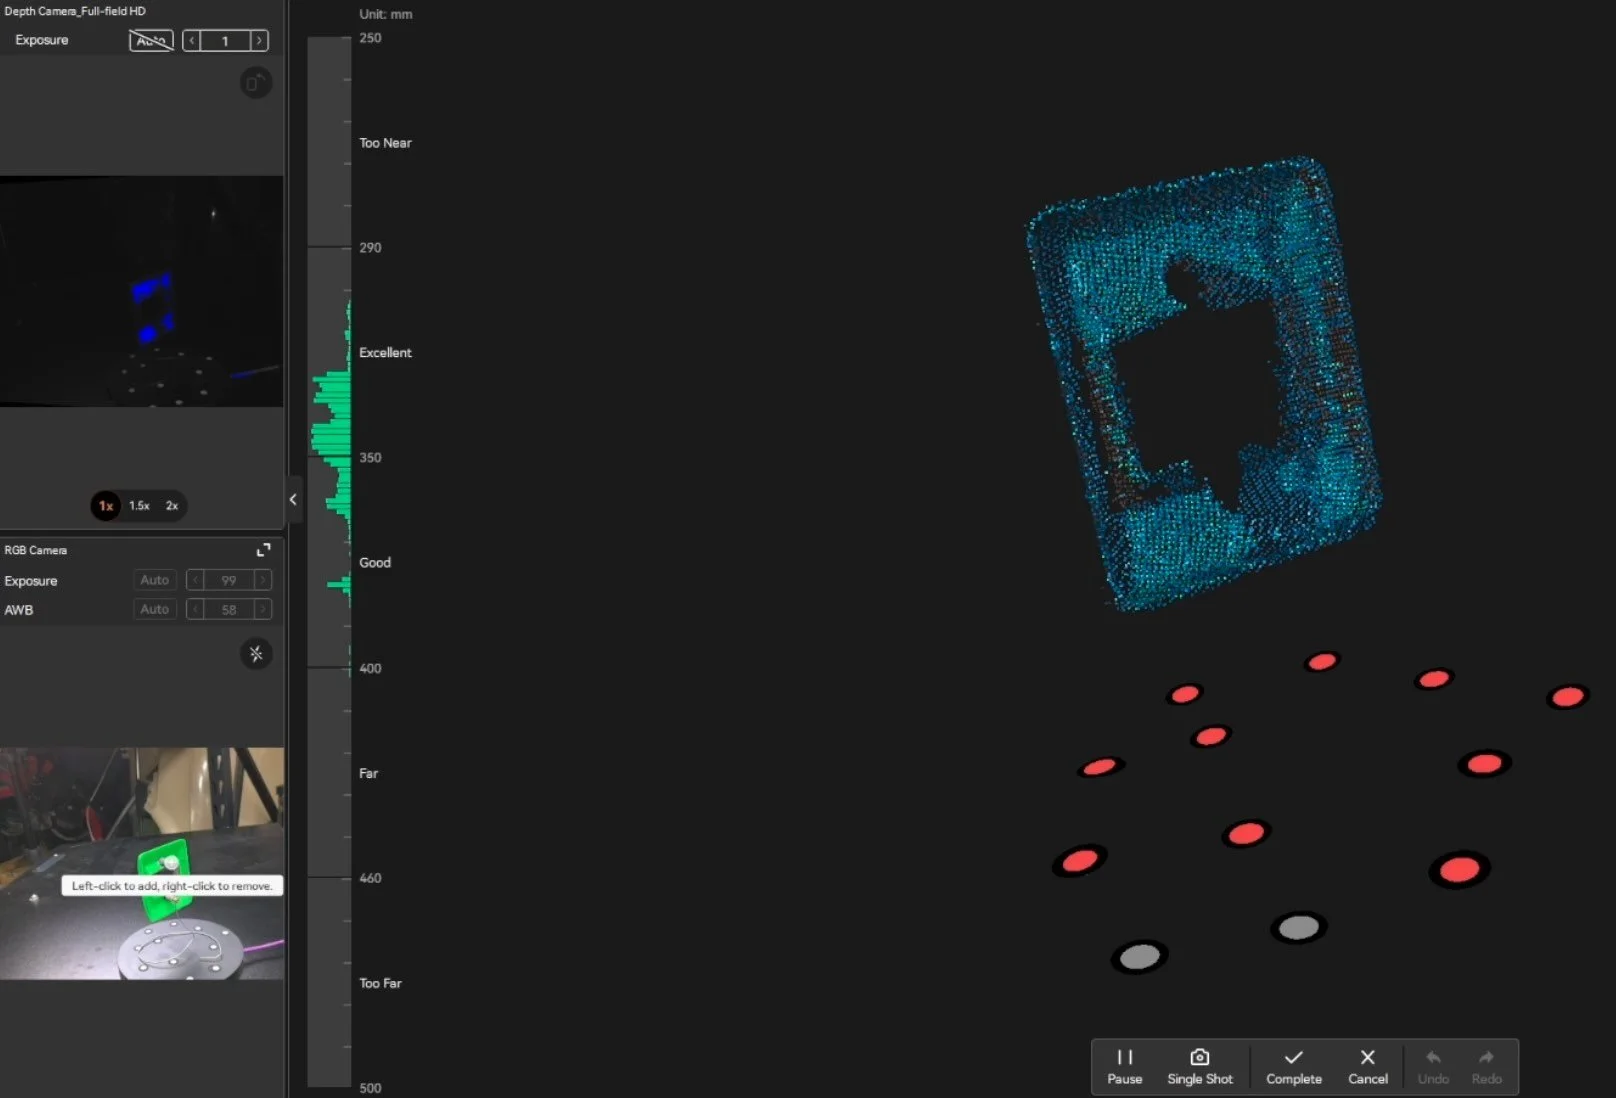
Full-Field HD Infrared doesn't require tracking dots, which makes it the fastest mode to get into.
One-click process fuses the point cloud automatically. From there: smoothing pass, fill-hole on the back face, export STL.

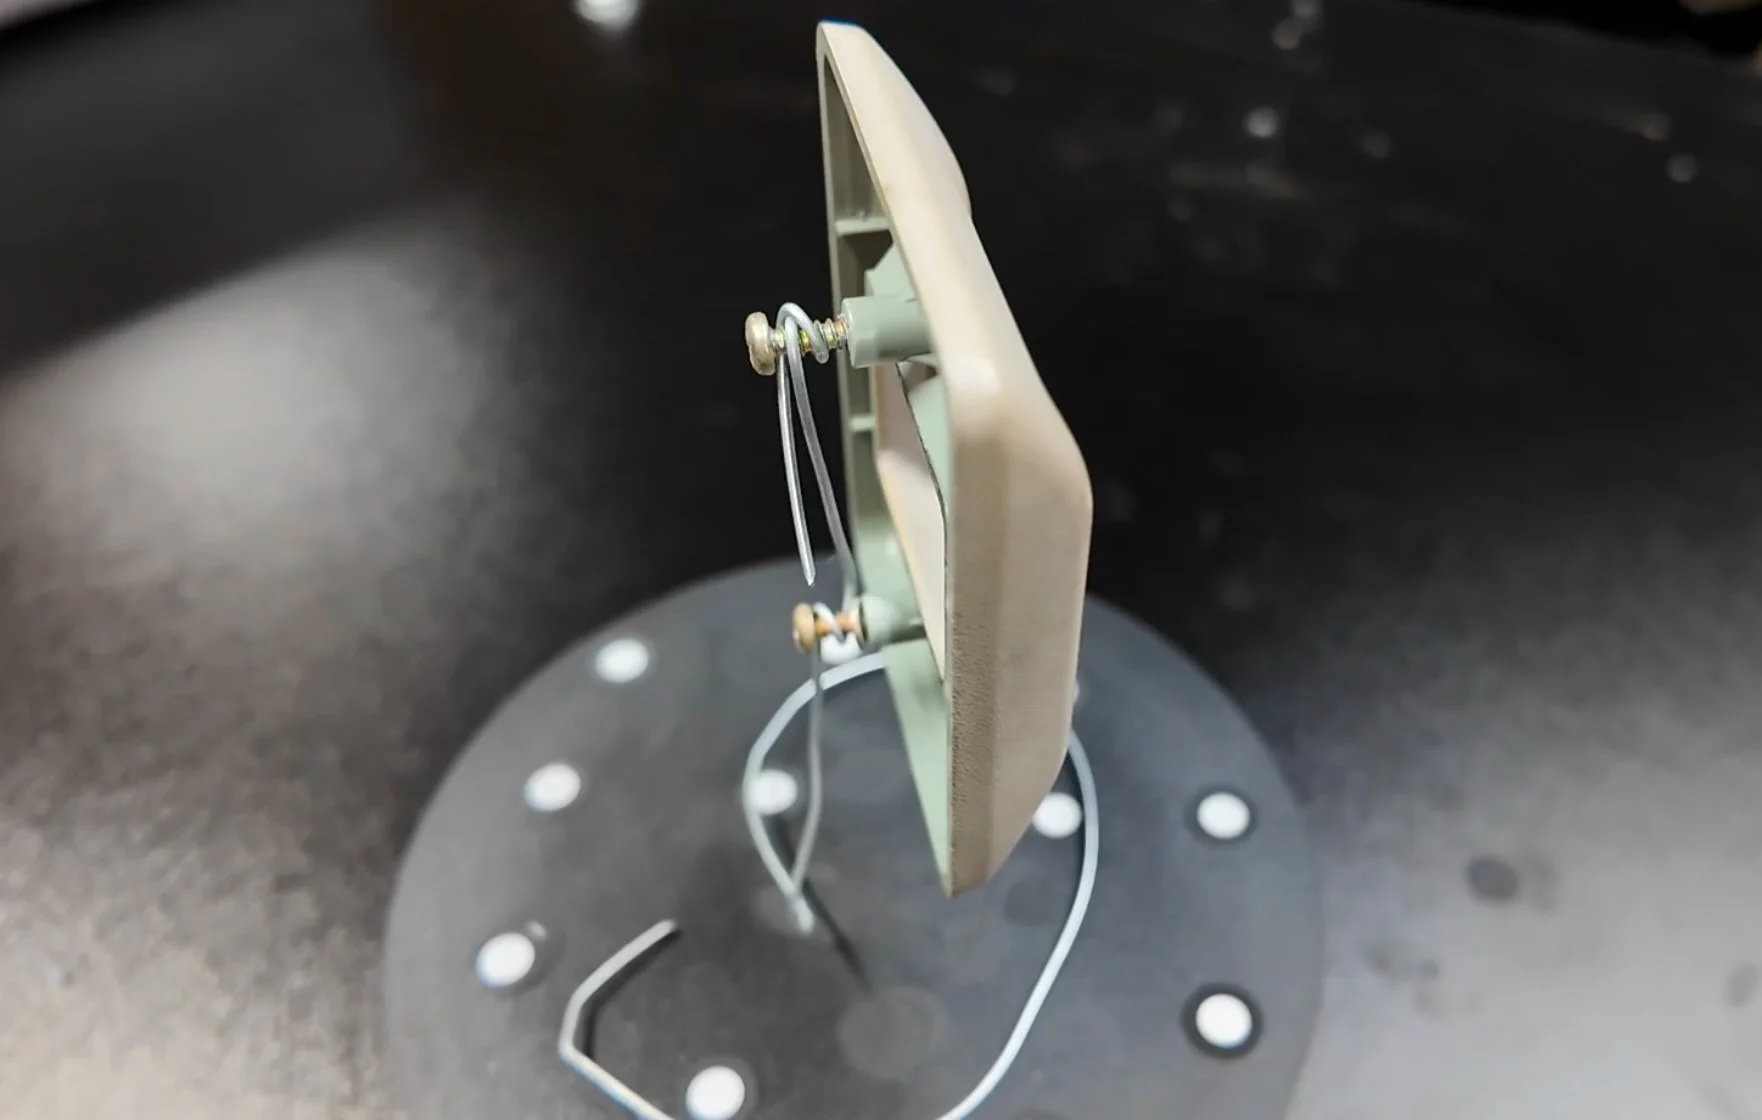
For the back side of the same part, we switched to marker mode with the 30-cross laser lines on the turntable — hands-off, tripod, with a custom mount.
When we cleaned up the scan, the AI object segmentation feature removed all background noise automatically.
That alone saved 5 minutes of removing unwanted items from the scan.
From there we sent the file off to the 3d printer after processing via the one-click fusing process.
Here’s the results using fuzzy skin applied to the front of the part.


HOW DOES THE POP 4 HANDLE REFLECTIVE AND DARK SURFACES WITHOUT SPRAY?
Most scanners in this range require scanning spray the moment a part goes dark or shiny. The blue laser marker mode on the POP 4 is specifically built to close that gap.
We tested it on a smooth, dark plastic part which the Full-Field HD mode without markers struggled with — the featureless surface gave the IR nothing to track against.
Switching to 30-cross laser lines with markers, and tracking held the entire scan.
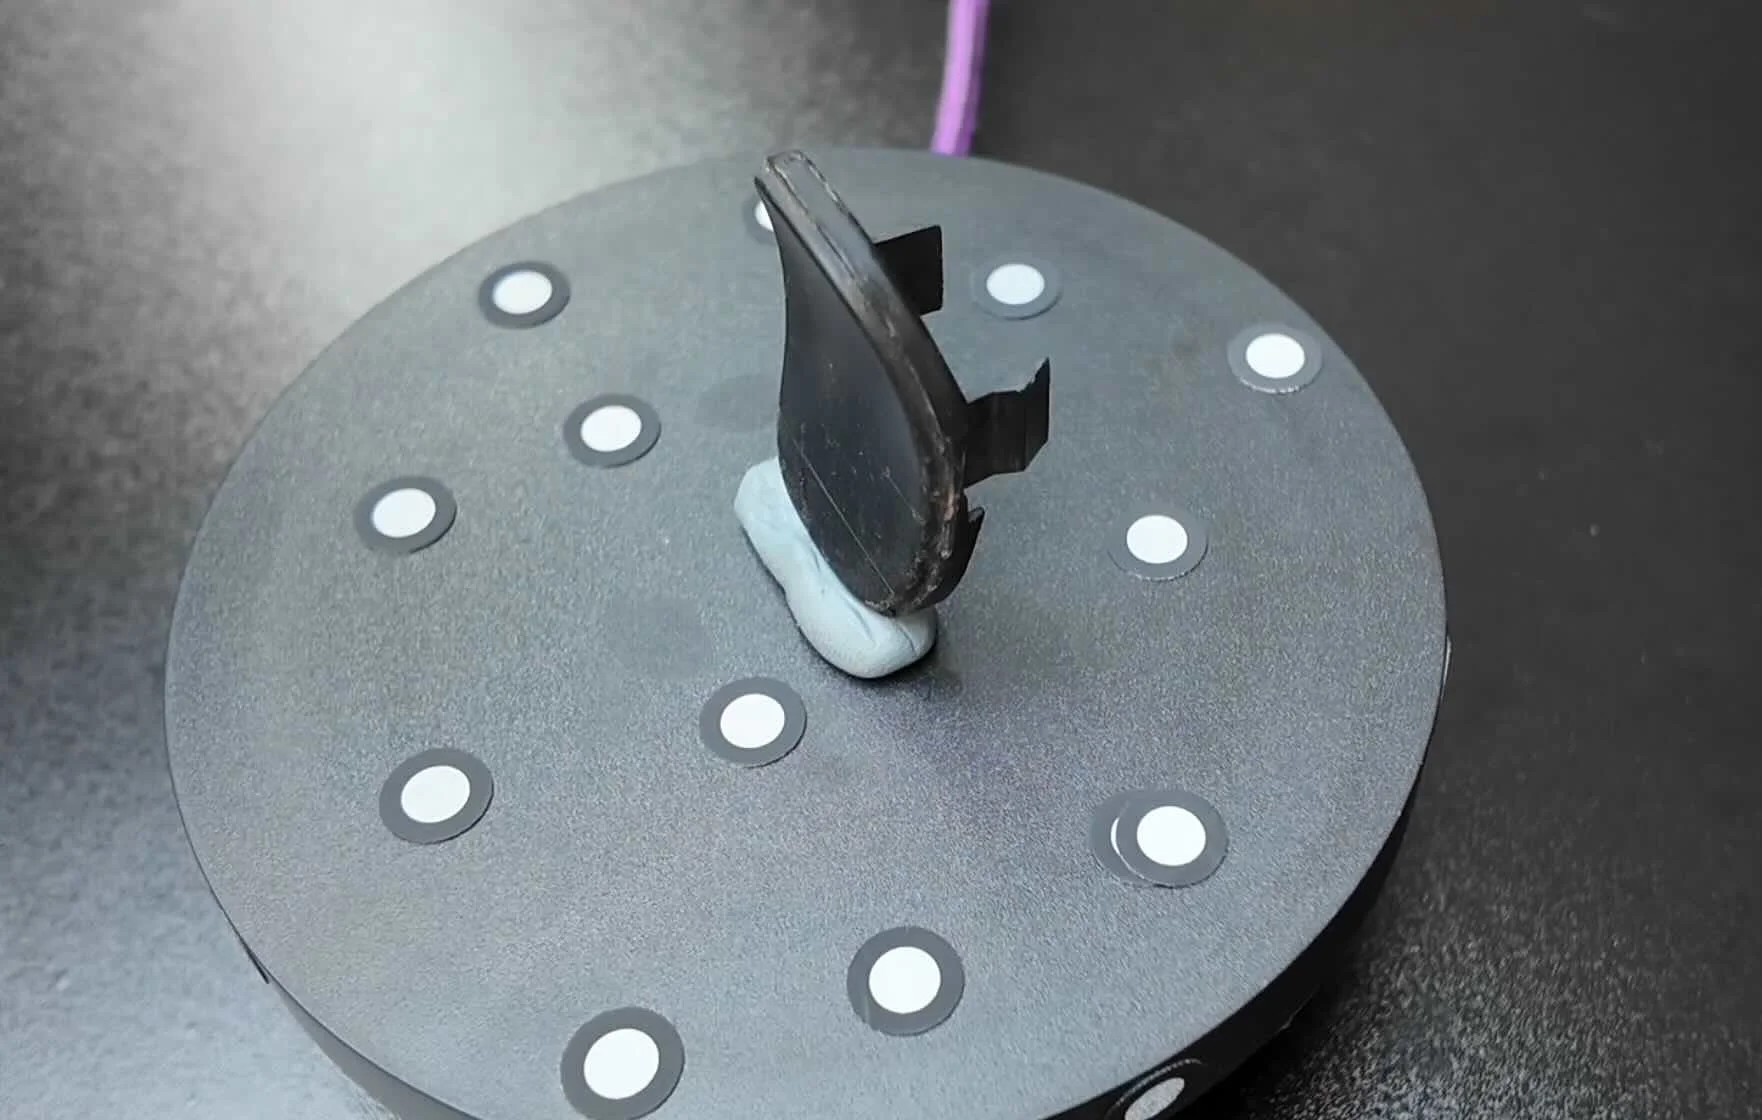
The markers are doing the tracking work here, so the scanner doesn't rely on surface texture.
HOW DOES THE POP 4 SCAN AN ENGINE BLOCK OR CYLINDER HEAD?
We scanned a BMW cylinder head in marker mode with the 30-cross laser lines and the single laser line. With the single laser line, the scan is able to capture further down into bolt holes and the intake ports.
The casting detail was sharp enough to read the BMW logo, the 1.8 displacement mark, and a series of casting reference codes in the mesh.

That level of detail is usable as a template for custom ITB fabrication.
Export just the intake section, import into CAD as a reference body, and design around it — you don't need the full head for most bracket work.


For engine block side scanning — specifically, we needed bolt hole locations to mock up a custom aluminum bracket — we used Hybrid HD mode with no markers for the first test.
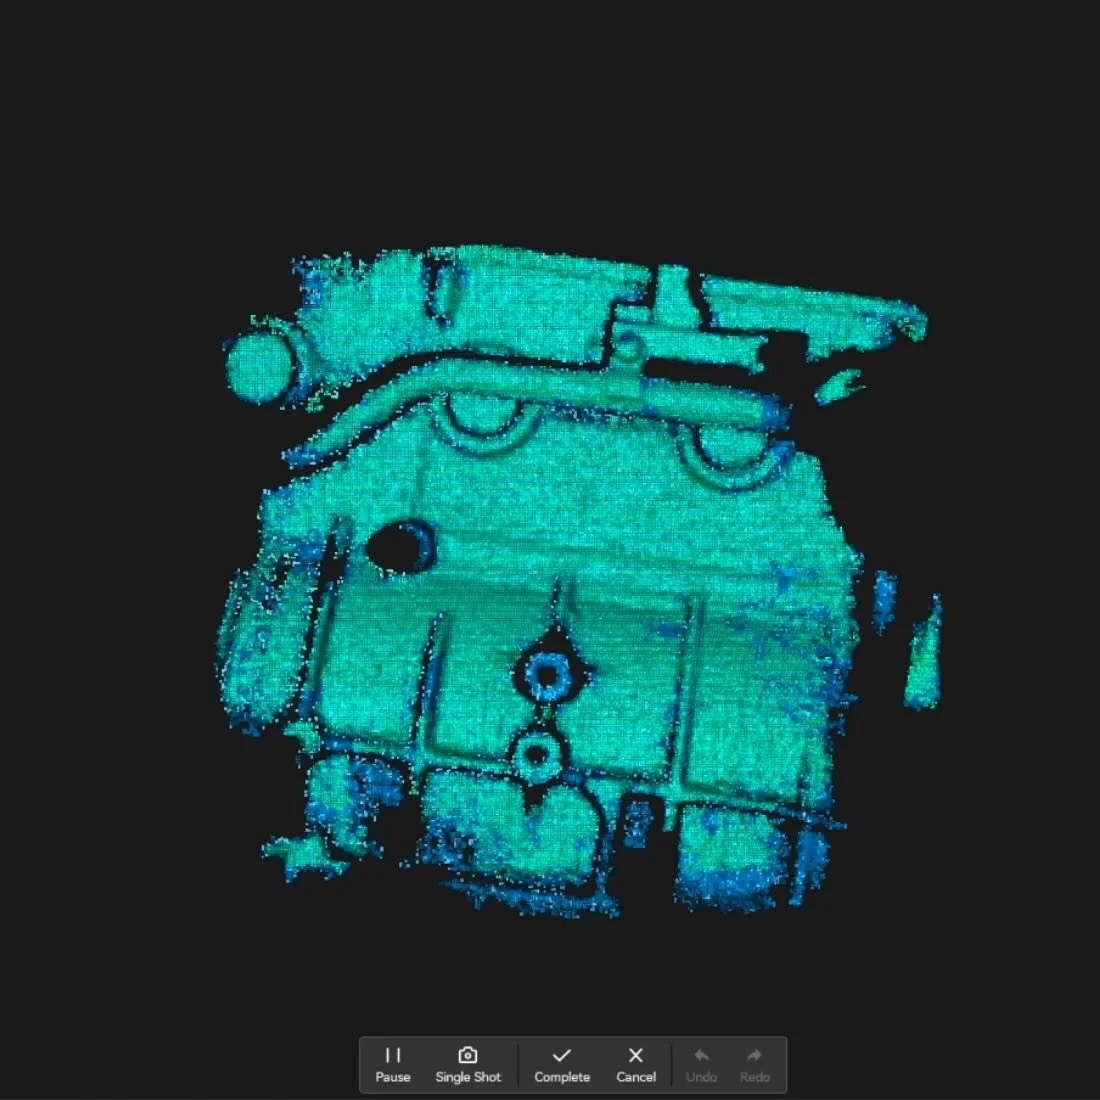
Under a minute to capture, point cloud converted, and the bolt locations were defined enough to build bracket geometry around.
If you need more detail, you can perform the scan with 30-cross laser lines and the single laser line modes.


You’ll have more detail, but more setup time, due to having to place the markers down.
CAN YOU ACTUALLY SCAN CAR BODY PANELS OUTDOORS WITH THE POP 4?
Yes. With conditions — and a clear understanding of where it breaks down.
Indoor, non-glossy surface: We scanned the rear bumper section of the E30 indoors under shop light in Hybrid HD mode. The profile came out clean enough to use as a shape reference.

Outdoor in the shade: Front bumper, mostly plastic, not high-gloss. Hybrid VCSEL mode in the shade gave us enough profile geometry to work from.


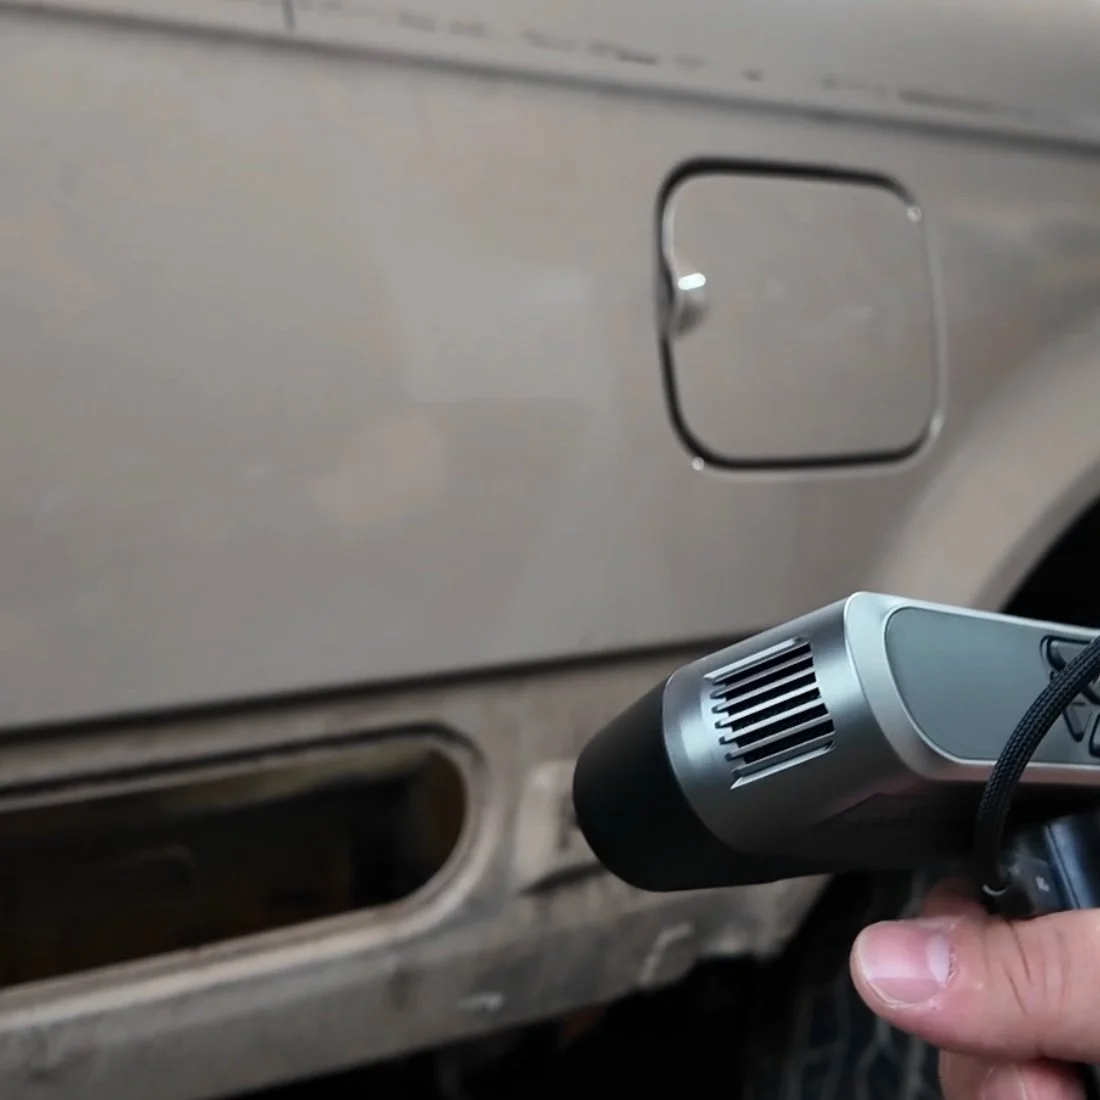
Outdoor in direct sun on reflective paint: This is where 3d scanning could fail without the extras that the Revopoint POP4 comes with.
The blue laser can't compete with ambient sunlight washing out the return signal. First scan attempts in full sun came back with almost no usable data.
That's what the magnetic filter lenses are for. They attach to the front of the scanner magnetically and block enough competing light to get the blue laser working again.

We scanned the same charger cap in direct sunlight with the filters on and pulled a usable mesh for CAD reference.
We also scanned a charger cap with a clear plastic ring — the rest of the part came through clean, but the ring simply wasn't there.


That's a physics constraint across all scanners at this level, not a POP 4-specific issue. Design around it in CAD or resort to dry hair spray.
For a full breakdown of marker placement and surface prep before scanning, read the complete blueprint here →.
HOW CLOSE IS THE POP 4 TO SCAN-TO-PRINT WITHOUT CAD?
We tested direct-to-print on two parts — scan exported straight to slicer, no CAD cleanup.
The shape was close. For a one-off mockup or a non-structural reference part, it's printable.


For anything with mounting tabs, clips, or load-bearing geometry, run it through CAD first.
The tabs on one of the parts would have printed understrength at the scanned wall thickness.
The correct workflow stays the same regardless of scanner: scan → clean mesh → import STL as reference body in CAD → sketch clean geometry over it → export → print.
For the full mesh cleanup, hole-filling, and CAD import workflow, read the step-by-step blueprint here →.
IS THE POP 4 WORTH IT FOR AUTOMOTIVE WORK?
If you're hitting the ceiling on a single-mode scanner — specifically on reflective parts, outdoor panels, or large surfaces that keep losing tracking — the five-mode system on the POP 4 directly solves those problems.
If this is your first scanner and under $800 is within range, it's the most versatile option we've put through automotive use at this price point.
🛒 Check the current price here →
Once you have your scan, you'll need to bring it into CAD and reverse engineer a clean, printable part. That's exactly what the Design-to-Print 1 Day on-demand workshop covers. ⤵️
Design 3d Printed Car Parts That Match Your Exact Build.
One afternoon. No complex software. Parts that fit your build perfect.
This workshop finally made designing 3d printed car parts feel doable. I had a replacement part ready for my project car in a few hours.
Instant Access, Risk Free Money Back Guarantee