HOW TO ADD TEXTURE TO THE SURFACE OF A 3D PRINTED CAR PART
So you swapped out the stock build plate of your 3d printer to print a car part. The bottom of your part looks incredible. Crisp pattern, no layer lines, reads like factory plastic.
Then you flip it over…
The walls have visible ridges. Any face that wasn't pressed against that 3D effect plate looks exactly like what it is — a 3D print.
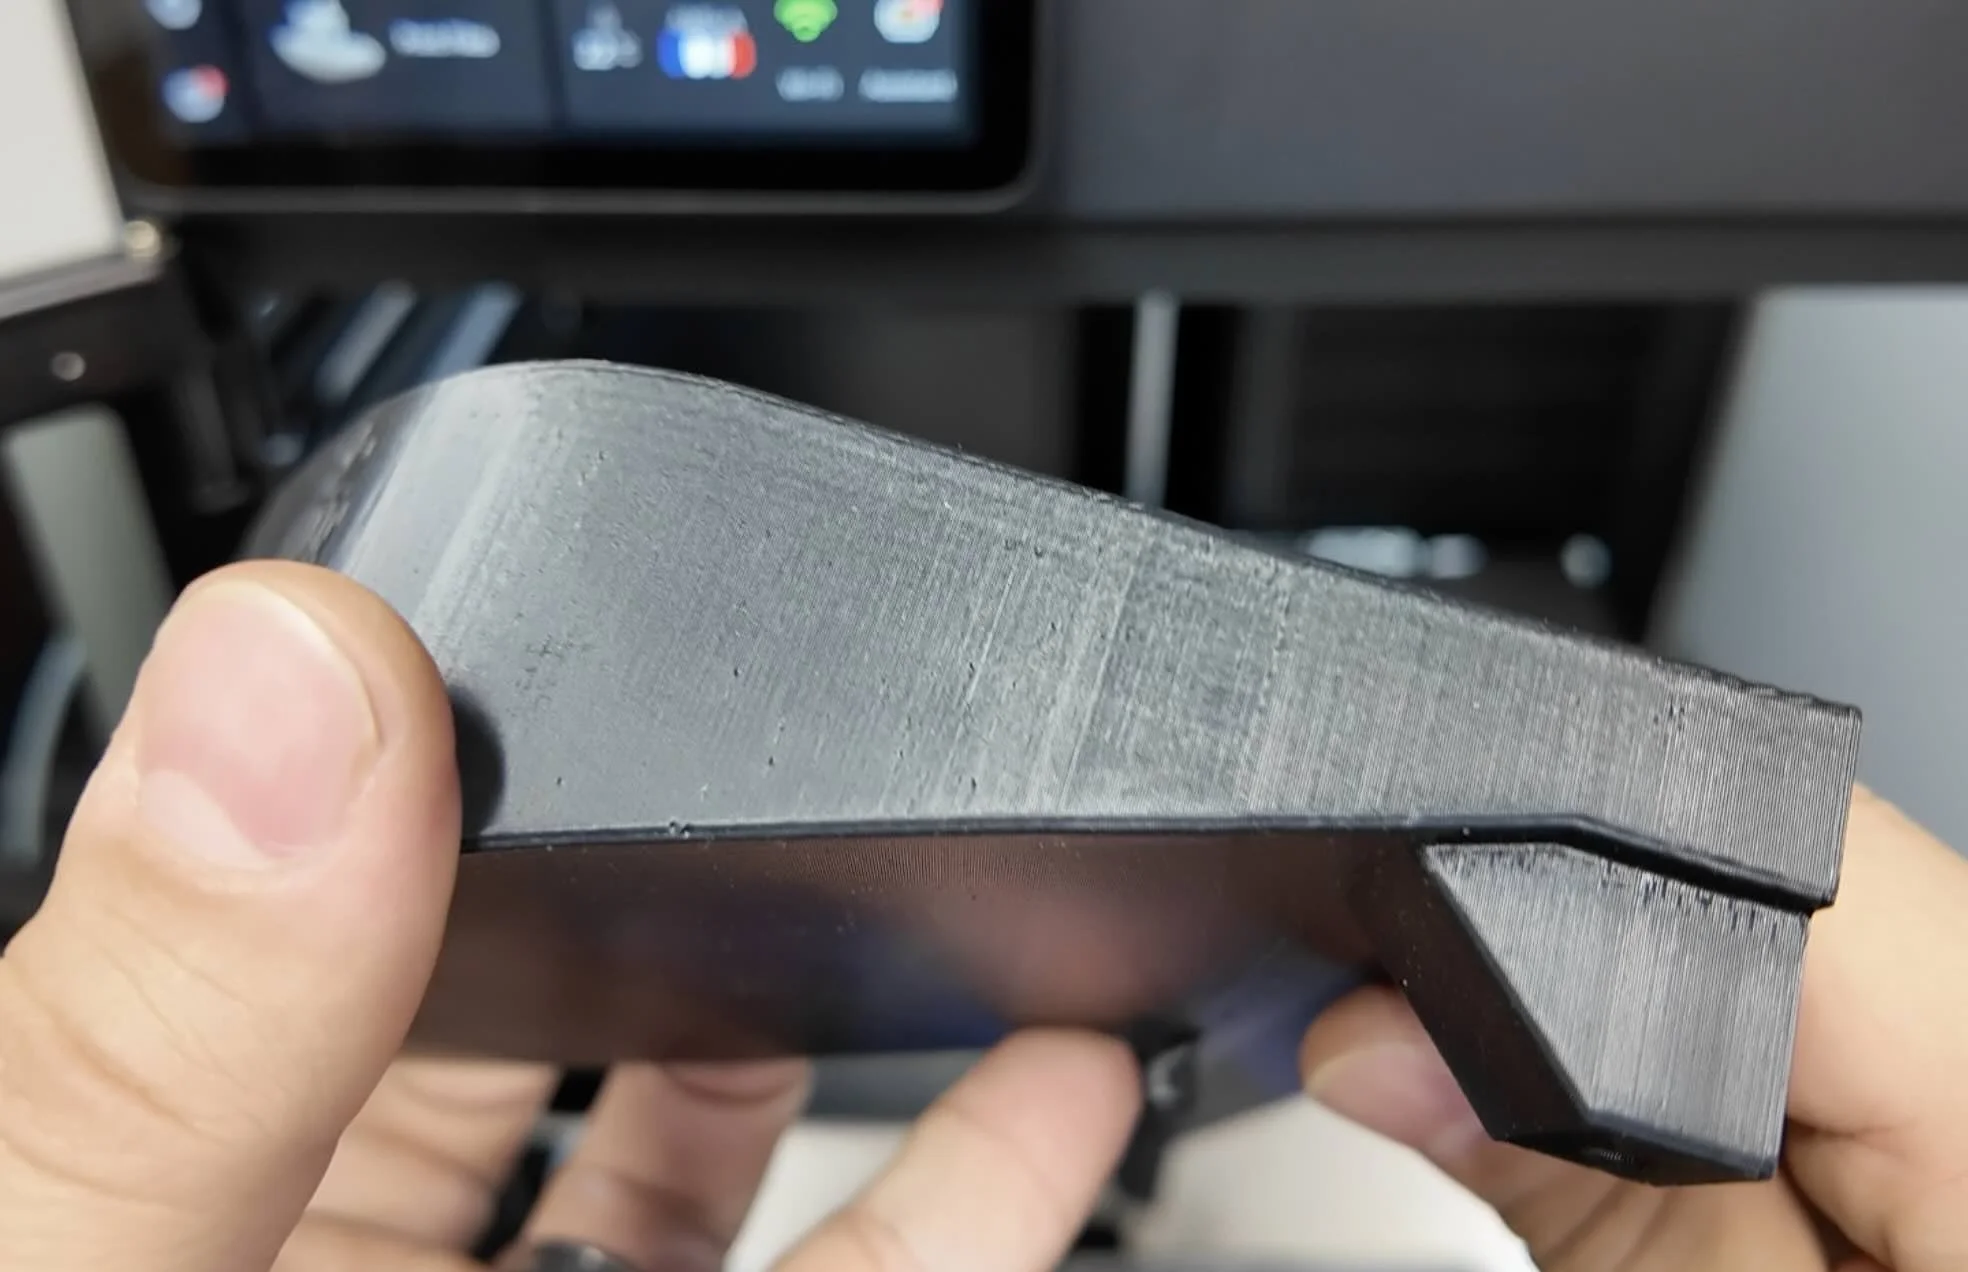
The build plate can only do so much.
The rest of your 3d printed car part texture is up to you before the part ever hits the printer believe it or not.
Here's a new approach we’re going to cover:
Understand what fuzzy skin actually does — and what it can't touch.
Set fuzzy skin correctly for automotive interior texture (not the default).
Use BumpMesh from CNC Kitchen to wrap a custom pattern around every surface of your part before you slice.
Know which surfaces to mask off.
Pick the right method for the right surface.
WHAT IS FUZZY SKIN AND HOW DOES IT WORK ON 3D PRINTED CAR PARTS?
If you read Part 1 of this series on how to make 3d printed car parts not look 3d printed, you already know how to use a 3D effect plate to transfer an OEM plus matching pattern to the bottom face of your part.
But there’s another way to get a textured finished look on your 3d printed car part.
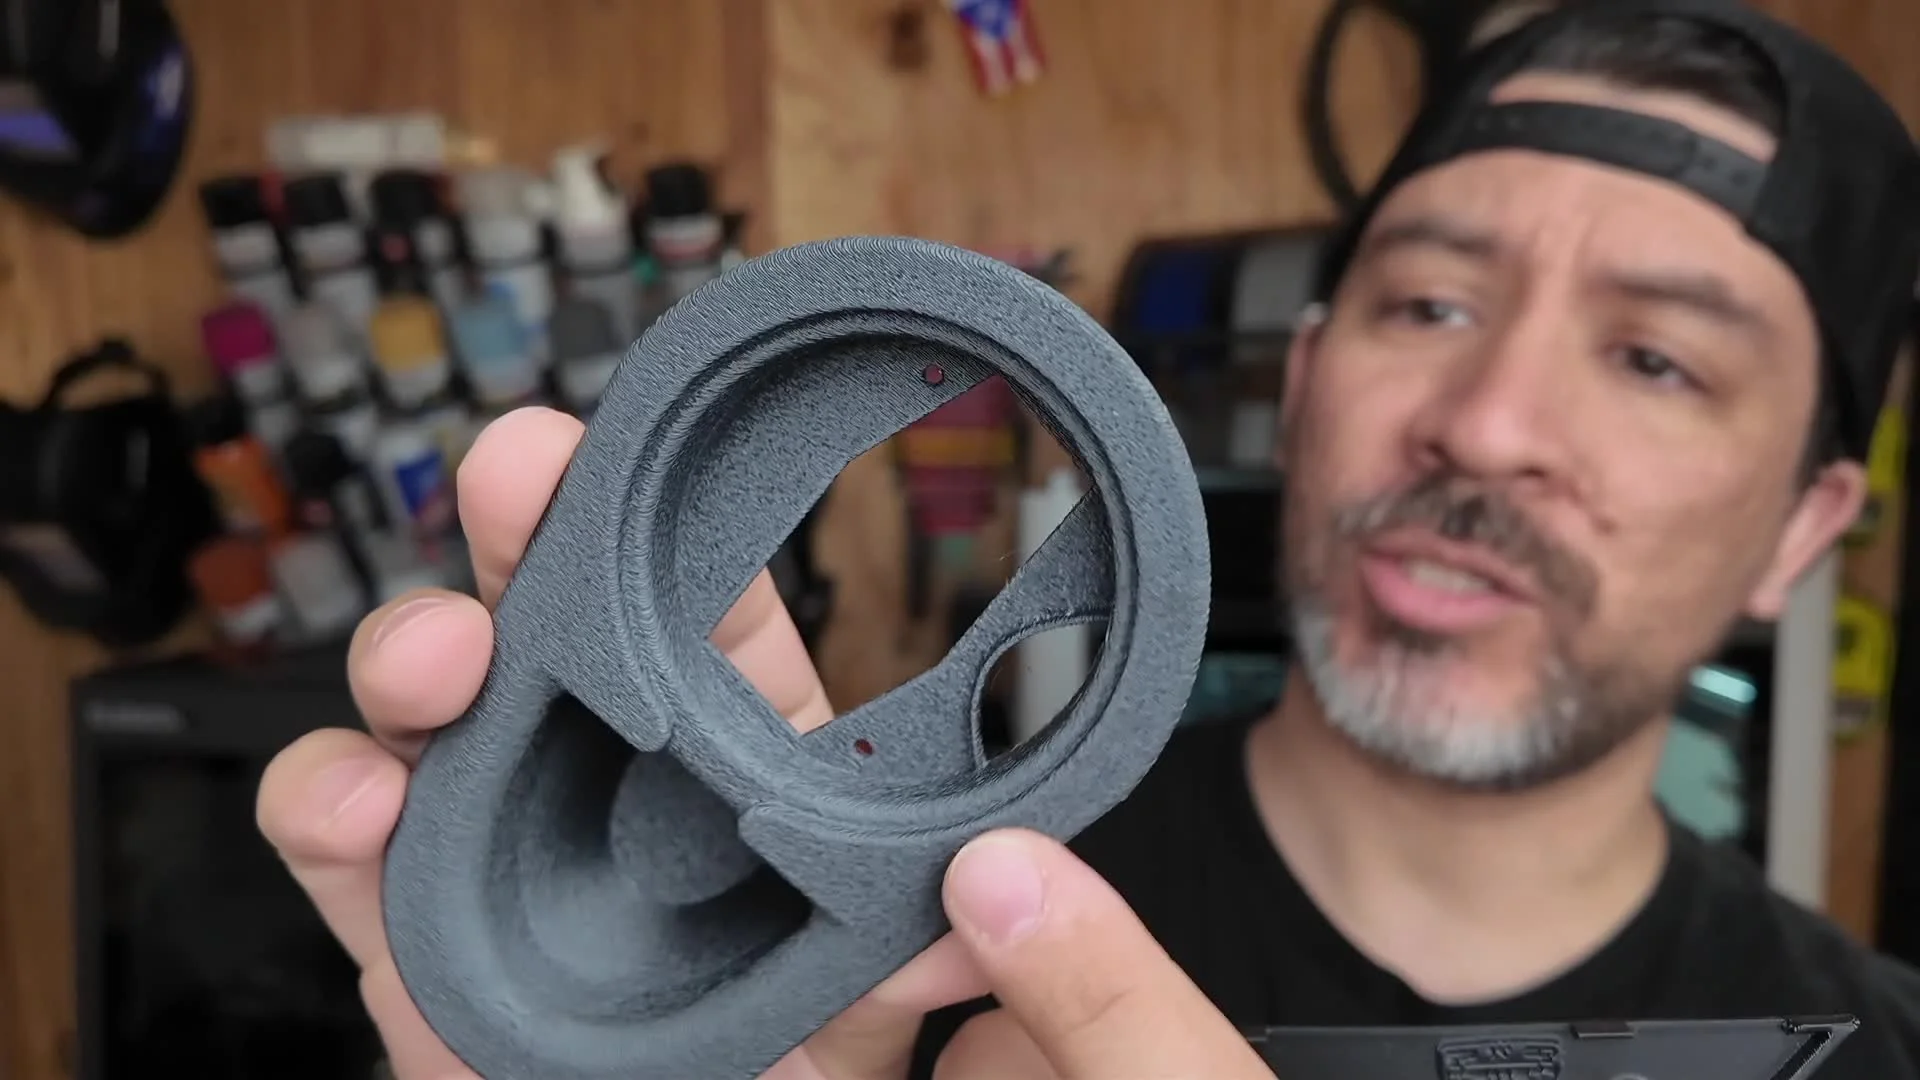
Fuzzy skin is a slicer setting that wobbles the hotend slightly as it prints each outer perimeter pass.
Instead of a clean straight line, the nozzle jitters in and out by a fraction of a millimeter. The result is a randomized jagged surface that reads as texture rather than a print artifact.
The reason it works for car interiors specifically: automotive factory plastic is thermoformed against molds with a grain texture.
THE SETTINGS MOST PEOPLE GET WRONG
Default fuzzy skin in Bambu Studio might be too aggressive for anything meant to look stock.
You'll see the difference the moment you print it. Default settings produce a heavily jagged surface that reads as intentional texture on something like a tool handle or speaker enclosure — but on a dashboard insert, it looks wrong. Too rough. Inconsistent with what OEM plastic looks like.
Pull the fuzzy skin settings back. These are the numbers that work for automotive interior parts on the E30 build:
Point Distance: 0.4–0.6mm (default is 0.8mm). Tighter points = finer, more OEM-like grain.
Thickness: 0.1–0.15mm (default is 0.3mm). Thinner = subtler. Automotive grain is present but not aggressive.
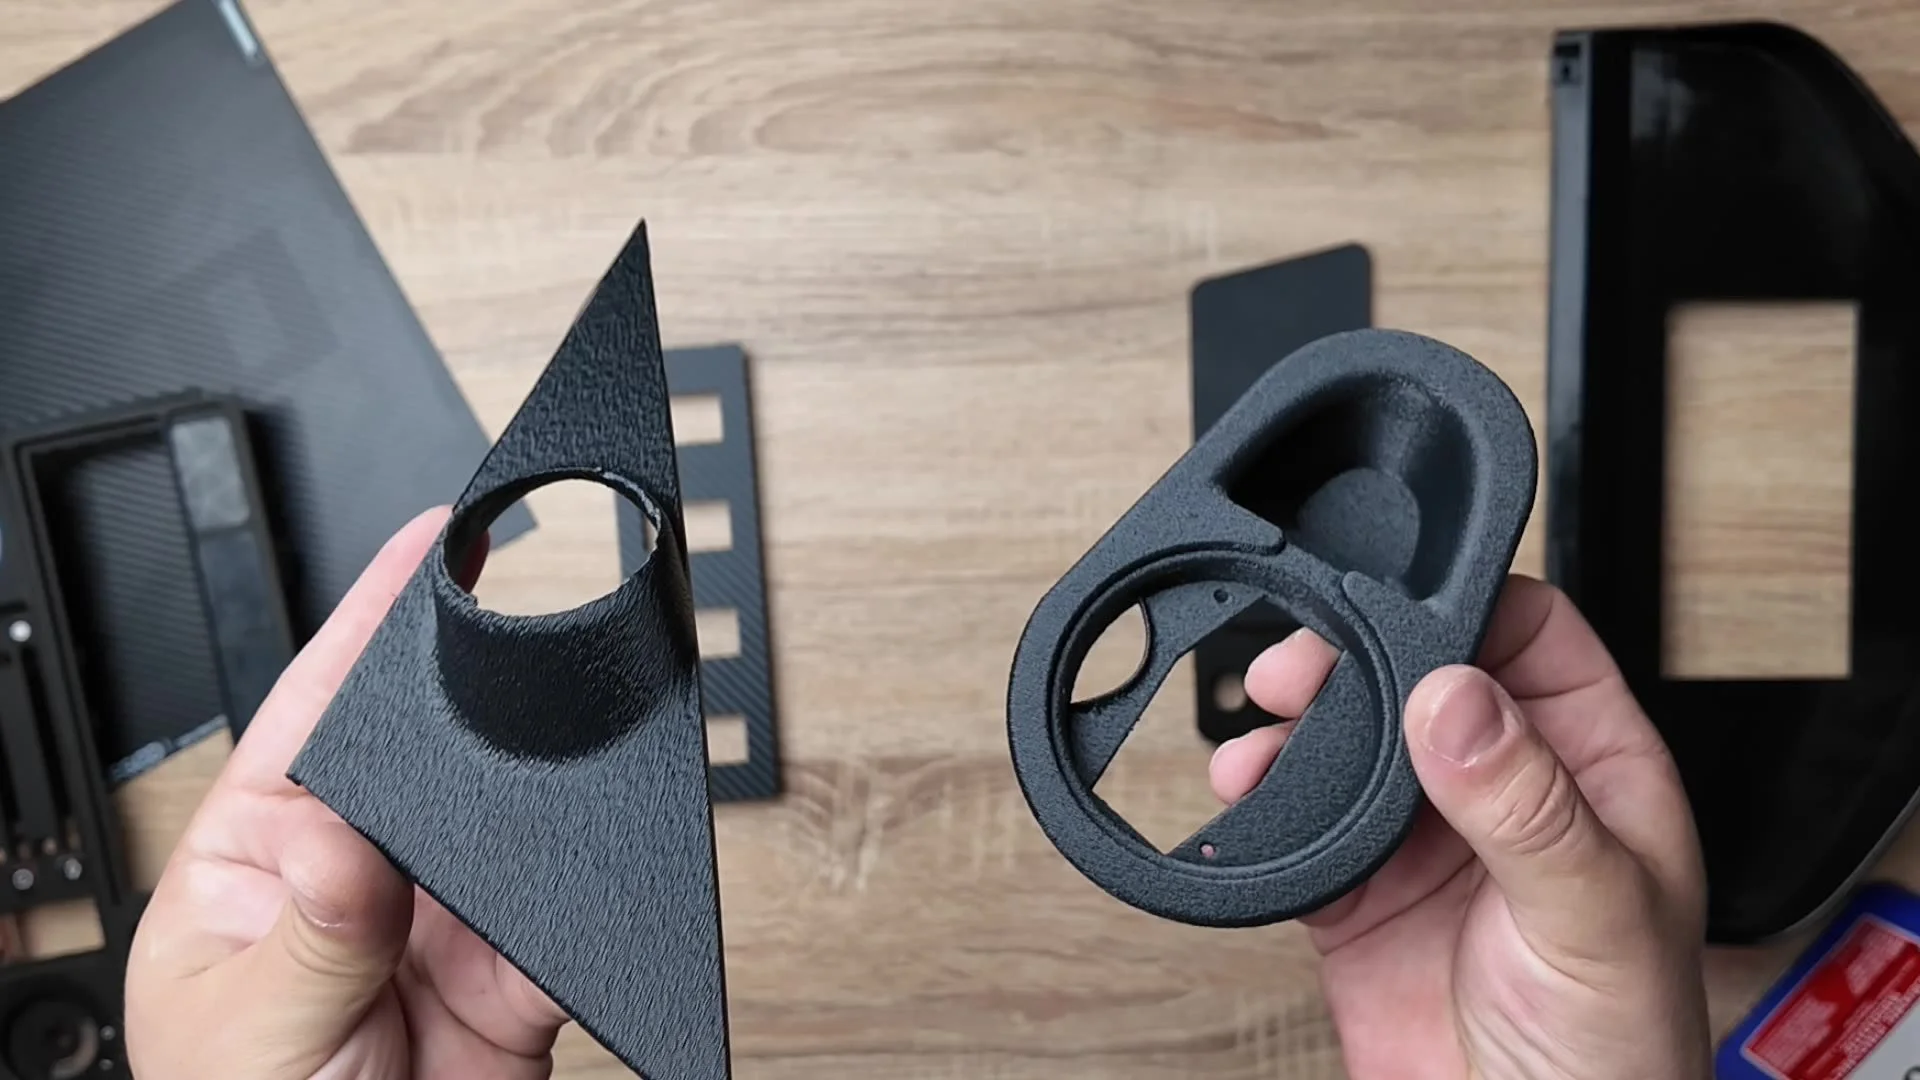
Default fuzzy skin on left, lower values on right
💡 PRO TIP: Use a modifier cube in Bambu Studio. Right-click your model → Add Modifier → Box. Size the box to cover only the exterior walls. Enable fuzzy skin on that modifier only.
This keeps your mating surfaces, clip geometry, and boss features clean while the visible face gets textured.
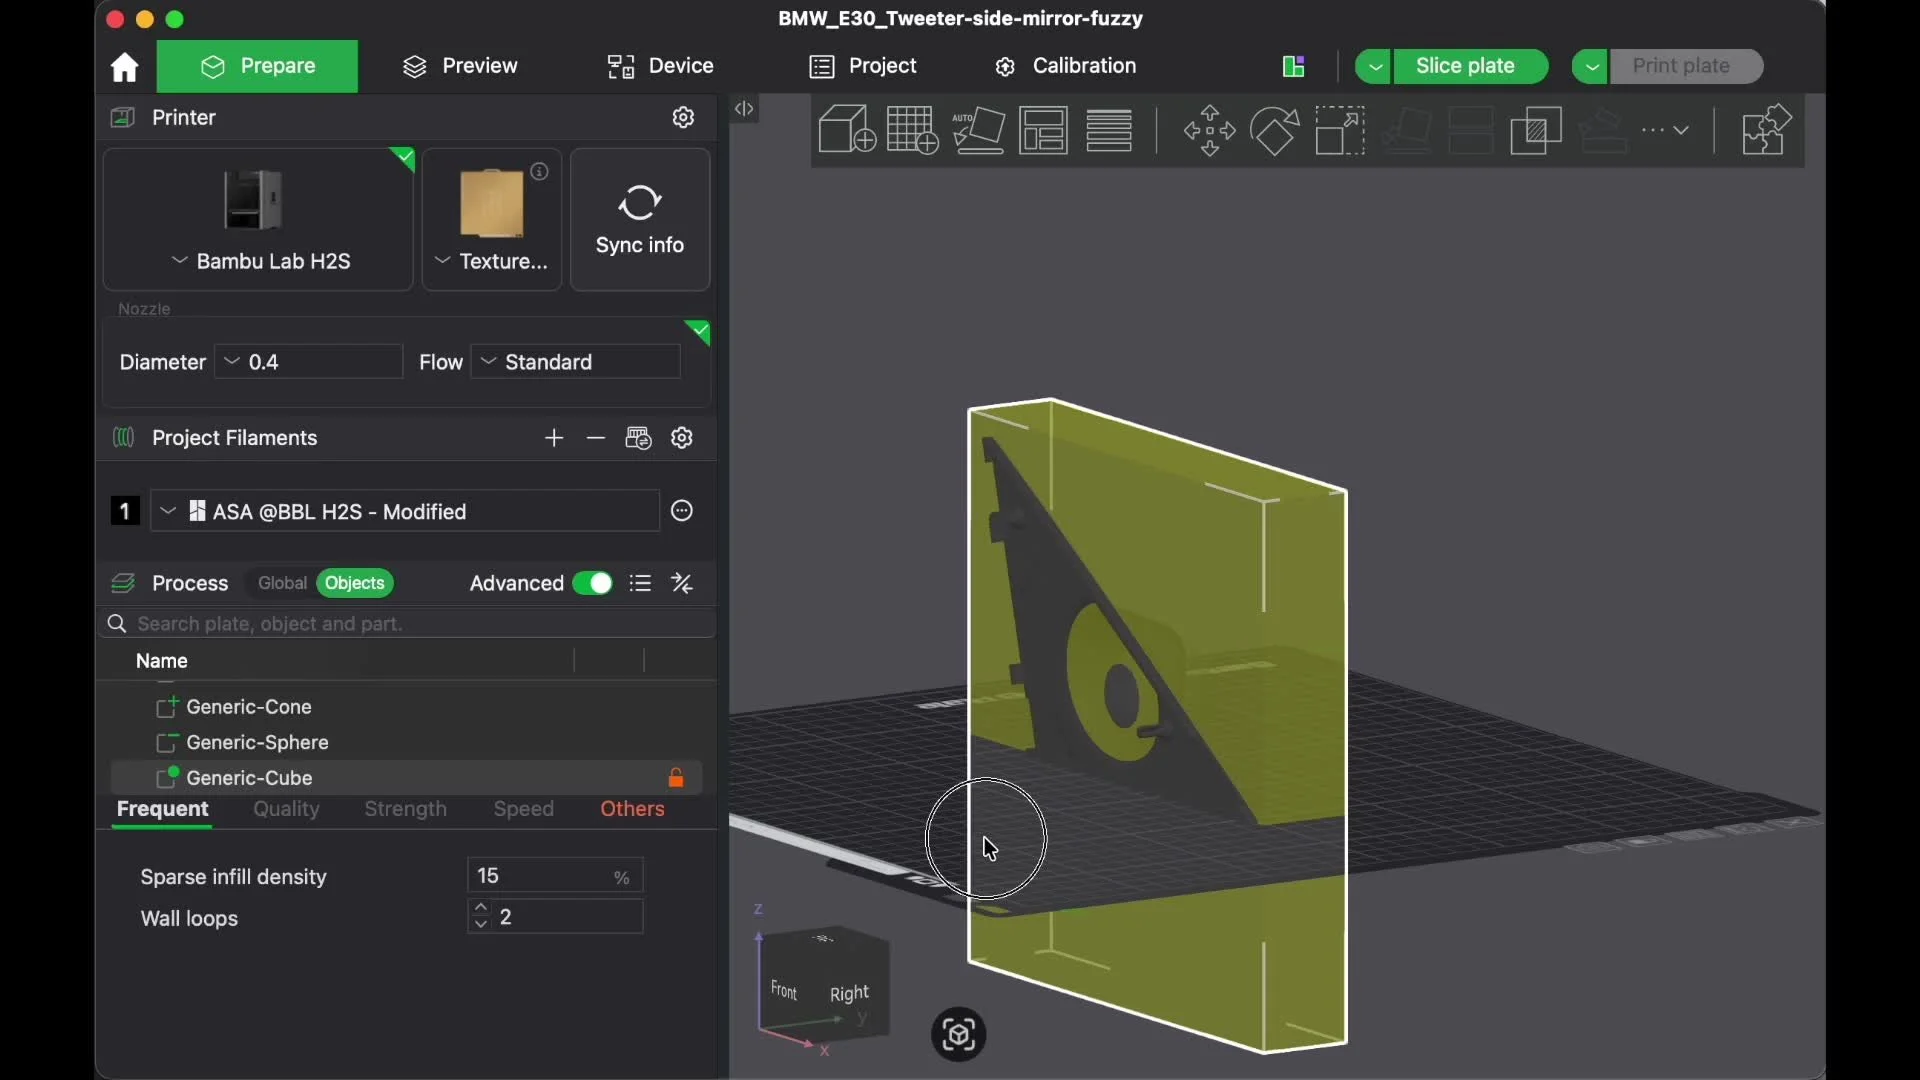
Update: You can now paint fuzzy skin onto your part in Bambu Studio.
WHAT FUZZY SKIN CAN'T DO
Here's the limitation nobody mentions in generic fuzzy skin guides: it only works on vertical walls. The sides.
The top surface of your part — any horizontal face that prints with infill and a top skin layer — doesn't get fuzzy skin.
For a dashboard bezel where the top face is visible when installed, that's a real problem.
Fuzzy skin was built to modify how the printer moves along perimeters. One trick you can do is angle your part.
But if you want a completely different pattern, that gap is exactly what BumpMesh was built to solve.
WHAT IS BUMPMESH AND HOW DO YOU USE IT?
BumpMesh is a free, browser-based tool from Stefan Hermann at CNC Kitchen.
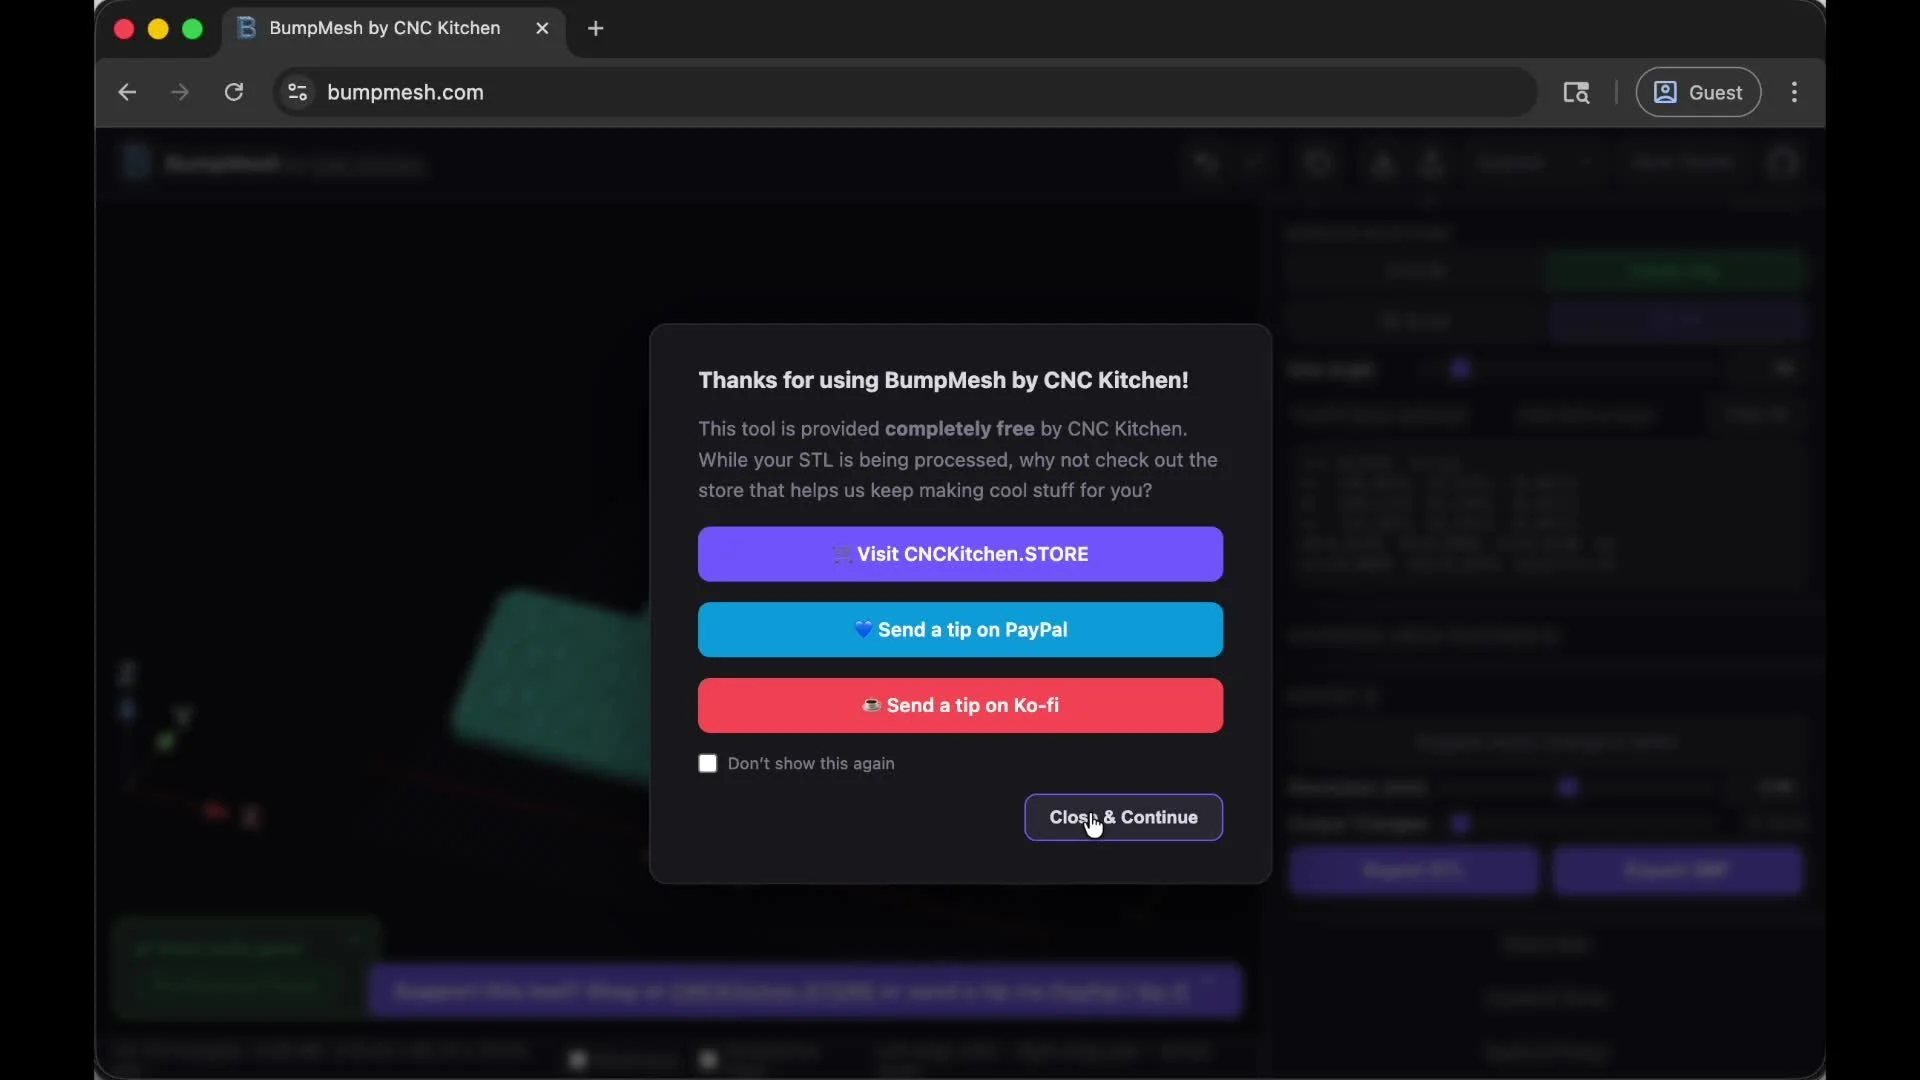
You upload your 3D model in STL, OBJ, or 3MF format, select one of the built-in textures or upload your own.
No software to install. No account. Go to bumpmesh.com, drop your file in, pick your pattern, and export a new STL that your slicer reads as a textured mesh.
The key difference from fuzzy skin: BumpMesh's texture has unlimited options.
You're choosing a specific pattern and wrapping it around the part.
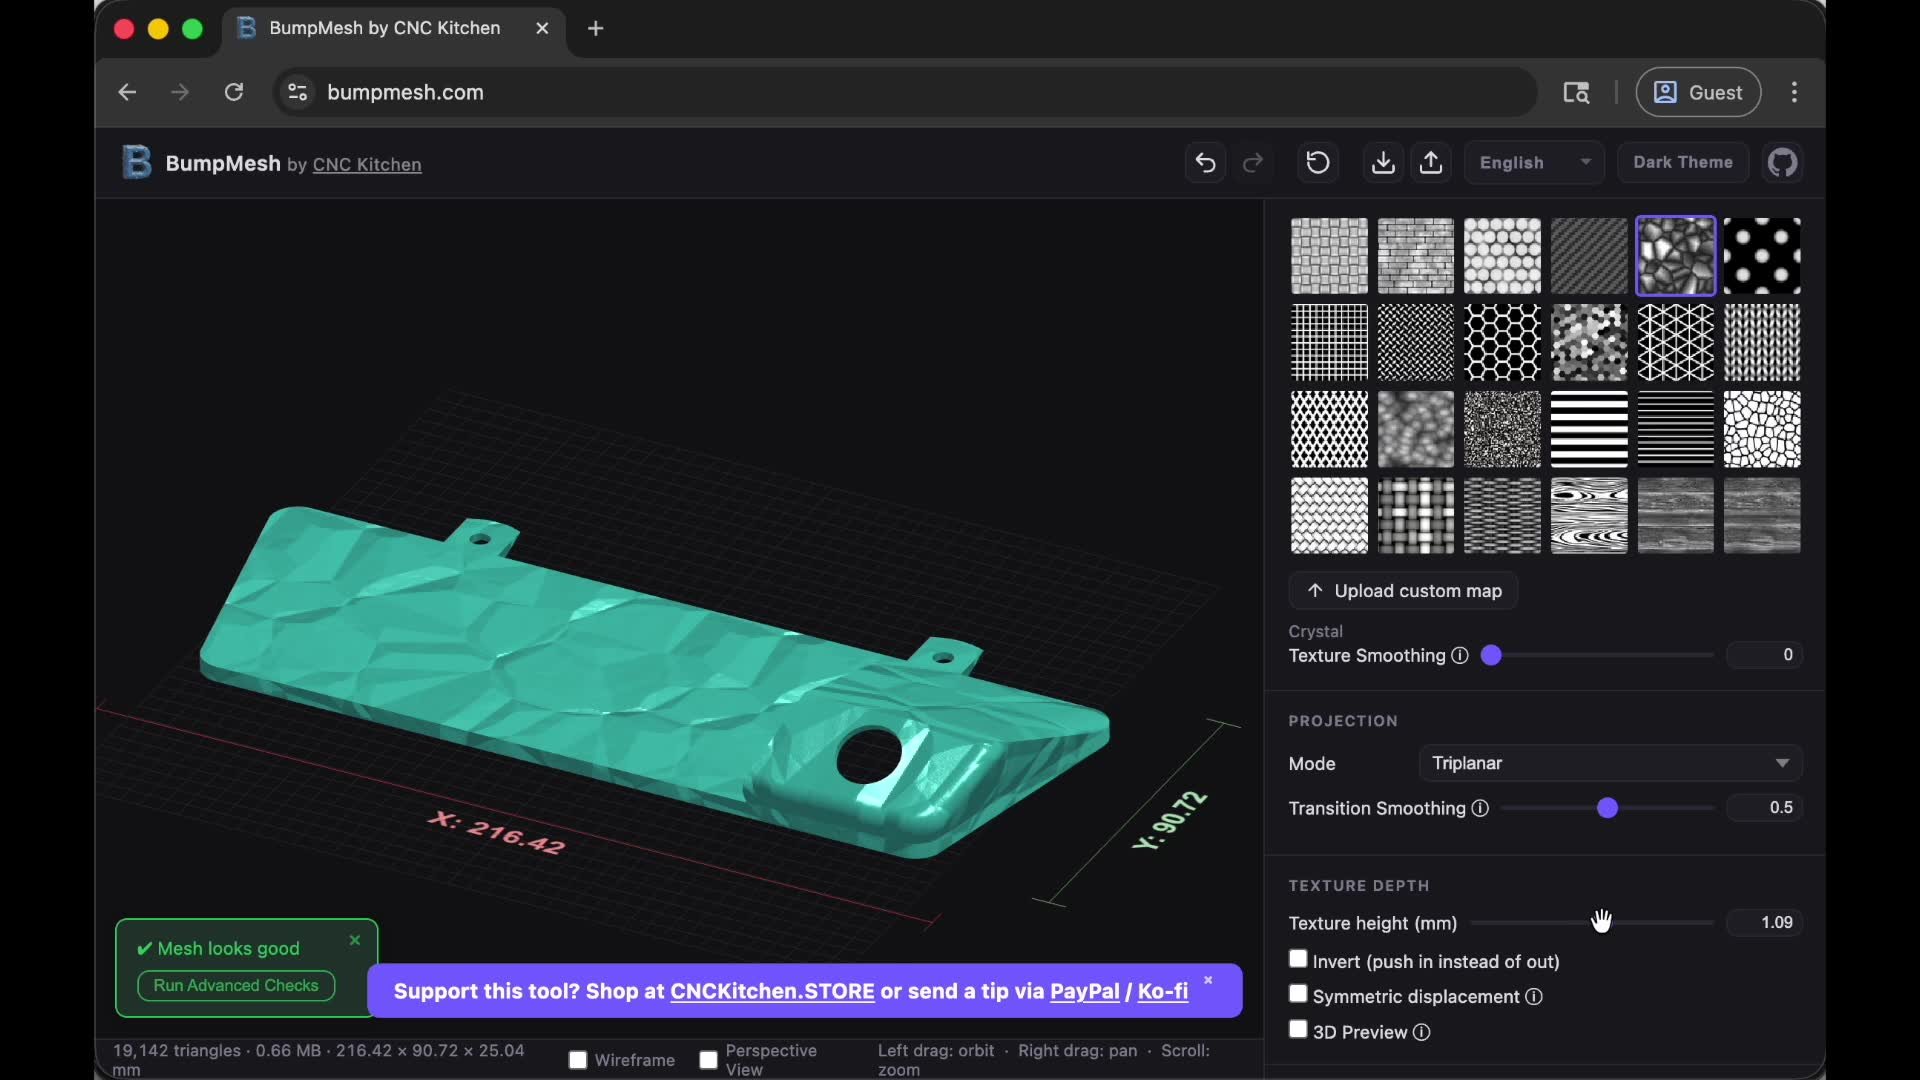
The result is the same texture on every face — vertical walls, top surface, curved faces — all matching.
For the E30 center console, we matched the small diamond hex pattern from the original interior trim.
The imported STL came out of BumpMesh with that pattern baked into every surface. When it printed, it matched what was already in the car
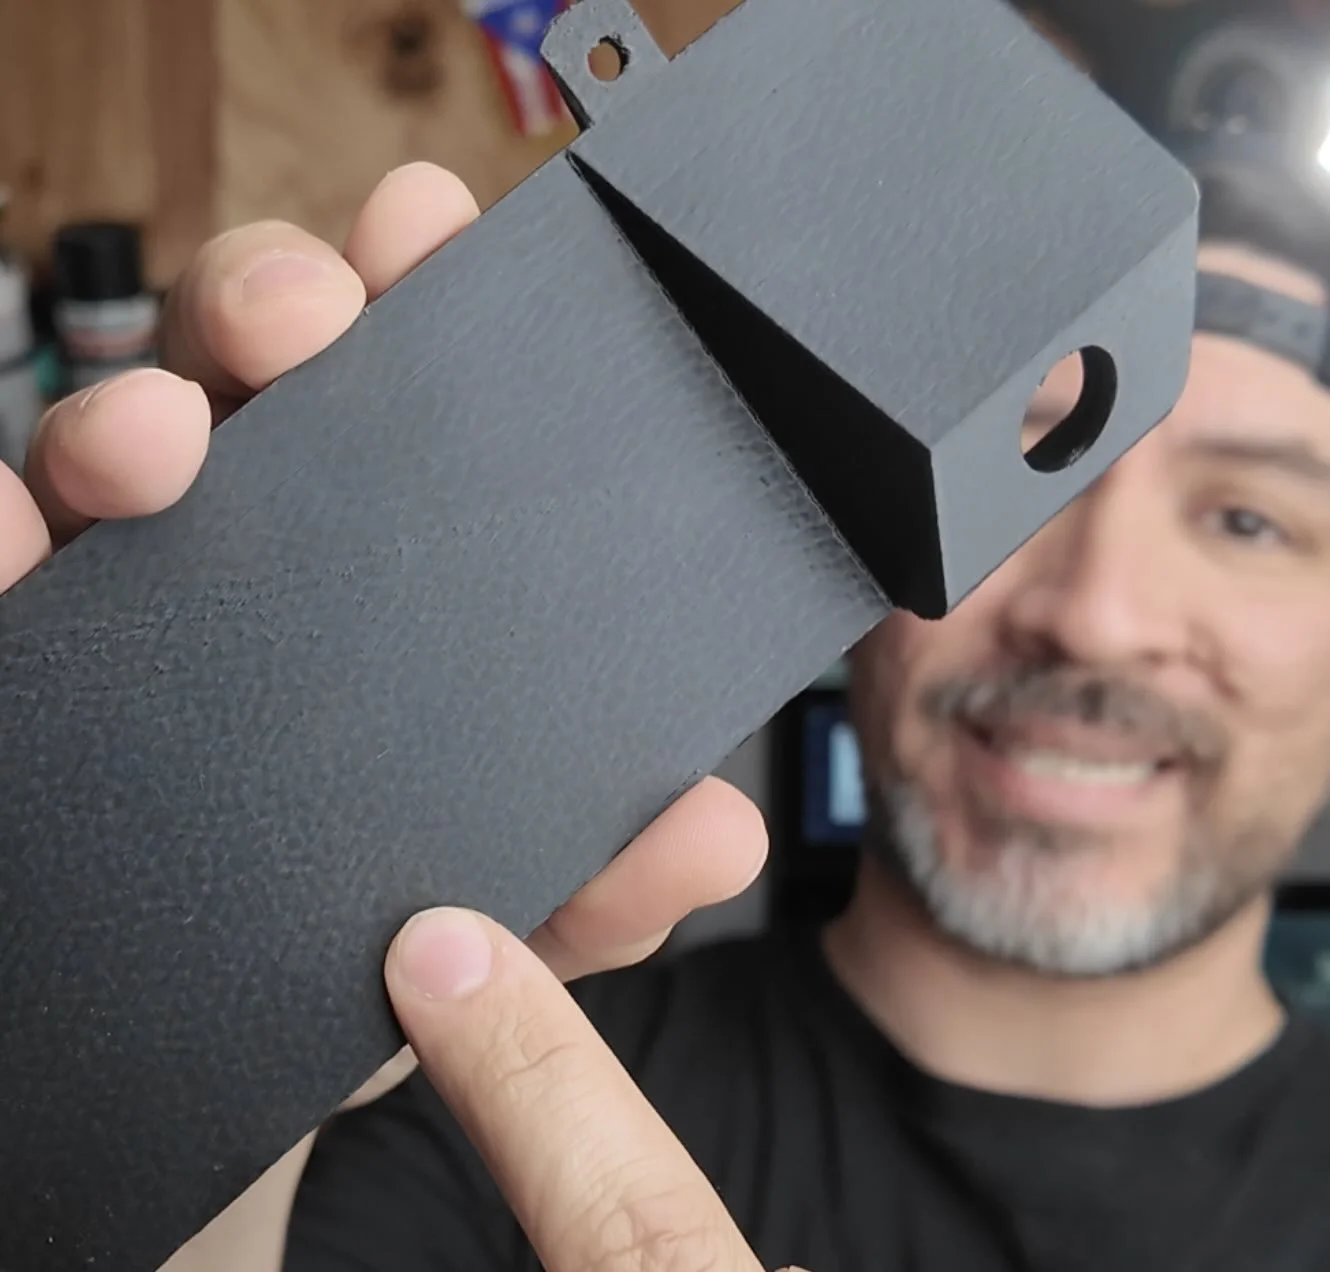
Here’s the settings we used to get a similar OEM finished pattern:
Scale U/V: 3–5x (tighter = finer grain, closer to OEM interior texture)
Amplitude: 0.2–0.35mm (any deeper starts creating overhangs that cause print failures on vertical walls)
Here’s a comparison table on which method works best to make your 3d printed car part look OEM+
THE FULL STACK, COMBINED
The cleanest OEM+ finish combines all three approaches: 3D effect plate handles the bottom face, BumpMesh handles the rest of the geometry pre-export, and you mask the tolerance-critical surfaces in both.
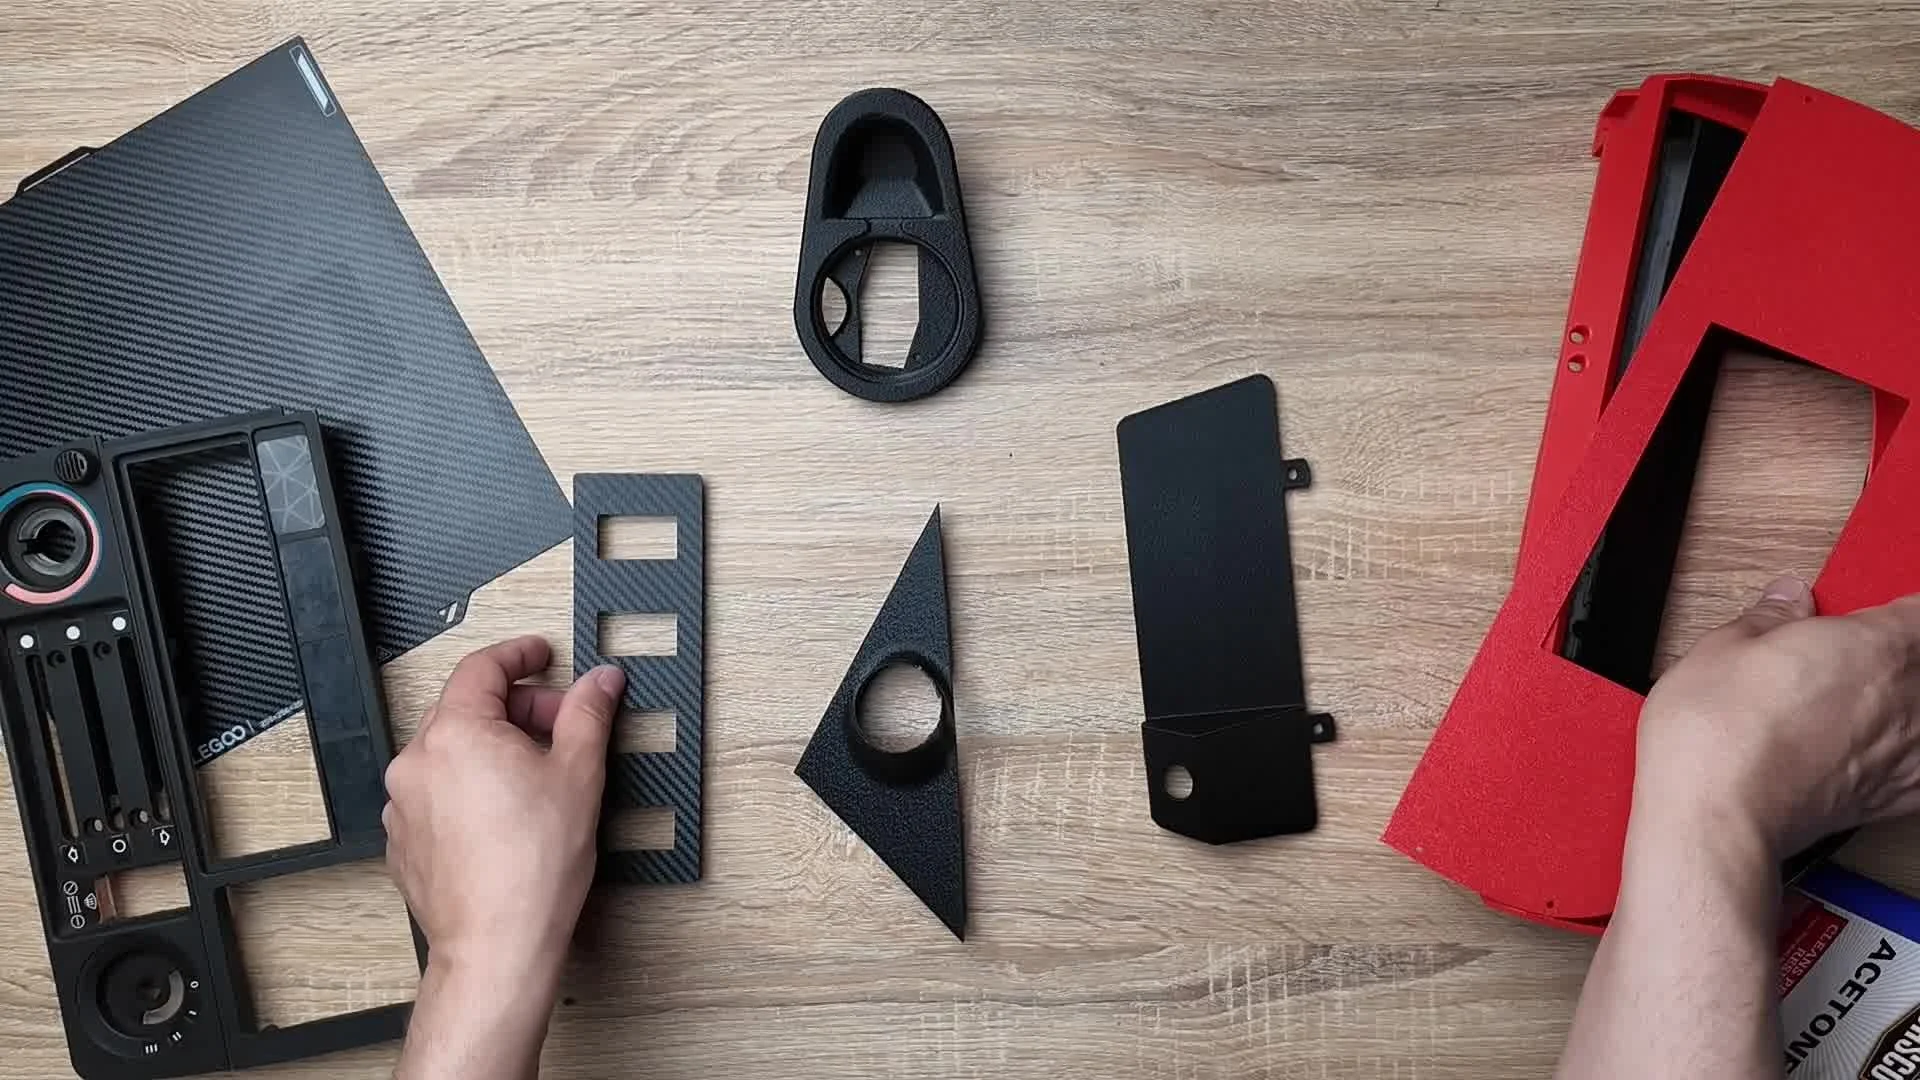
That's how the E30 center console insert was done. The build plate gave the face-down surface its pattern.
BumpMesh wrapped the sidewalls and top with a matching hex pattern. The clips and screw bosses stayed smooth. When it came off the printer, the entire exterior surface matched the surrounding factory trim — without any sanding, priming, or post-processing.
The only thing left after that is design — making sure the part actually fits your specific build, not just approximately.
That's the next problem to solve, and it starts before you ever open a slicer. When you're ready to go from designing by eye to designing by measurement — the workshop covers that full workflow.
Design 3d Printed Car Parts That Match Your Exact Build.
One afternoon. No complex software. Parts that fit your build perfect.
This workshop finally made designing 3d printed car parts feel doable. I had a replacement part ready for my project car in a few hours.
Instant Access, Risk Free Money Back Guarantee