IS A WHEEL CRIB BETTER THAN A JACK STAND?
We’re always working on or under our cars; and wanted to see if wheel cribs are a better alternative than jack stands.
As you delve further into the world of DIY home automotive repairs, you’re likely to encounter a variety of challenges; from changing oil to tackling more difficult tasks like replacing brake lines to dropping a transmission.
One thing you’ll want to make sure of is that you properly support your car after you’ve lifted it with something like a hydraulic or air jack.
Usually you’d use jack stands, but with recent recalls on certain Harbor Freight jack stand failures or accidental car sway while on jack stands, wheel cribs can be a much better option.
Wheel cribs work a bit different than jack stands. They are solid platforms that are placed under each of your wheels once you jack the car up to the appropriate height.
They serve several essential purposes:
Additional Safety: When working underneath your car, having stable support is vital. Wheel cribs provide a secure platform, preventing accidental slips or collapses that may occur with jack stands.
Accessibility: Accessing hard-to-reach areas becomes easier with your car lifted on all four of its wheels with wheel cribs. Whether you’re working on exhaust or replacing any under car components, wheel cribs give you lots of clearance.
Stability: Unlike using unstable makeshift supports (such as bricks or wooden blocks), wheel cribs built properly will have solid stability. They won’t shift or potentially wobble from improper placement during repairs like jack stands.
Now you can purchase a set of wheel cribs like the Race Ramps version, but making a set of your own can be a bit more budget friendly.
You can also make wheel cribs that can be wider and taller than some of the pre-made models.

And with everything we do, its much more fun to build something yourself.
WHAT MATERIALS DO YOU NEED?
Before you start building, you’ll need to round up the following materials:
2x4 or 2x6 Lumber: Wooden 2x4 or 2x6 for larger wheel bases serve as the base. Choose hardwood or treated lumber for durability.
Saw for cutting: A circular saw works best to cut the lumber to the desired length. We like using a Ryobi 5 & 1/2 cordless circular saw.
Measuring Tape: Gets you the proper and consistent measurements for each piece of lumber.
Screws: We like using GRK wooden screw fasteners which allow for dismantling the wheel cribs if you need to reduce height or reuse the lumber for another project.
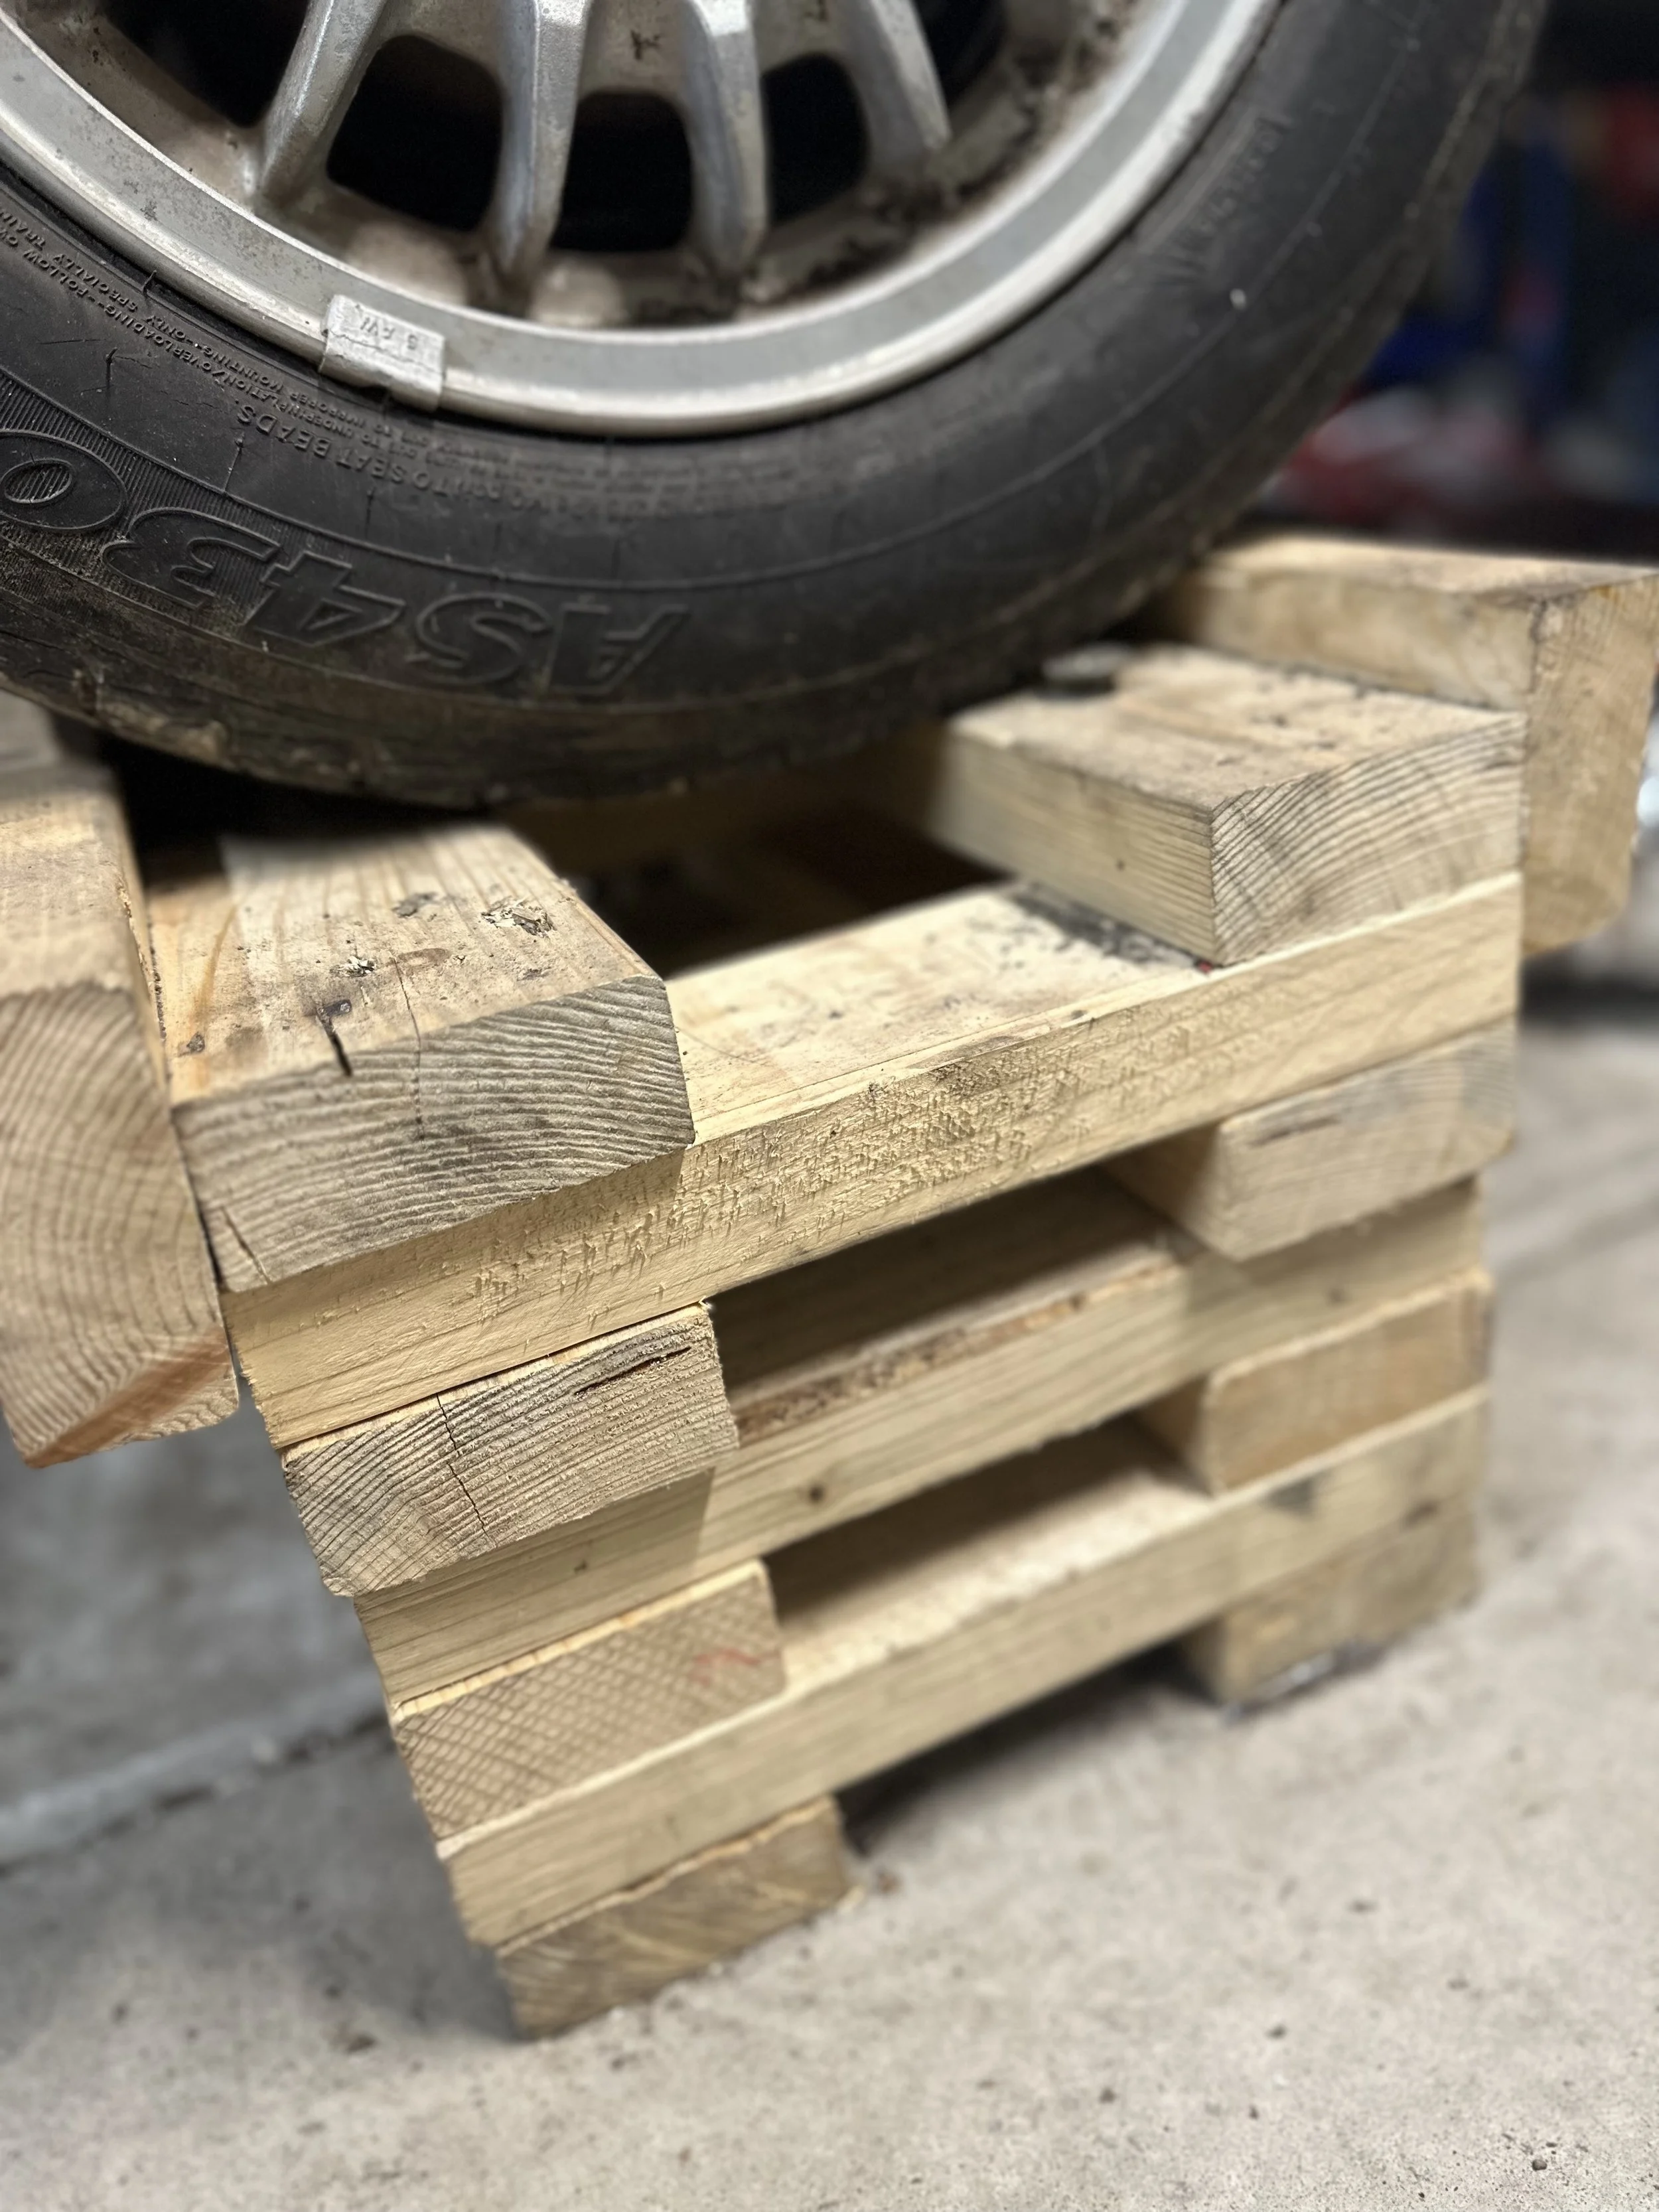
7 Layer 2x4 Wood Wheel Crib
STEP BY STEP WHEEL CRIB BUILD
Measure lumber: Determine the desired height and width of your wheel cribs.
Aim for a height: that allows easy access to the underside of your vehicle and make sure you have an air or hydraulic jack that can lift the car high enough in order to slide the wheel cribs under each wheel.
The lumber will be stacked on its longer length side. That leaves a height of 1 & 1/2 inches per layer you stack. The lumber layers will be stacked perpendicular to each other just like Jenga bricks.
Next measure the desired length of each layer to have enough room for your wheel width and span.
💡 PRO TIP: You want to have a span that’s longer than your overall tire diameter for better strenght and stability. Leave at least 6 inches on each side of your max width too.
Cut lumber: Cut the first set of lumber to the desired wheel length. Then cut additional pieces of lumber to the desired width which will lay perpendicular to the first base which will again be stacked just like a set of Jenga bricks. Stack the first and second layer.
Secure each layer: After stacking the first two layers, you will fasten them together with wood screws. I like to use two screws on each end of the second platform that way you get a solid foundation that doesn’t shift if you only use on screw on each end.
Continue this process as you stack each layer. Each top layer only needs to be fastened to the last layer. Stack and fasten to your desired height.
Paint or Seal: Apply paint or sealant to protect the wood if you choose. You could choose a color that stands out in your garage.
Test Stability: Jack the car up and place your wheel cribs under the wheels and ensure they provide stable support. I usually start with the two rear wheels then move to the two front wheels.
Make sure you wheel block and engage your emergency brakes when you are lifting your car and placing them on the wheel cribs.
In the end we fell that the wheel cribs are much better than some jack stands which you never know will fail…

And if you’re interested in more tools for the garage that you can even 3d print, then check out these top 5 printable tools for the garage.
LEARN MORE…