40 Year Old BMW Gets A Digital Dash
Our 1984 BMW 318i e30 is now 40 years old. It’s Jetronic ECU and analog cluster gauge is in rough shape, so its time for an upgrade.

BMW e30 318i Original Analog Dashboard
The original BMW e30 analog dashboard cluster display isn’t the worst in the world, but time degrades all things. Instead of working out the kinks, we decided to rip it out and replace it with some modern electronics.
The first requirement was a blank cluster. Luckily we found a pre-made 3d design which was only $30 from Tangent Innovation Group. Next we needed to print it out. I didn’t think we would have any problems fitting the 3d file onto our 11.3”x11.3”x12.6” bed sized Ender 3 Max Neo, but we had to play around with the build orientation quite a bit.

Print your own 3D car parts with the Ender 3 Max Neo
Flipping the cluster gauge upside down and rotating it diagonally across the print bed seemed to do the trick. We used some matte black PLA we had lying around from a previous project, but I’d recommend printing with some ABS filament which you can pick up from Amazon. The ABS filament will stand up to harsh sunlight compared to PLA. And 18 hours later of 3D printing, we had a fresh new 3d printed e30 blank cluster gauge.

Tangent Innovation Group BMW e30 Digital Dash 3D Model
After some initial measurements of the new dash we found that a 7 inch IPS from Roadom would be perfect. The size lined up perfectly into the center of the dashboard without taking too much space. And the 4 mounting holes would allow us to properly mount the screen to the 3d printed file with a few screws.
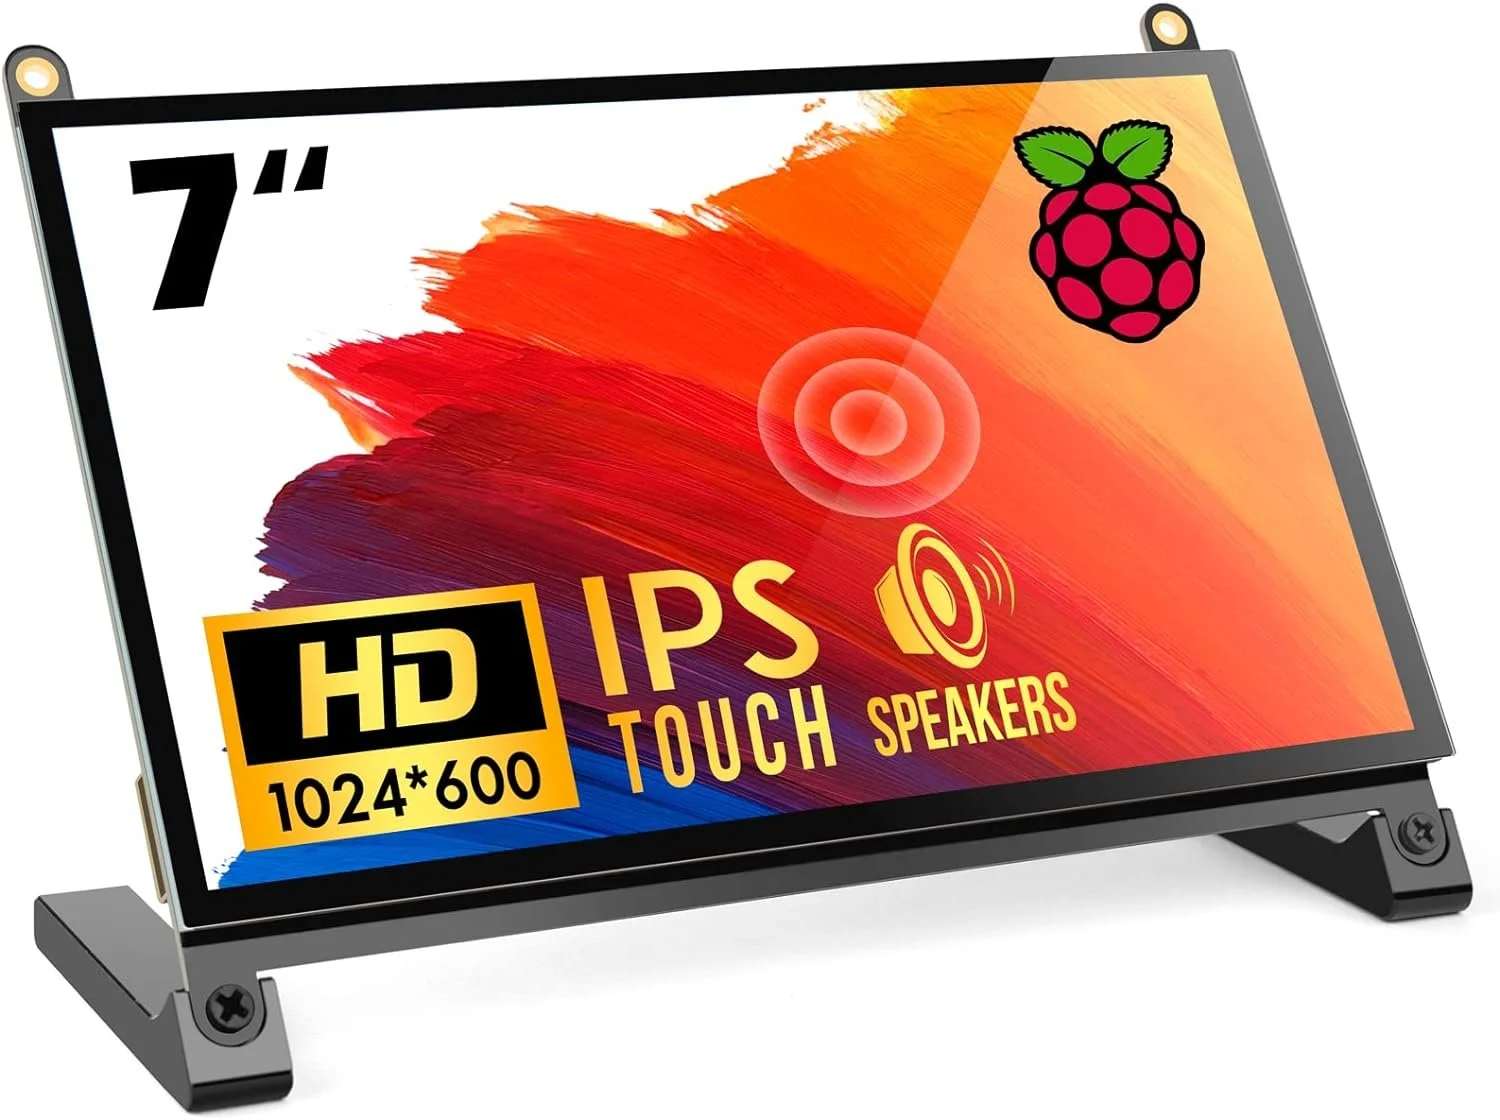
Touch screen IPS panel for the e30 Digital Dashboard 7 inch IPS from Roadom
The screen also included capacitive touch support and mounting for a Raspberry Pi directly behind the screen. With that we snagged a Raspberry Pi 4 with 4 GB of RAM and started piecing everything together.
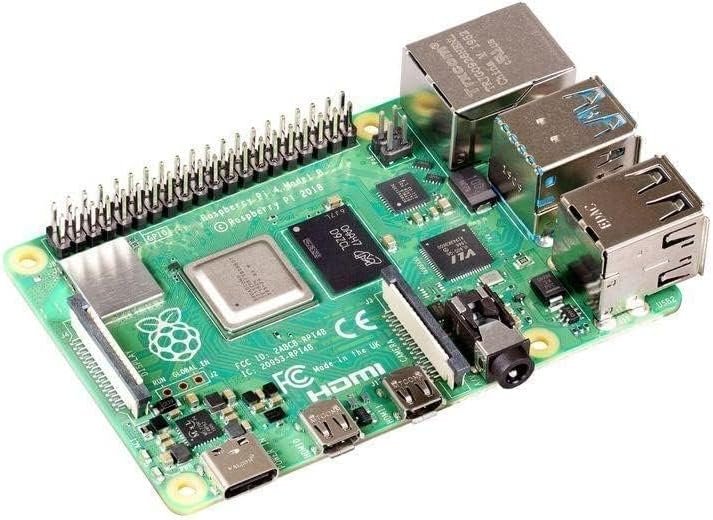
We used a Raspberry Pi 4 model which is more than powerful enough
Next up is the the software which will heavily depend on your engine and ECU. If you plan to stick with the original Jetronics, you’ll have to figure out how to read different signals from the ECU. This will more than likely require ADC (Analogue to Digital Converter) inputs which the Raspberry Pi doesn’t have. So you’d need to add something like an Arduino with additional customized electronics to convert the voltage into something the Arduino can read and send to the Raspberry Pi.
If you have a newer BWM with OBDII you could go with software options like OpenAuto Pro or Realdash. Being that we plan to replace the Jetronic with a standalone ECU, we choose to go with Tuner Studio.
SOFTWARE OPTIONS
Tuner Studio also has an application called TS Dash with a premade downloadable image that you can install directly onto a microSD card. The Raspberry Pi can then boot directly from the microSD card. TS Dash also has a designer mode which allows you to customize the look of your digital dashboard. So we went with a custom digital retro design.
👇 For all the details and custom configure in TSDash check out our YouTube video👇

By using our affiliate links, you are helping support our site and us as creators. THANKS!!!