YOUR MULTICOLOR 3D PRINTED CAR PARTS GUIDE
Get the complete list of tools, filament, and software you’ll need to build a multi-color 3d printed wheel cap cover
Large Build Plate 3d Printer - Bambu Lab H2S w/AMS Pro 2
Std. Size Build Plate 3d Printer - Bambu Lab P1S w/AMS Pro 2
UV & Heat Resistant - ASA Filament
Precise measuring tool to take measures from your build. - Digital Caliper
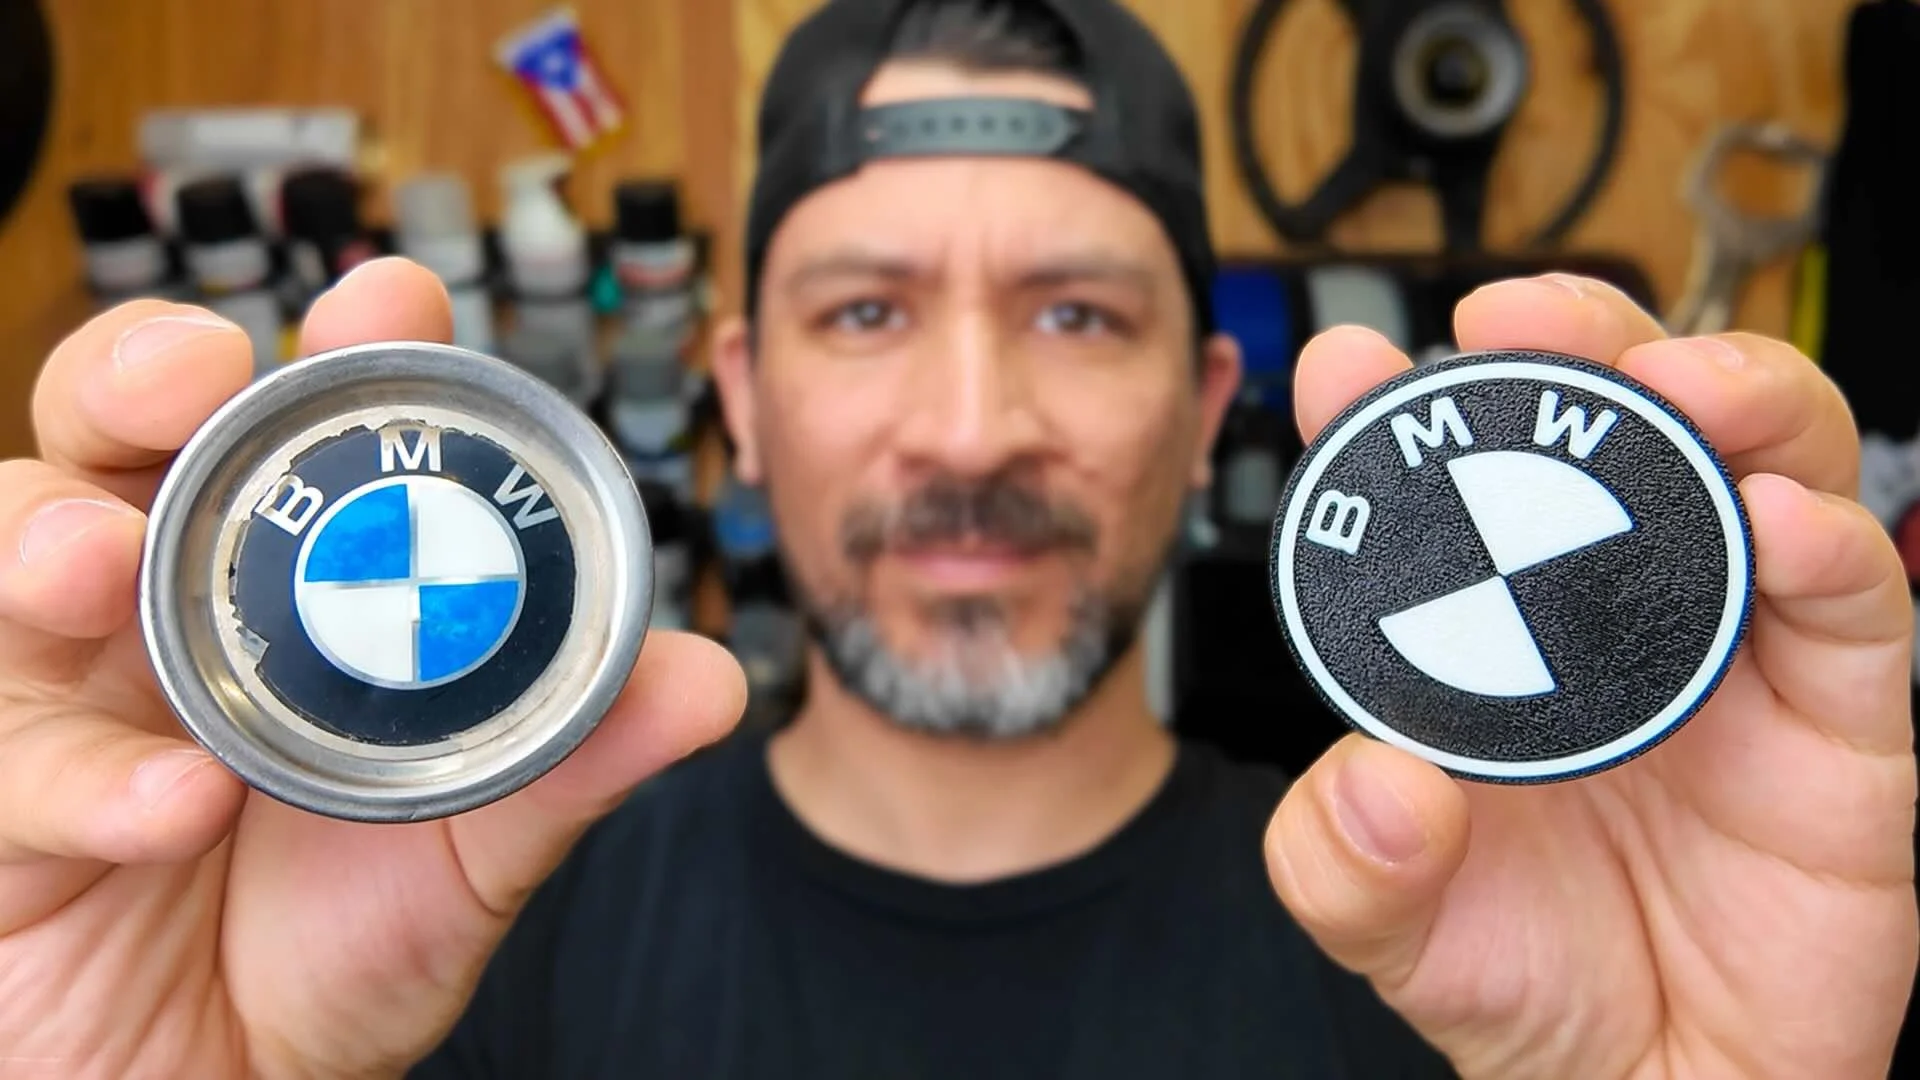
STEP-BY-STEP: PRINTING MULTICOLOR CENTER WHEEL CAP COVERS
If you want a simple 3d printed car part to start with, wheel cap covers are perfect. Nearly every car has them, and they’re small enough for test runs.
Find or design your model:
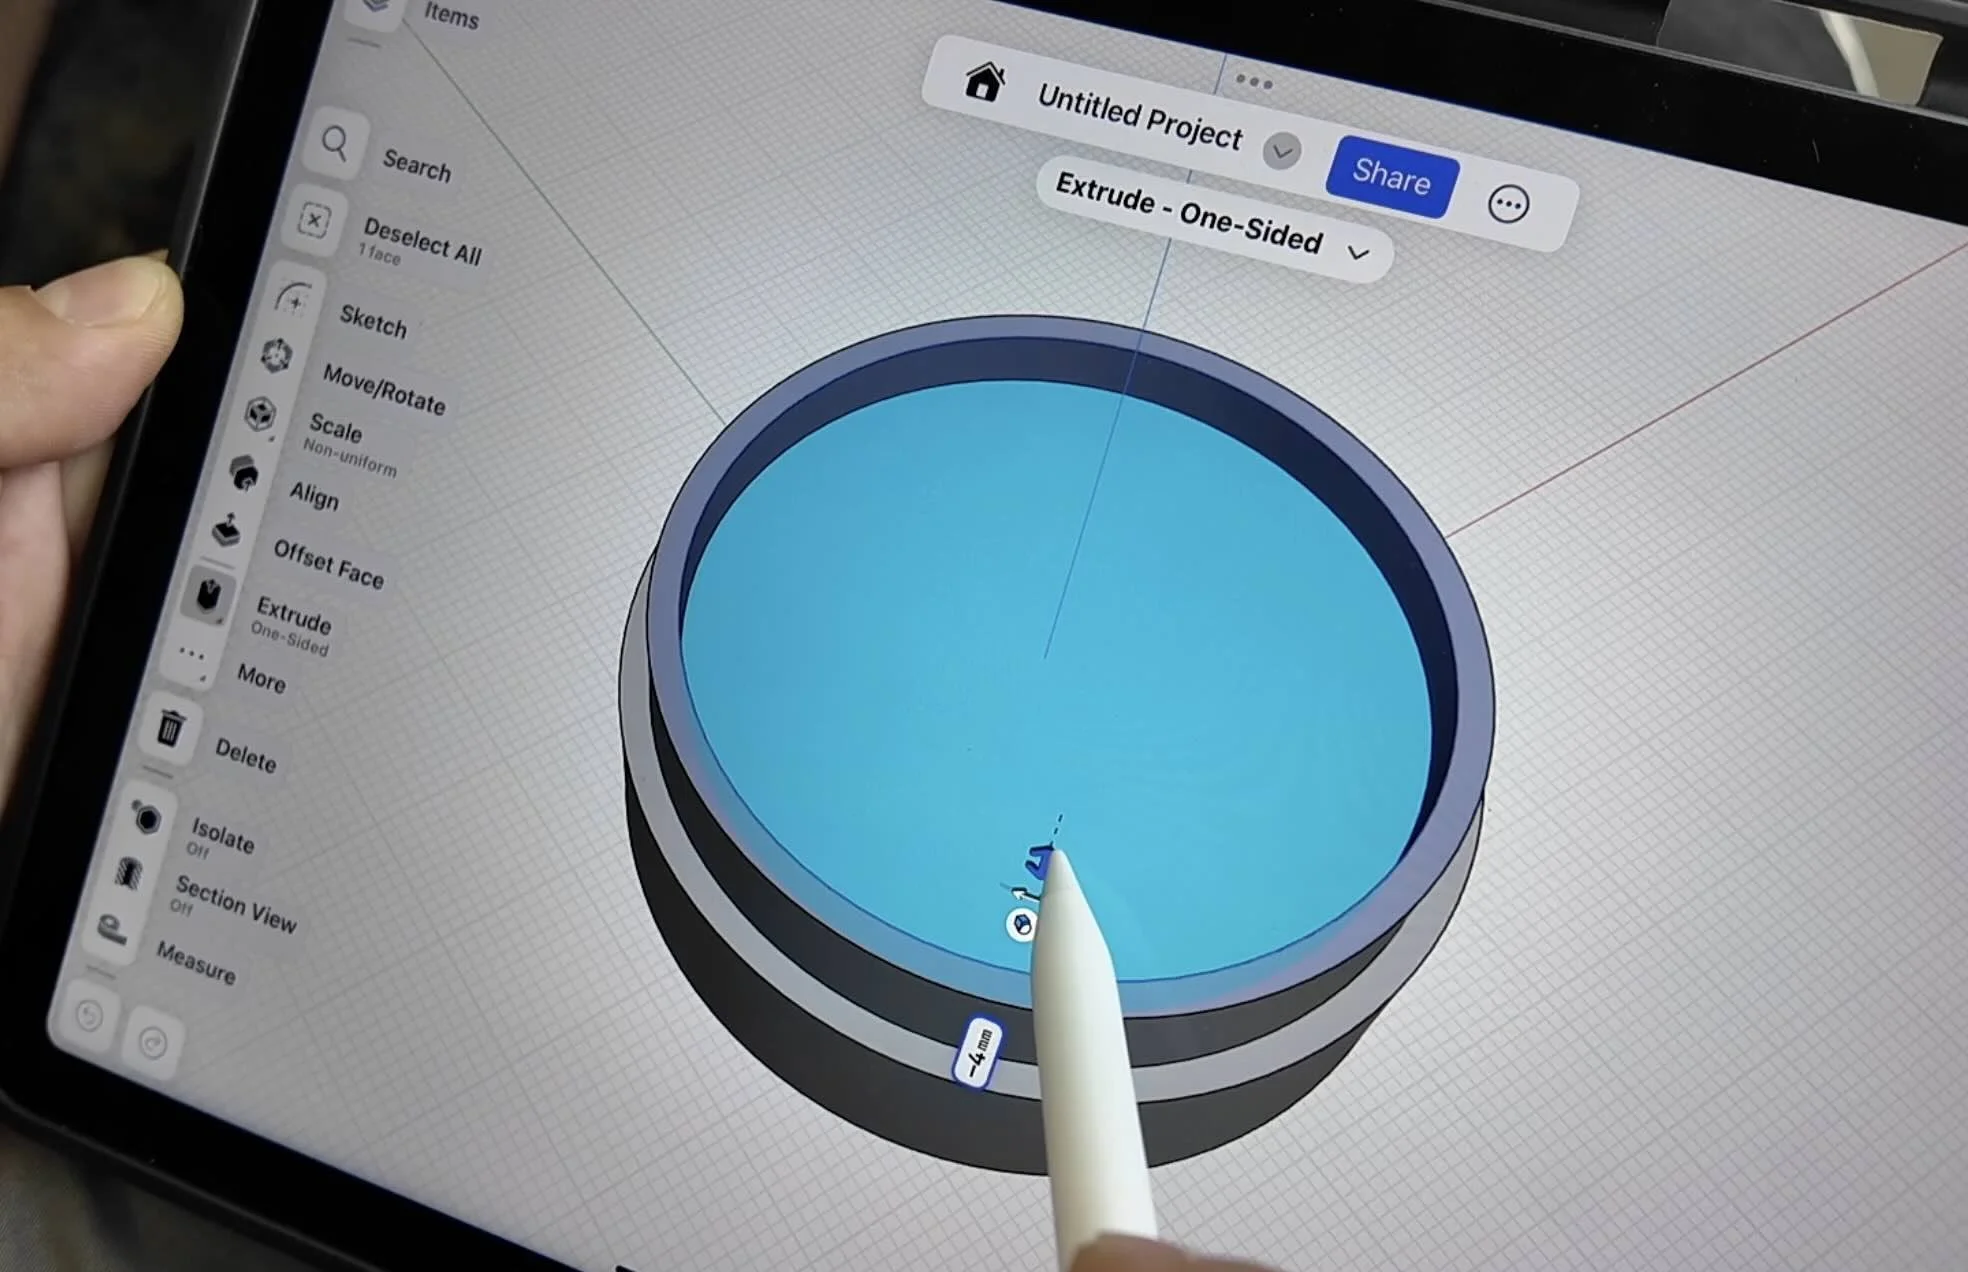
Search online for “wheel cap cover STL” or use our free STL can import into Shapr3d CAD software.Import into slicer:
Once, the dimensions are updated in CAD, export as an STL, and drag your STL into your slicer (like Bambu Studio).Add your logo or design:
Import an SVG (e.g., BMW, Honda, or your own logo), scale it to fit, and center it on the cap.Set your colors:
Choose your base (e.g., black), accent (white), and secondary color (red).Merge objects:
Select both parts and hit Merge before slicing — this ensures the logo prints directly into the part.Print and install:
The AMS will automatically switch filaments between layers, giving you crisp color transitions and an OEM-level finish.
Skip the trial-and-error with trying to design your own 3D printable car parts👇
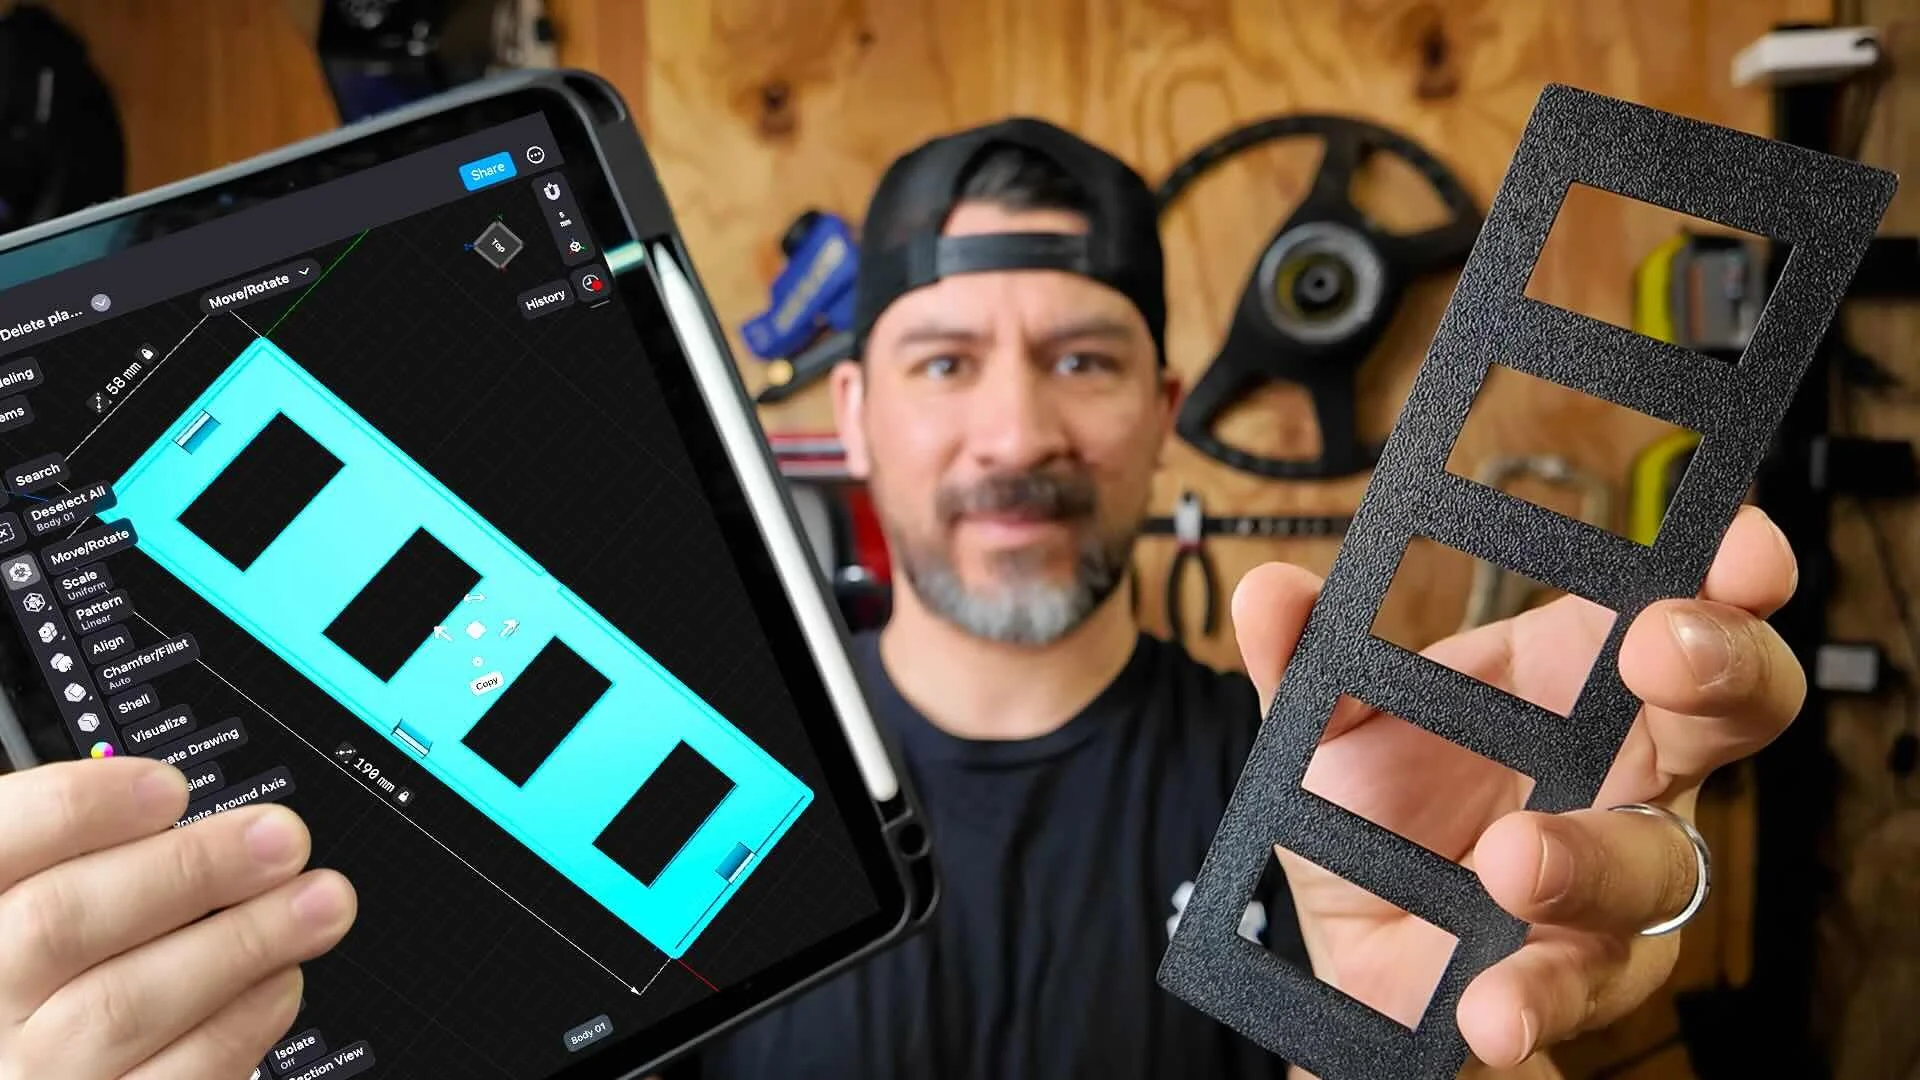
TRANSFORM YOUR RIDE WITH CUSTOM 3D PRINTED PARTS IN 3 EASY STEPS
Money Back Guarantee • Risk Free