How To Flare Copper Nickel (NiCopp) Brake Lines
Instead of towing the car into a shop, we decided to make our own custom brake lines.
Our project car had a few brake leaks, a bad master cylinder, and brake booster, so we started by removing the old brake lines and taking some measurements to replace them. Initially I thought I could purchase premade lines, but none of the premade stuff with flaring nuts were the right length. So we grabbed some NiCopp brake lines from Advanced Auto Parts.
The NiCopp was a bit easier to bend and flex into the shape we wanted verse using steel lines. Then we purchased brake line fitting nuts and a brake flaring tool kit from Harbor Freight.
Cutting the lines, deburring, bending, and placing the fittings went well. But using the Harbor Freight brake line flaring tool was a nightmare. No matter how hard we tried to make a proper flare, the flare never came out right. We tried about a dozen times before we gave up. The main problem with the Harbor Freight tool is that it wouldn’t stay properly centered in the NiCopp brake line in order to make an even flare.
The last thing we want is a brake leak, so I started looking for another brake line flaring tool.
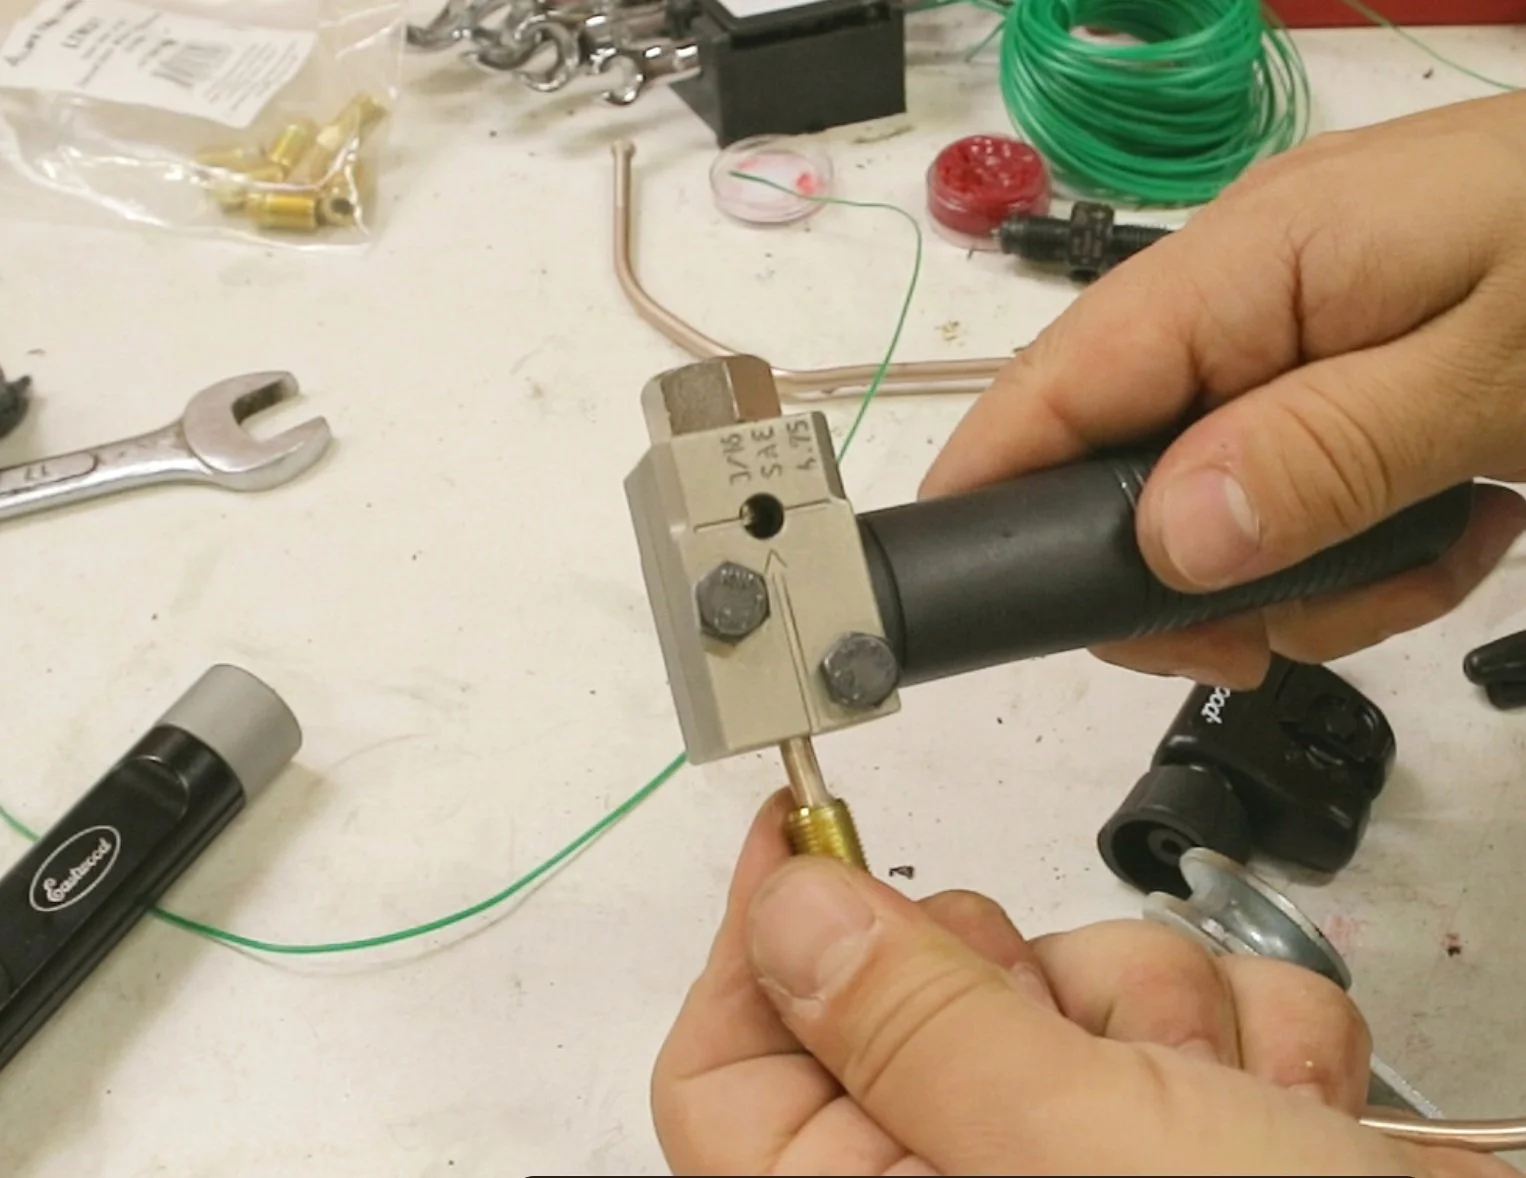
We initially found a super nice brake flaring tool kit with multiple die sizes that clamps things together very well, but these kits usually run over $200. We’re on a budget, so we looked for a single diameter die tool and came across the Eastwood On Car Brake Line Flaring Tool. It’s made just for 3/16 diameter brake lines, but lucky for us all our lines are 3/16 diameter. The best part was it only runs around $60 bucks and you can use code BUILD5 for an additional 5% off your Eastwood order.
The Eastwood unit took a few practice runs to get right. After a few more tries we realized that the NiCopp was having a hard time in the Eastwood flaring tool with a tad too much flare because copper is much softer than steel lines. We slightly adjusted how far to feed the NiCopp into the the brake flaring die and after some trial and error we finally flared perfect lines.
Once all the lines were flared with the proper fitting nuts and correct bends, we put everything back together. We installed a new master cylinder, brake booster, and new lines. We bleed the brake system and went for a test drive. The 280ZX stopped on a dime.
Thus far we’ve used the Eastwood On Car Brake Line Flaring Tool to flare brake lines on our Datsun 280ZX build, BMW e30 and our Chevy El Camino. Maybe the Harbor Freight Brake Line Flaring Tool works better with steel lines due to the additional stiffness of steel, but if you have NiCopp the Harbor Freight kit just won’t cut it.
BRAKE FLARING PARTS LIST
Use BUILD5 to save 5% off your Eastwood.com order on Eastwood.com
Use this tool to create all your bends Eastwood Brake Line Bending Plier Tool
Use this tool to cut your NiCopp Brake Lines Eastwood 1/8” Tubing Cutter
Brake Line Deburring Tool used to clean brake line cut Eastwood Tubing Deburring Tool
For Flaring 3/16 Diameter Brake Lines Eastwood Double Flaring Tool On Car Flaring Tool
25Ft of 3/16 NiCopp Type Brake Line with Fittings 3/16 Copper-Nickel Coated Alloy Brake Line with 16 Fittings
WATCH THE FULL BRAKE FLARING PROCESS
We assume no liability for anything you choose to do to your automobile/home before, or after reading or watching one of our videos. Working on your automotive/home and using any information from this website should be done at your own risk.


